Piston Design Primer
With my goal of eventually making a piston filling Platinum 3776 I thought that I would lay some of the groundwork down for how exactly a piston system is constructed but also how to design one yourself if you ever wanted to make your own pen. I’ll just run through very quickly the general idea of a piston filling pen and some principles to remember. In future weeks I’ll take more of a deep dive into the calculations needed and all of that type of thing.
Prologue: The Stuff Probably Already Know
Piston fillers work because of pressure. The basic idea is that you draw up the piston and it creates a vacuum with little to no pressure. This vacuum functions as a void that wants to be filled so that it matches the pressure from the atmosphere (which literally comes from the weight of the air pressing down on us). Ink is then sucked up to fill the vacuum and fills the pen.
Most of the time the piston moves up and down from a piston knob on the end of the pen. This knob twists a mechanism inside the pen that draws up the piston via a rod attached to the piston.
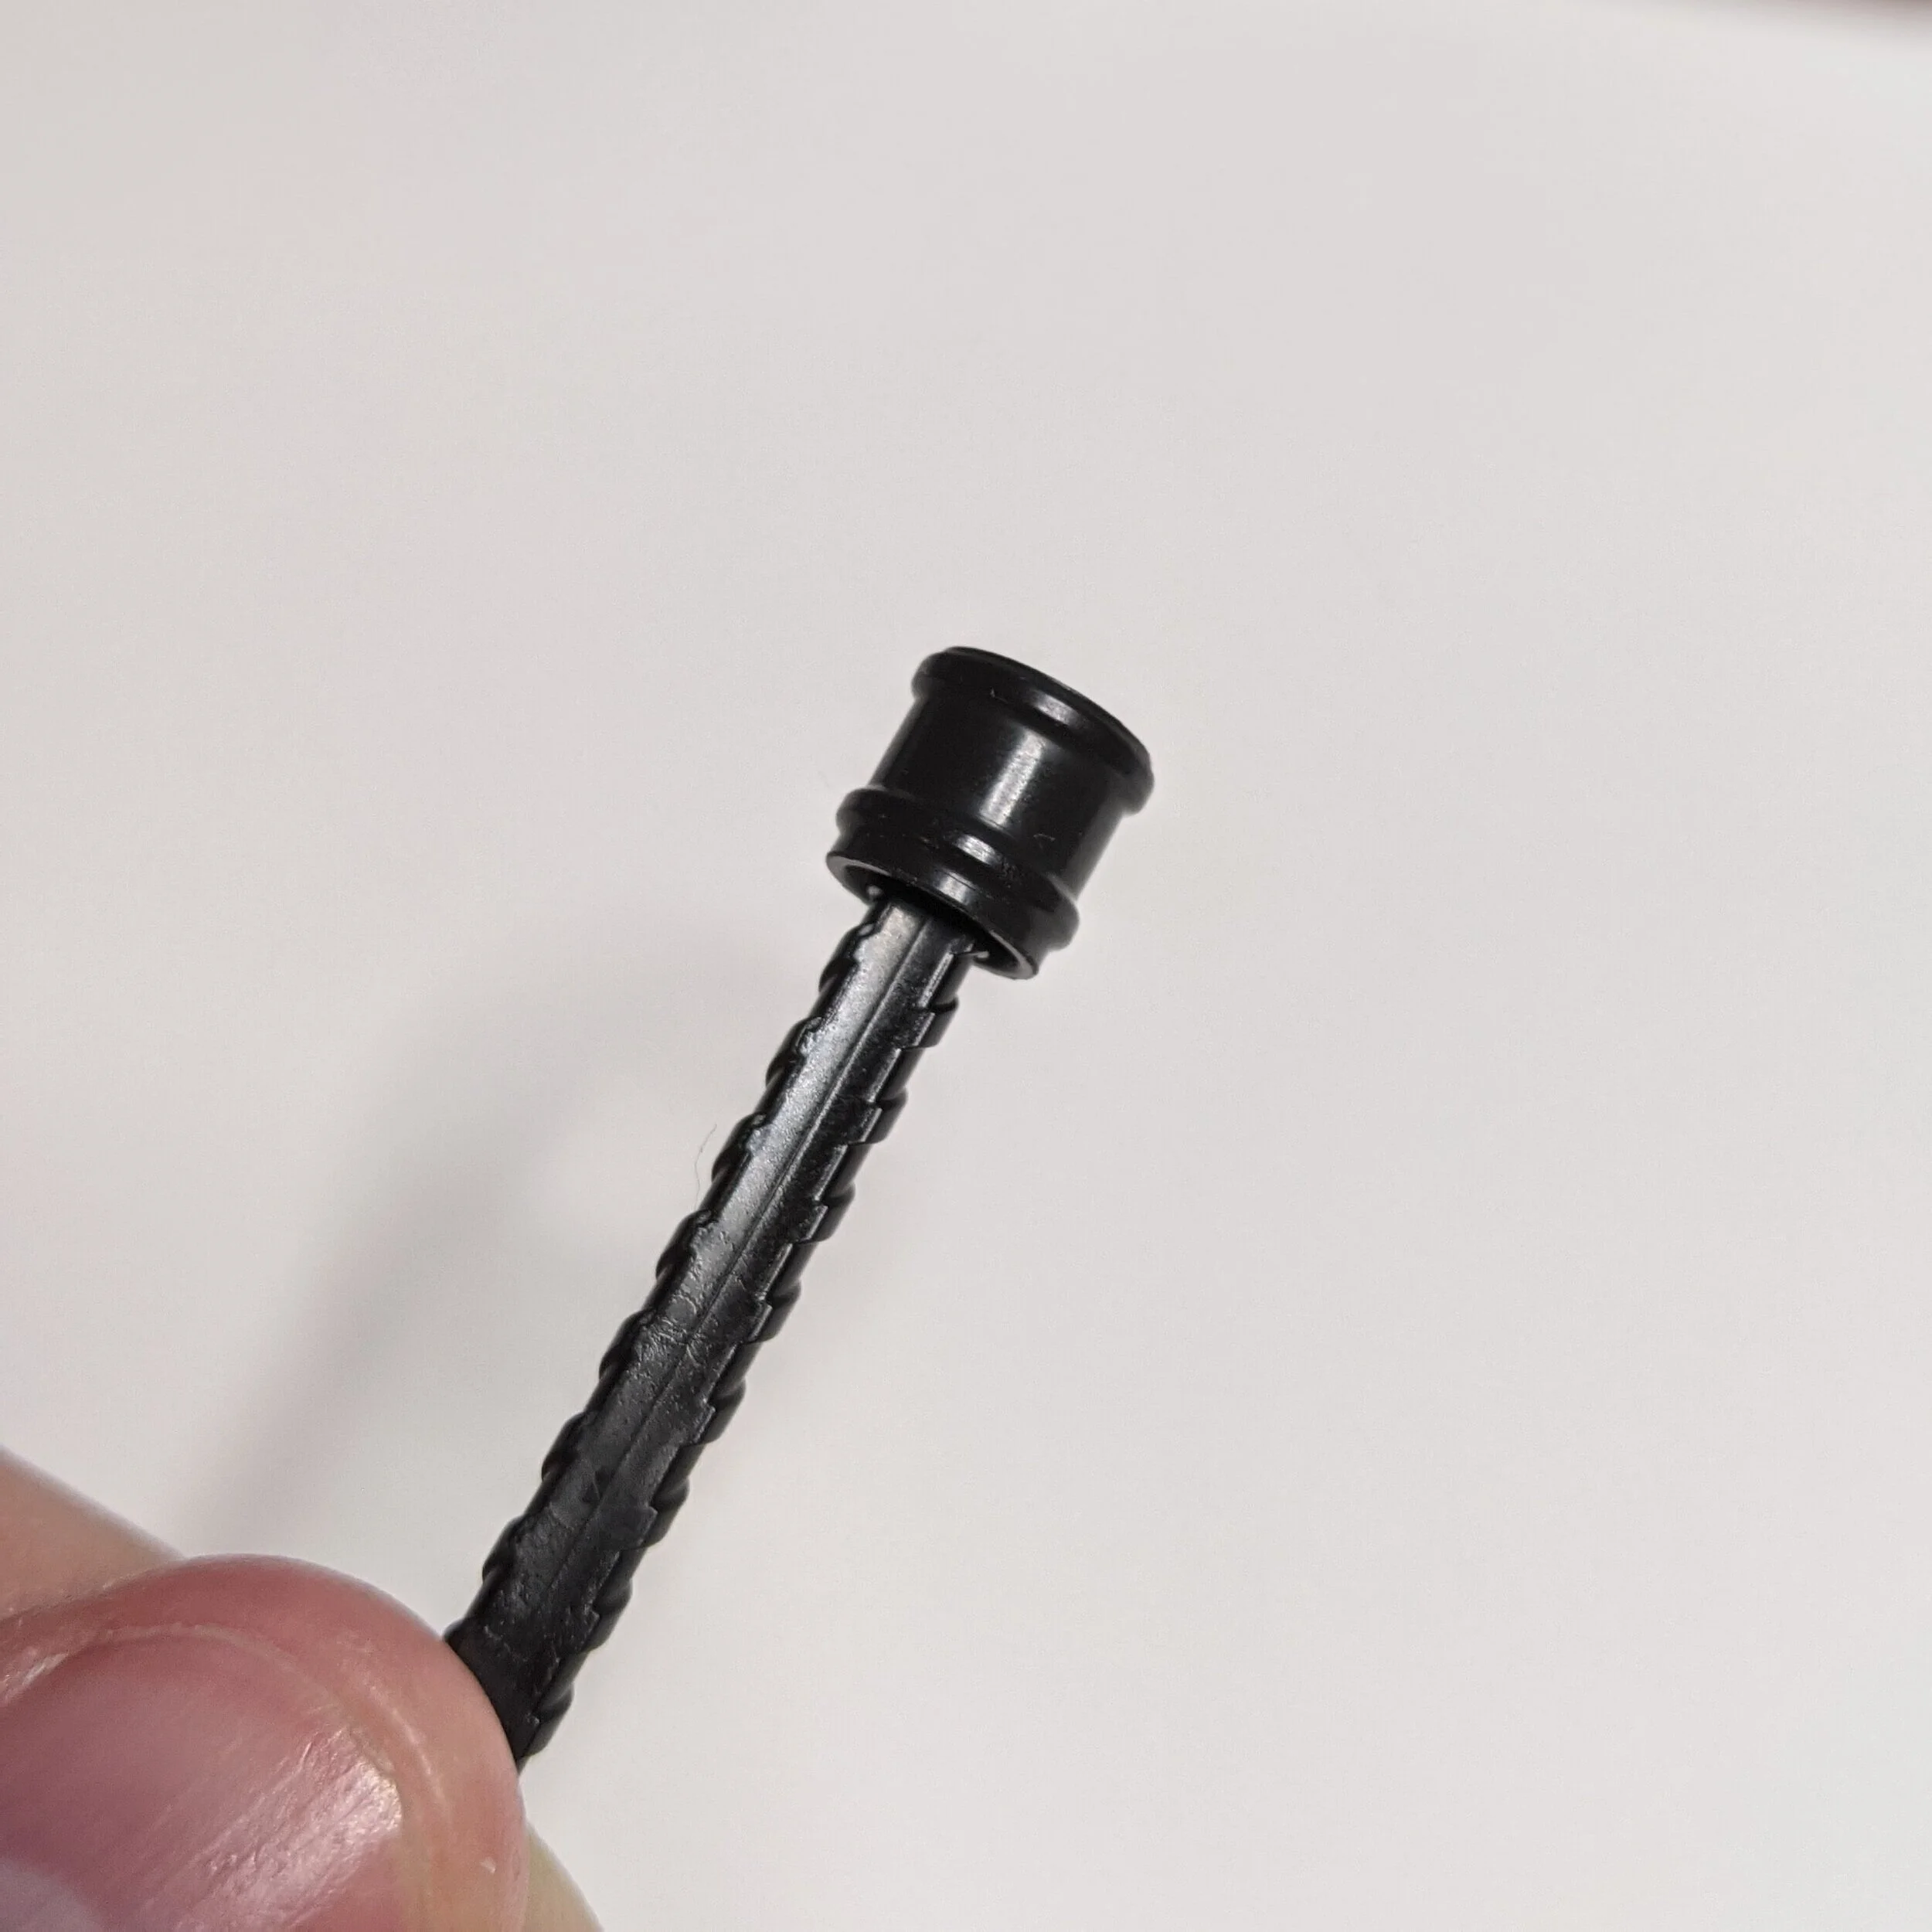
Piston and piston rod
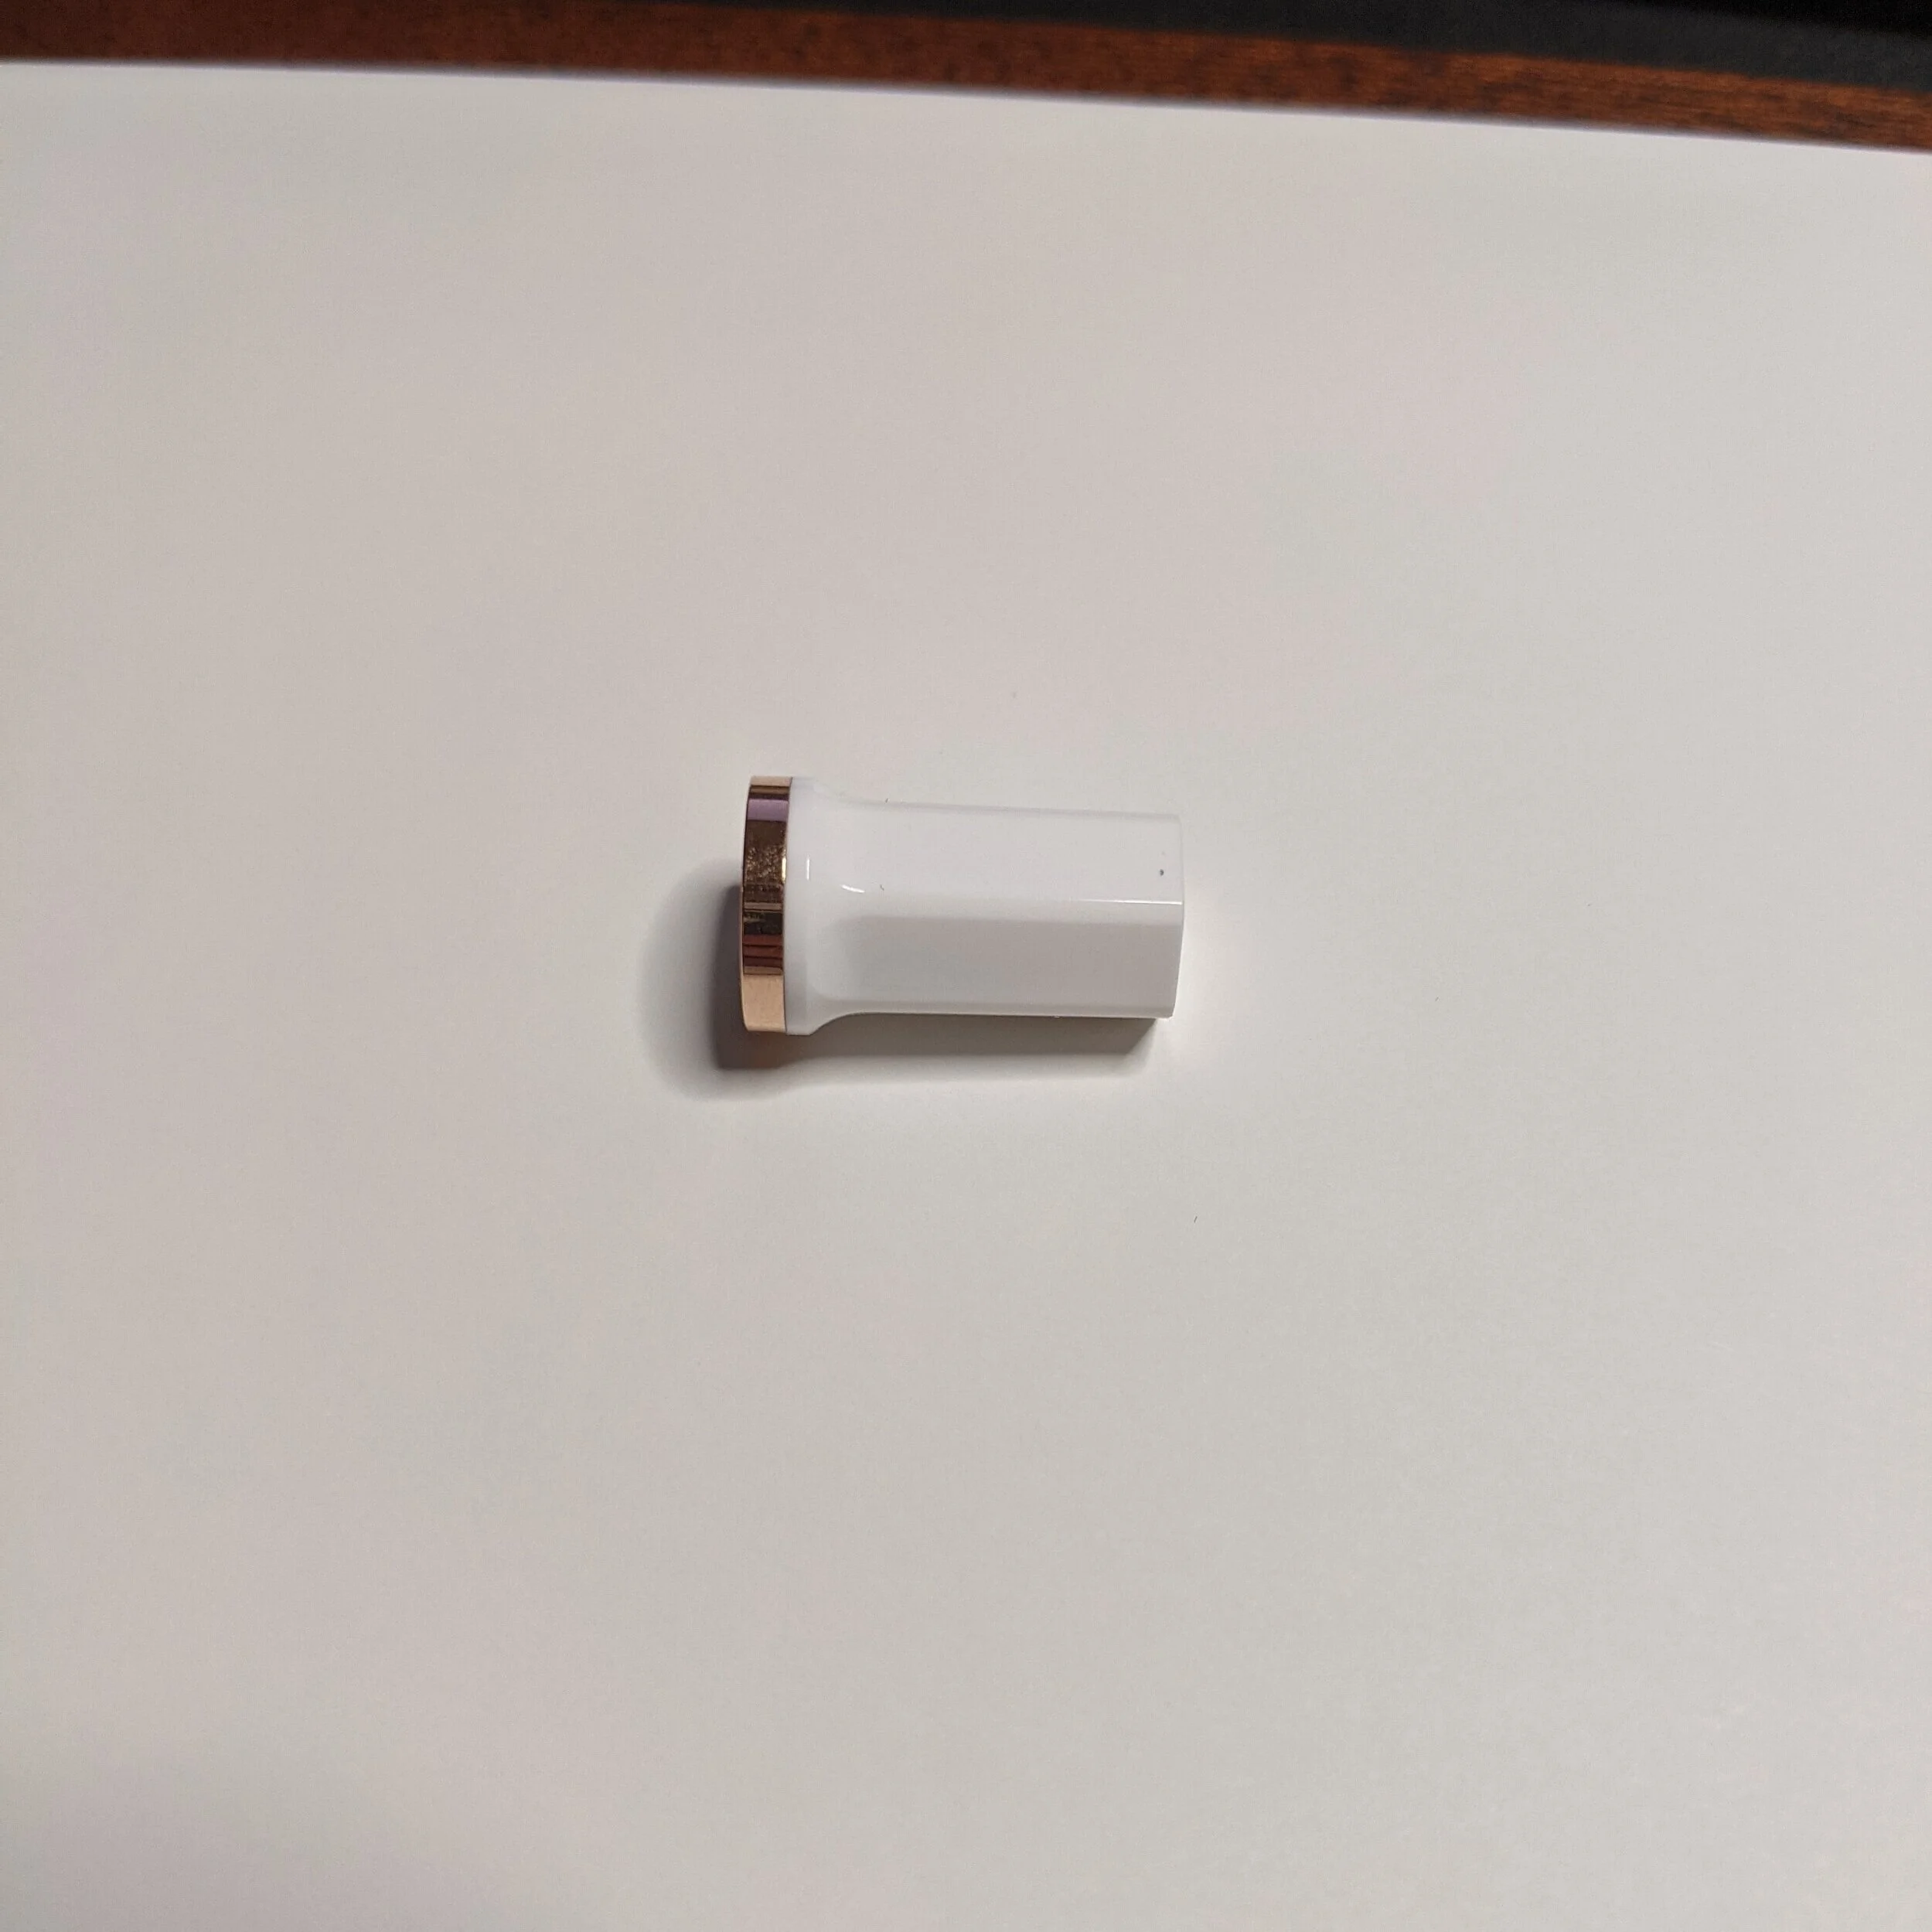
Piston knob
So when thinking about a piston filler you can think of it as having several different problems that you are trying to solve:
How do you make the piston move up and down by only turning?
How do you seal a piston?
How do you secure the piston in the pen?
These three questions are the main questions that I’m seeking to explain with this article.
Act I: Mechanical Translation
How do you turn rotation into translation? This is an age-old question that has been answered in a myriad of different ways. The one that I’m going with is the method that is used in TWSBI pens (and countless others) for their pistons. I’m talking of course about the threads on the piston rod.
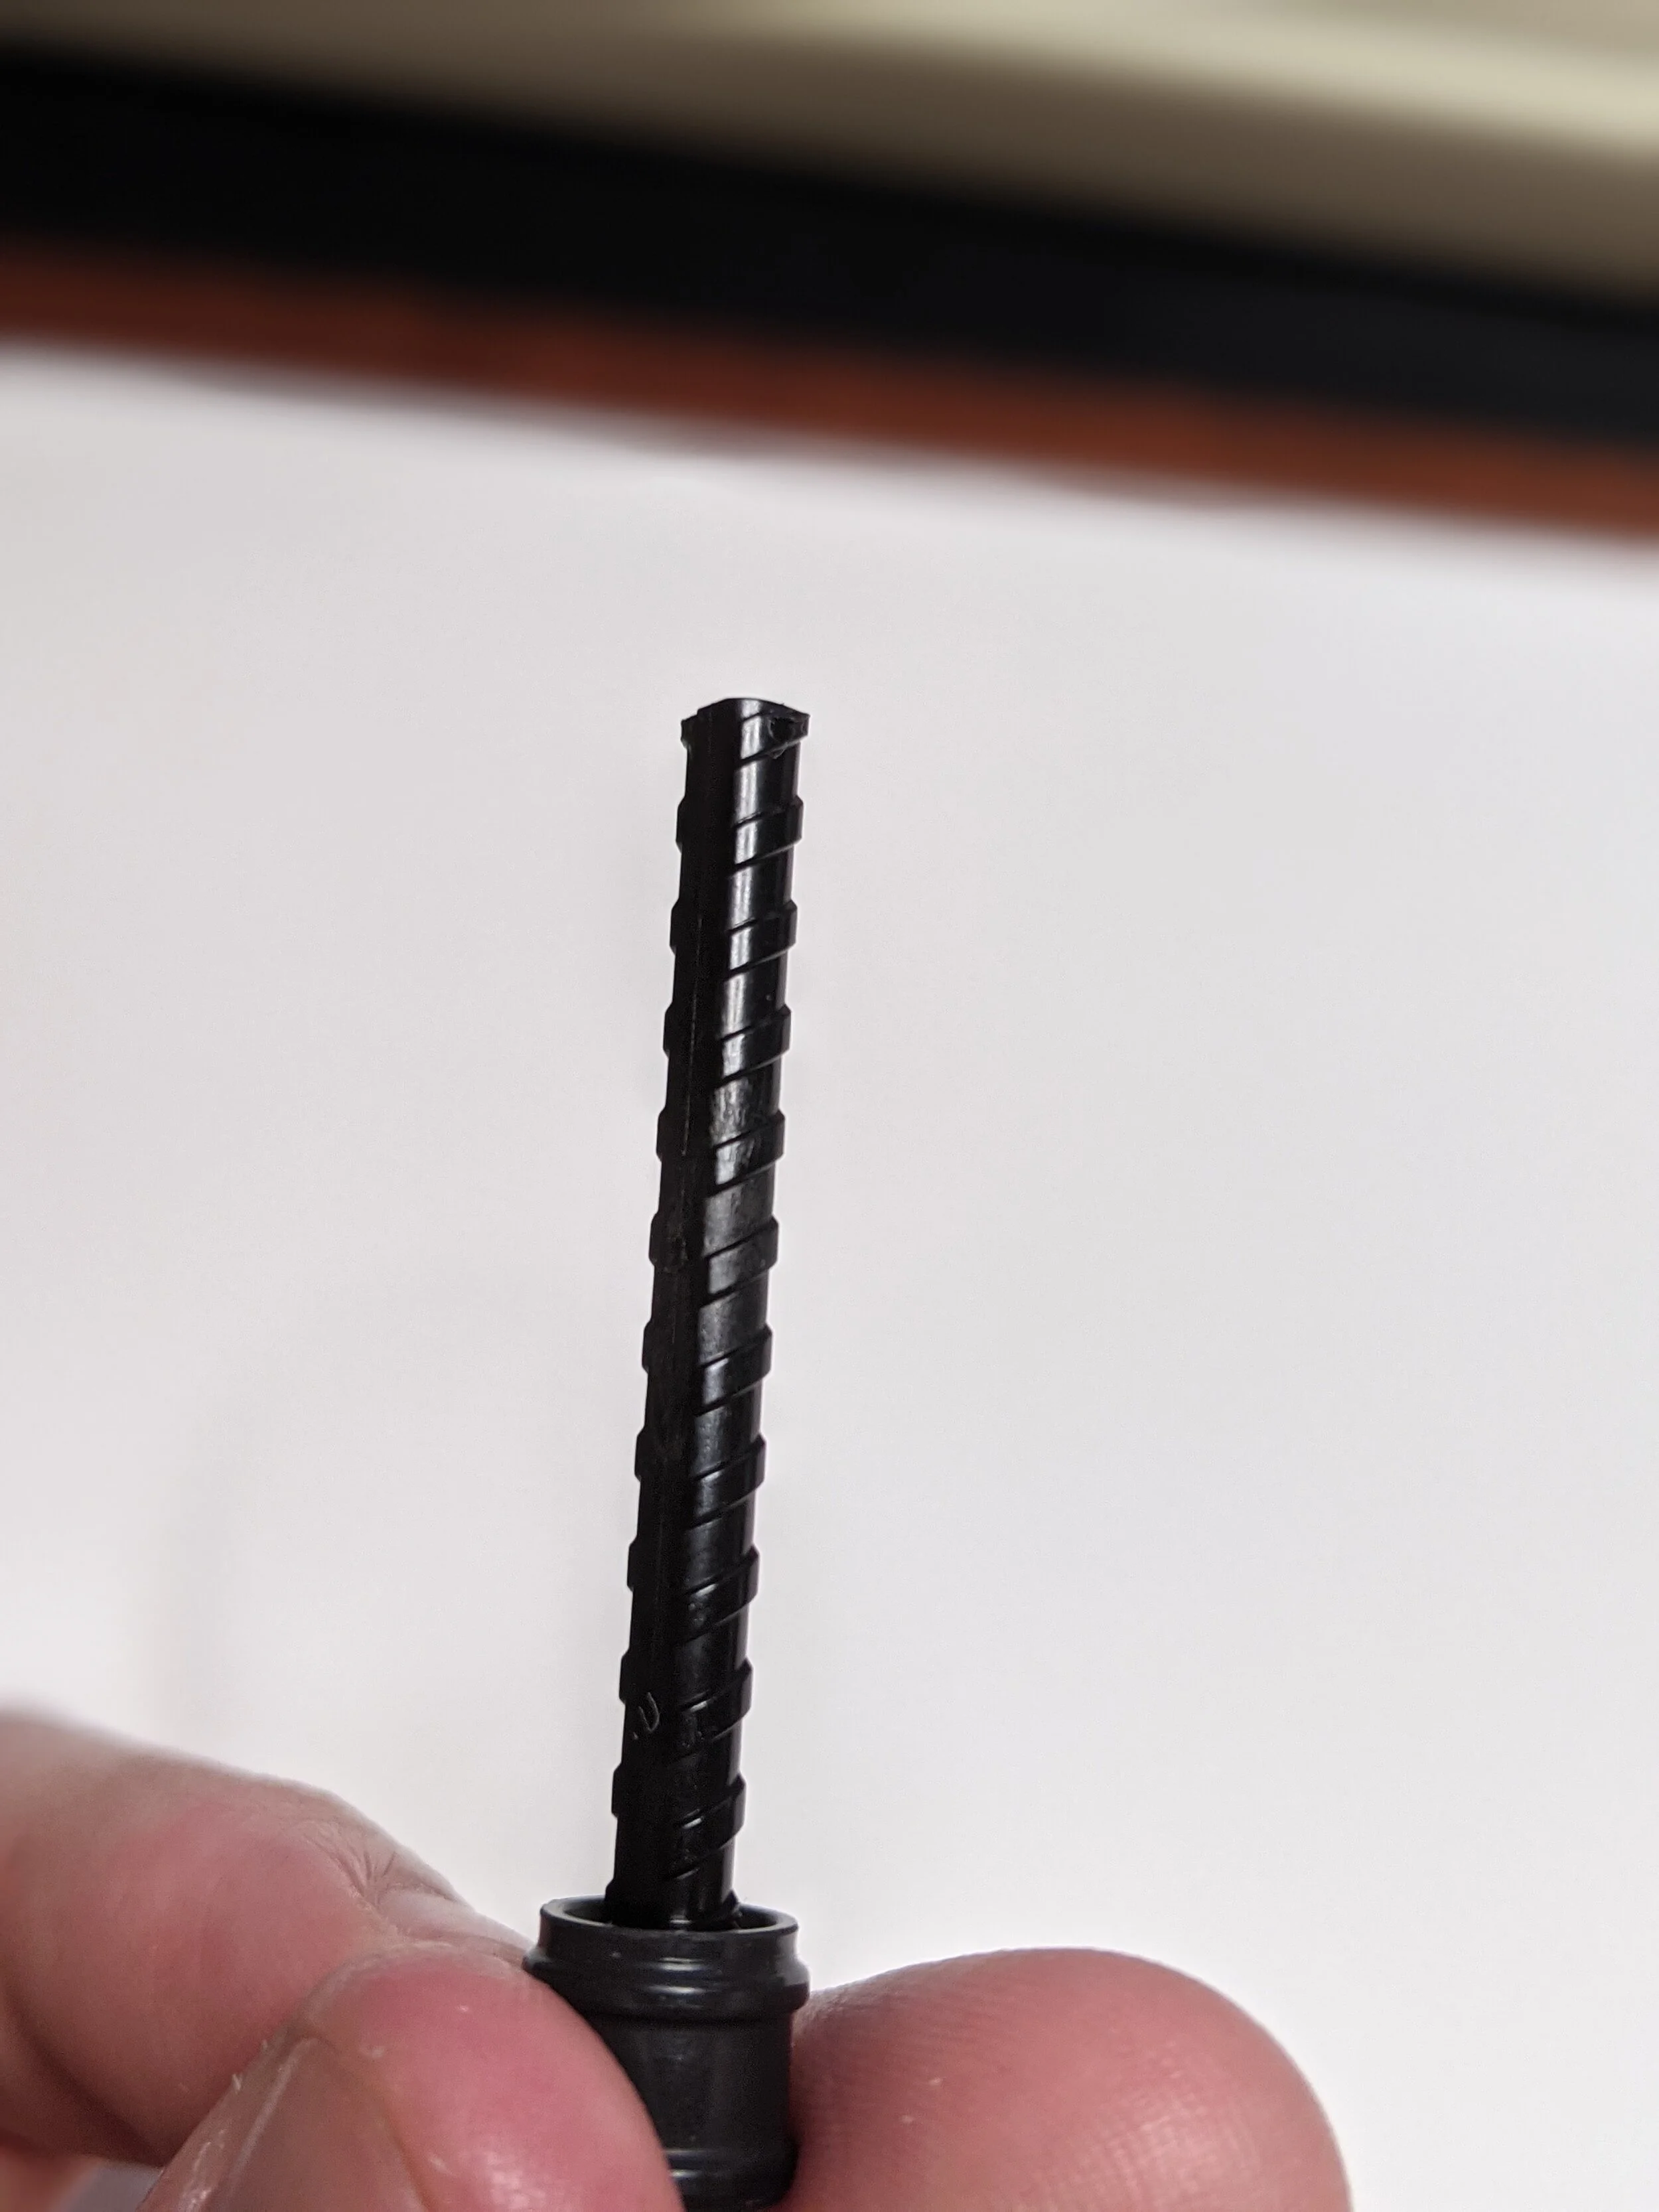
These threads work just like any other that you would find on a bolt screw. They exchange rotational motion into linear (back and forth) motion. So a piston is actually remarkably similar to a nut and bolt. If you think of having the back of the pen as having a threaded nut attached to it and a bolt going through it you would be able to twist the bolt and have it move up and down.
Now threads are a bit of a tricky business and are slightly complicated when you get down into the details. Threads have both a size and a pitch. The size is exactly what you think it is, just the size of the diameter of the threads (partially, but more on that later) and the pitch which is how far apart the threads are spaced.
If you’ve spent enough time around hardware like this you are no doubt familiar with a ¼-20 screw or bolt, it's a very common size to use. To break it down the ¼ is a measure of the diameter of the bolt (¼ of an inch) and the 20 is a measure of the number of threads per inch (aka the pitch). If you were to hold up a ruler to this bolt and measure 1 inch you would be able to count 20 threads along that inch. It also means that you have to turn 20 times to get the screw to move an inch.
For my metric friends pitch works in a slightly different way (as it always seems to). Pitch is measured by the distance between two threads such as 0.5mm. For example, you might have an M3x0.5mm screw which means the diameter is 3mm and 0.5mm between the threads (isn’t this fun already?).
One other thing to establish is that there are two different ways to make screws. One way accounts for 99.99% of the threads that are made and the other is hardly used except for some corner cases. The more common way is right-handed and the less common is left-handed. The simplest way to describe the difference is if you have ever been taught “righty tighty” and “lefty loosy” these are the guidelines for something that has right-hand threads. For those that have never heard of this, it simply means looking from the top of a bolt twisting clockwise will cause the bolt to move forward away from you and tighten the bolt (righty tighty), and turning counter-clockwise will move the bolt backward, towards you, and loosen the bolt (lefty loosey).
Left-hand threads work in completely the opposite way. If you are looking downward at the head of the bolt turning clockwise will move the bolt backward and turning counterclockwise will move the bolt backward. And for those of you who are wondering why I am leaving this proverbial Chekov’s gun on the mantle by explaining left-handed screws? Yes, it will be fired in the third act.
Luckily, for now, our piston requires only good, wholesome, by book right-handed screws. Now what we really want is to make sure that it takes only a few turns to get the piston from the top of the pen to the bottom of the pen. So if you are designing the threads yourself or picking threads that will work with your application, measure the distance that needs to be traveled and how many turns you want to have the piston do to get there. This should get you your pitch by dividing the number of turns by the amount of distance you want to go.
The threads on a TWSBI piston are usually trapezoidal threads and I would recommend this approach because you want relatively large threads and if the threads were triangular as normal threads are you would go all the way through the piston rod.
Act II: Sealing Ceiling
The essential thing to remember is that a piston only works because it is sealed well from one end and not the other. The o-rings (or whatever else has been used to seal the piston) are extremely important and need to be sized correctly for the application you are doing.
You want an O-ring to be able to correctly seal for the amount of pressure that you are going to place on it. Since there is not much pressure that is being placed on the seals in a fountain pen you likely don’t have to size them terribly accurately, but there are some things that you should know.
The first thing is that when you put an o-ring on something and stretch it out the o-ring becomes slightly thinner and this can mess with how well it seals. These are all part of some reasonably complicated tables that you can look up. In a future article, I’ll be sizing some o-rings for my planned 3776 retrofitting and make this a little concrete.
Another thing that you have to take into account is that some o-rings will actually become slightly larger as they take in lubricant. The amount the seals swell is also important as you can have something that works just fine but later it becomes too tight to move or might even crack the barrel if it is fragile.
The fact that TWSBI usually goes with two o-rings on the piston instead of one is likely due to stability. The two points of contact are much more stable than one and make sure there is no rocking.
Act III: Flats
One of the things you notice about the TWSBI piston rod is that two of the sides are flat. Its not just an aesthetic choice. Those flats are necessary for the movement of the piston. There is a separate piece that is the heart of how the piston moves. It interfaces with these flats and allows the piston to actually move up and down.
If you have ever tried to tighten a bolt through something with a nut on the other end only to have it continually turn and not tighten then you have run into this problem. The solution is that you need to get two wrenches, one to hold it still and one to do the turning. The turning is done by your hand on the piston knob but what is holding the whole thing still? Its this piece:
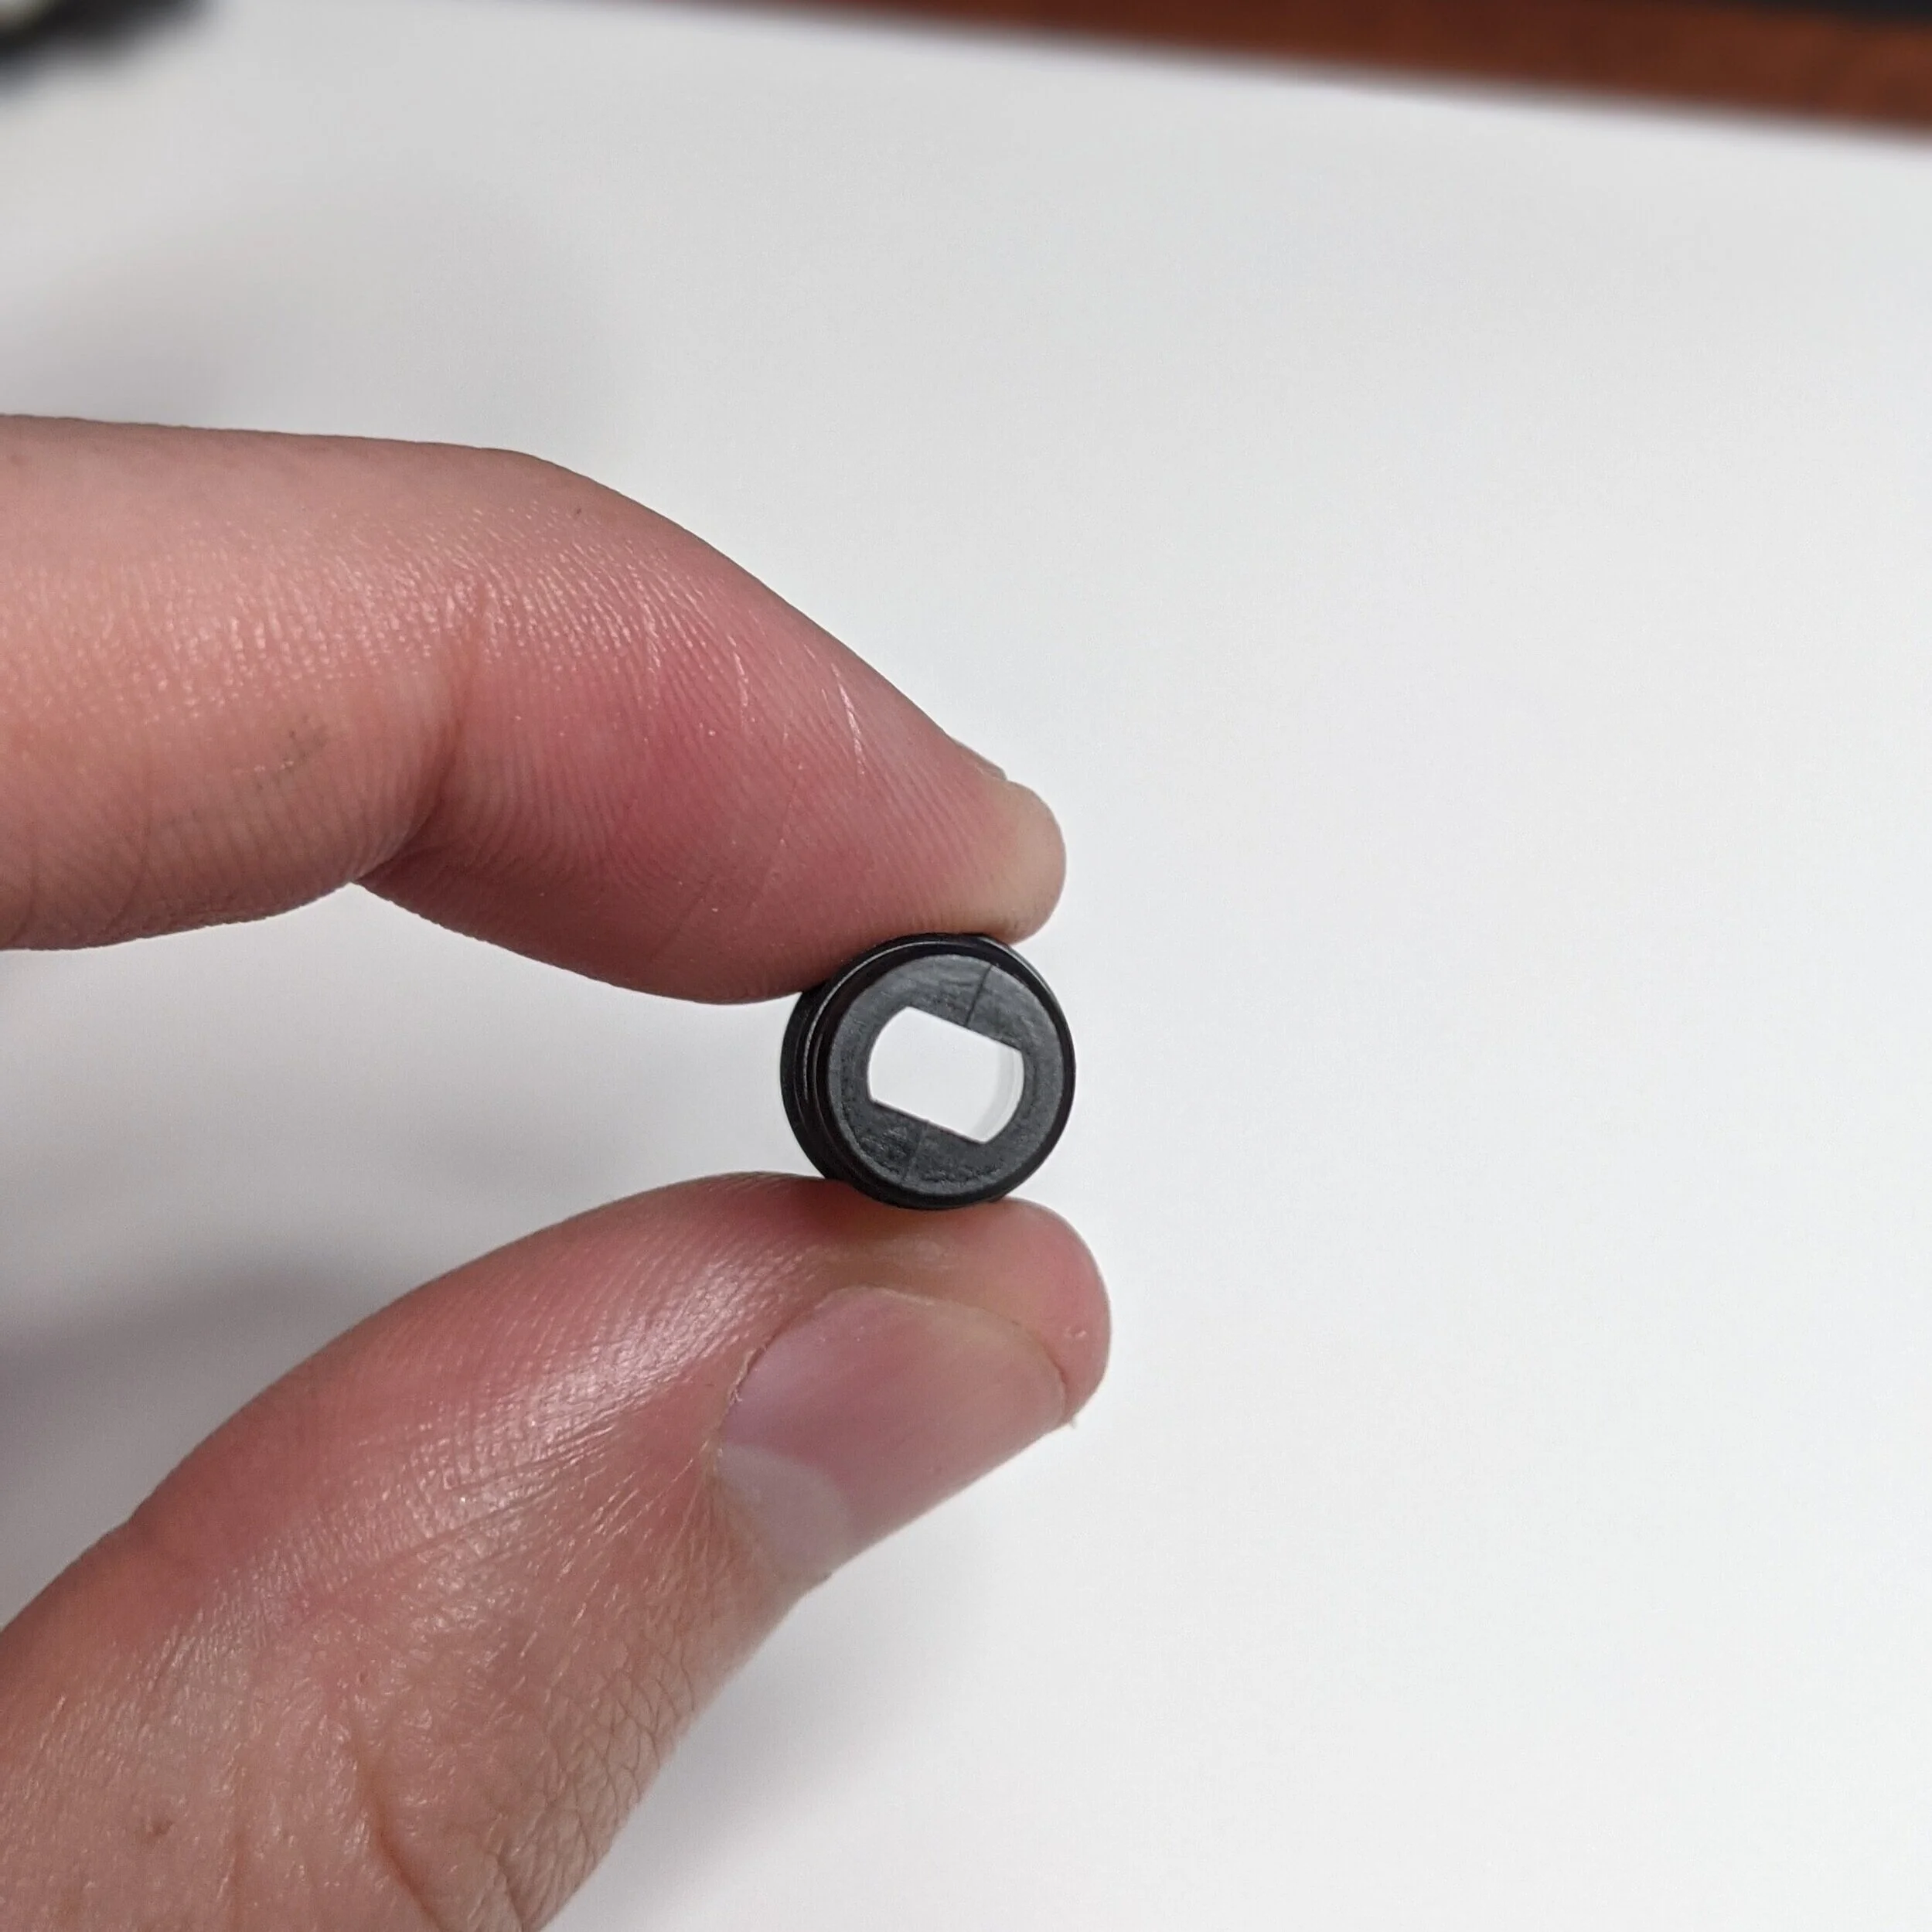
It is held in there and can’t move and makes sure the piston rod cannot turn. It is like that wrench you use to hold the nut while you twist the bolt to tighten it. Without this piece, you could not have a piston.
There is one other thing that is special about this piece and it has to do with the way that it is held in the piston. As you can see threads are what hold them in, but doesn’t that seem a bit dangerous to you? What happens if you are unscrewing the piston knob but the whole thing comes out of the back and now you're holding the entire piston system in your hand with ink leaking everywhere?
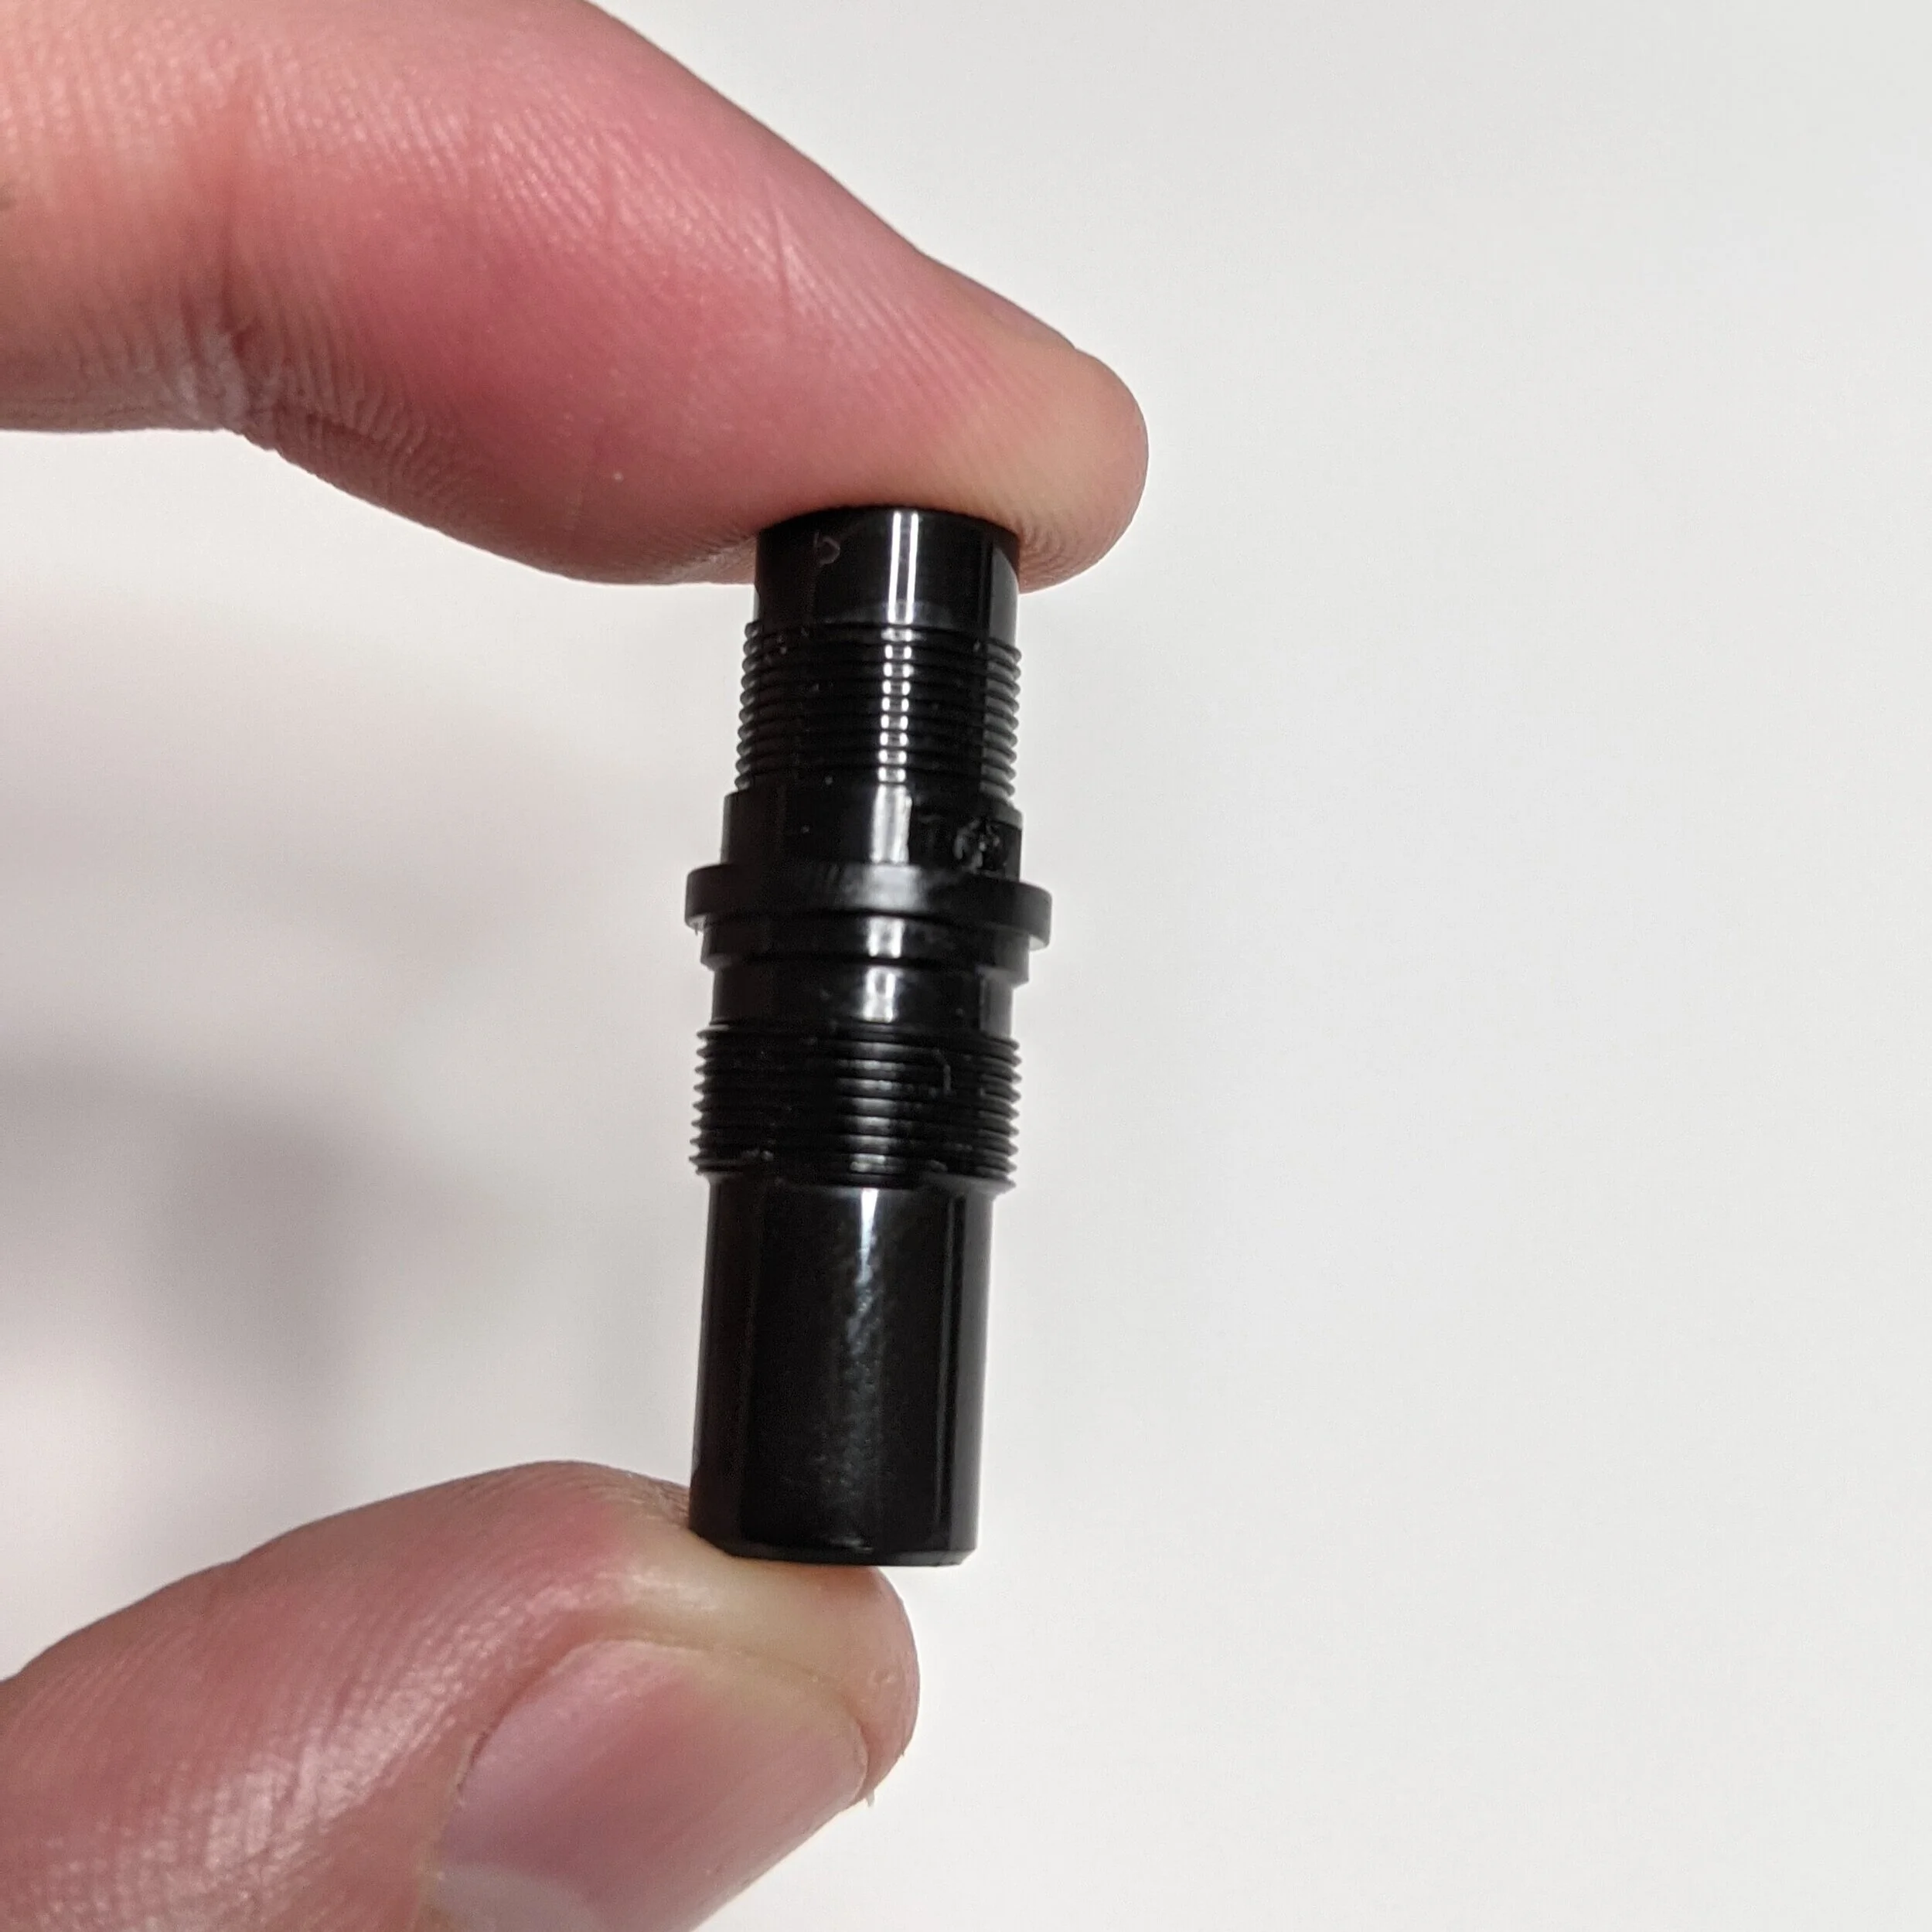
One set of threads is right-handed and the other is left handed.
The astute reader may have realized that we’ve come to the third act and so the left-handed threads are back. This is the beauty of left-handed threads, they are not loosened when you have something else with right-hand threads spinning next to them. They remain tight and in place because they operate exactly opposite of the right-handed threads. While you open up the piston knob you are actually tightening those left-handed threads and so you will never accidentally open the back of your pen when you are unscrewing your piston as long as you have set up left-handed threads.
Epilogue: A Short Article
It’s a bit shorter than I would have wanted this article to be but the long version would have been incredibly long so I figured this one would just be an introduction and I would break out into smaller subjects for more in-depth calculations and the like. Next week I’ll be going into 3D printing feeds and just general from scratch feed design so you can make your own if you would like.
As always I really hope that you enjoyed this week's article and I look forward to getting back into the swing of things. If you liked this article and want to see more you can follow me on Instagram @minabeko_ or on Reddit u/minabeko. If you want to support me in doing cool fountain pen stuff you can become a Patron at my Patreon. Thanks!
-Minabeko