3D Printed: Nib Unit Primer
Ever since I got my first Visconti I wanted to try and make nib swaps into it using the Visconti nib unit system. The only problem was that there was no one out there selling exactly what I was looking for. I wanted something that could fit into a Visconti and have a Pilot or a Platinum nib (I’m partial to the Japanese nib manufacturers). The only person doing something even close to this is Flexible Nib Factory who makes truly amazingly well-finished products. But he does not currently make a Visconti nib unit system so I decided that I should set out on my own.
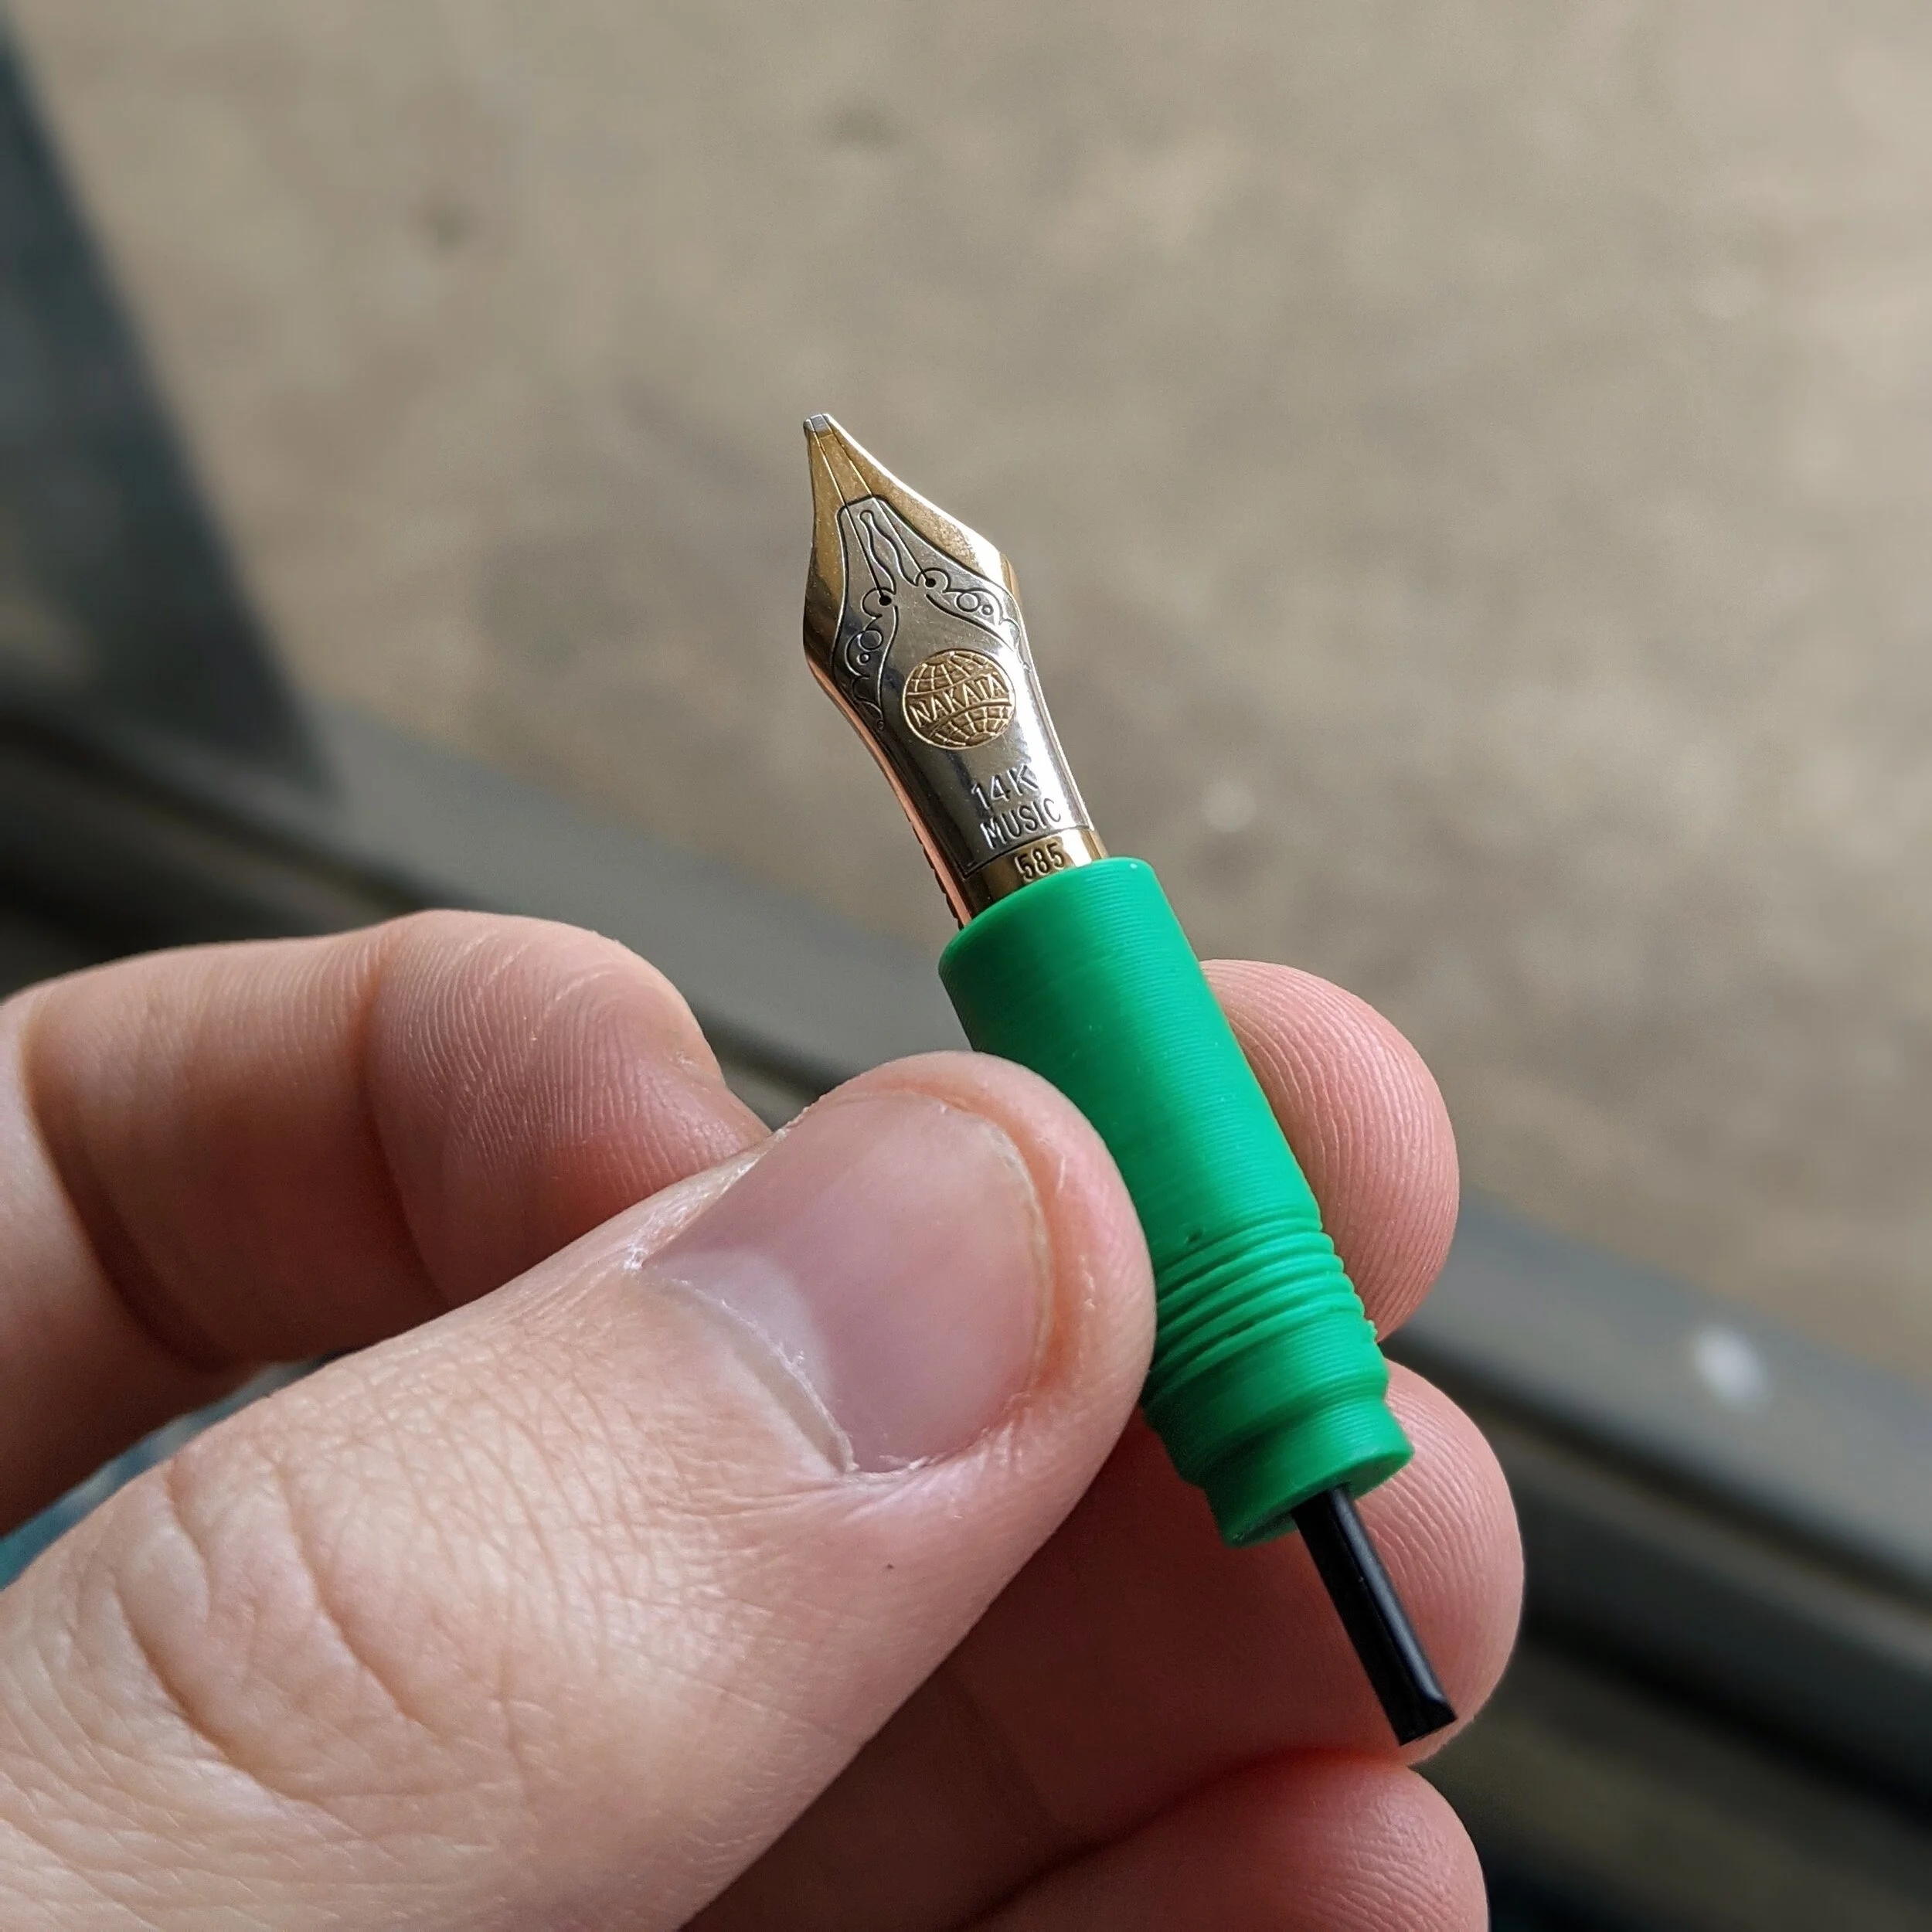
End product with a Nayaka nib because it looks nice lol
Absolute Units:
There are several aspects of these nib units that need to be addressed to make them:
Measurement
Fits
Threading
I’m going to tackle each of them to show how the execution of each is important to the creation of a nib unit. There are some materials that would be very useful when making a nib unit. I wouldn’t recommend doing this without a pair of calipers for measurement. They are fairly cheap, about $25 as of the writing of this, and well worth it though the cheaper versions are not as accurate, they make it seem as though they are. If you want to get the expensive versions I would recommend Mitutoyo calipers for measurement. They are industry standard for any engineer or machinist.
Measurement for scale:
It doesn’t matter how good your calipers are if you are taking the wrong/inaccurate measurements. Honestly, it's a lot harder than it sounds especially when you are trying to put something together that fits. Getting parts to fit together can be a challenge even when you do have a lot of control over the creation of all of the parts. I’ll use the Platinum nib and feed as the example as that is what I ended up using for the Visconti nib unit. Here there are several critical dimensions to getting right for the part to fit together.
The most critical is outside of the nib and feed together to try and get the inner diameter of the nib unit. This is the friction fit that holds the nib in the nib unit. It is what partially restricts ink flow by reducing the airflow. So it is critical to get this measurement right. To use the calipers correctly if you’ve never used them before it is important to know what parts of the calipers you should be using.
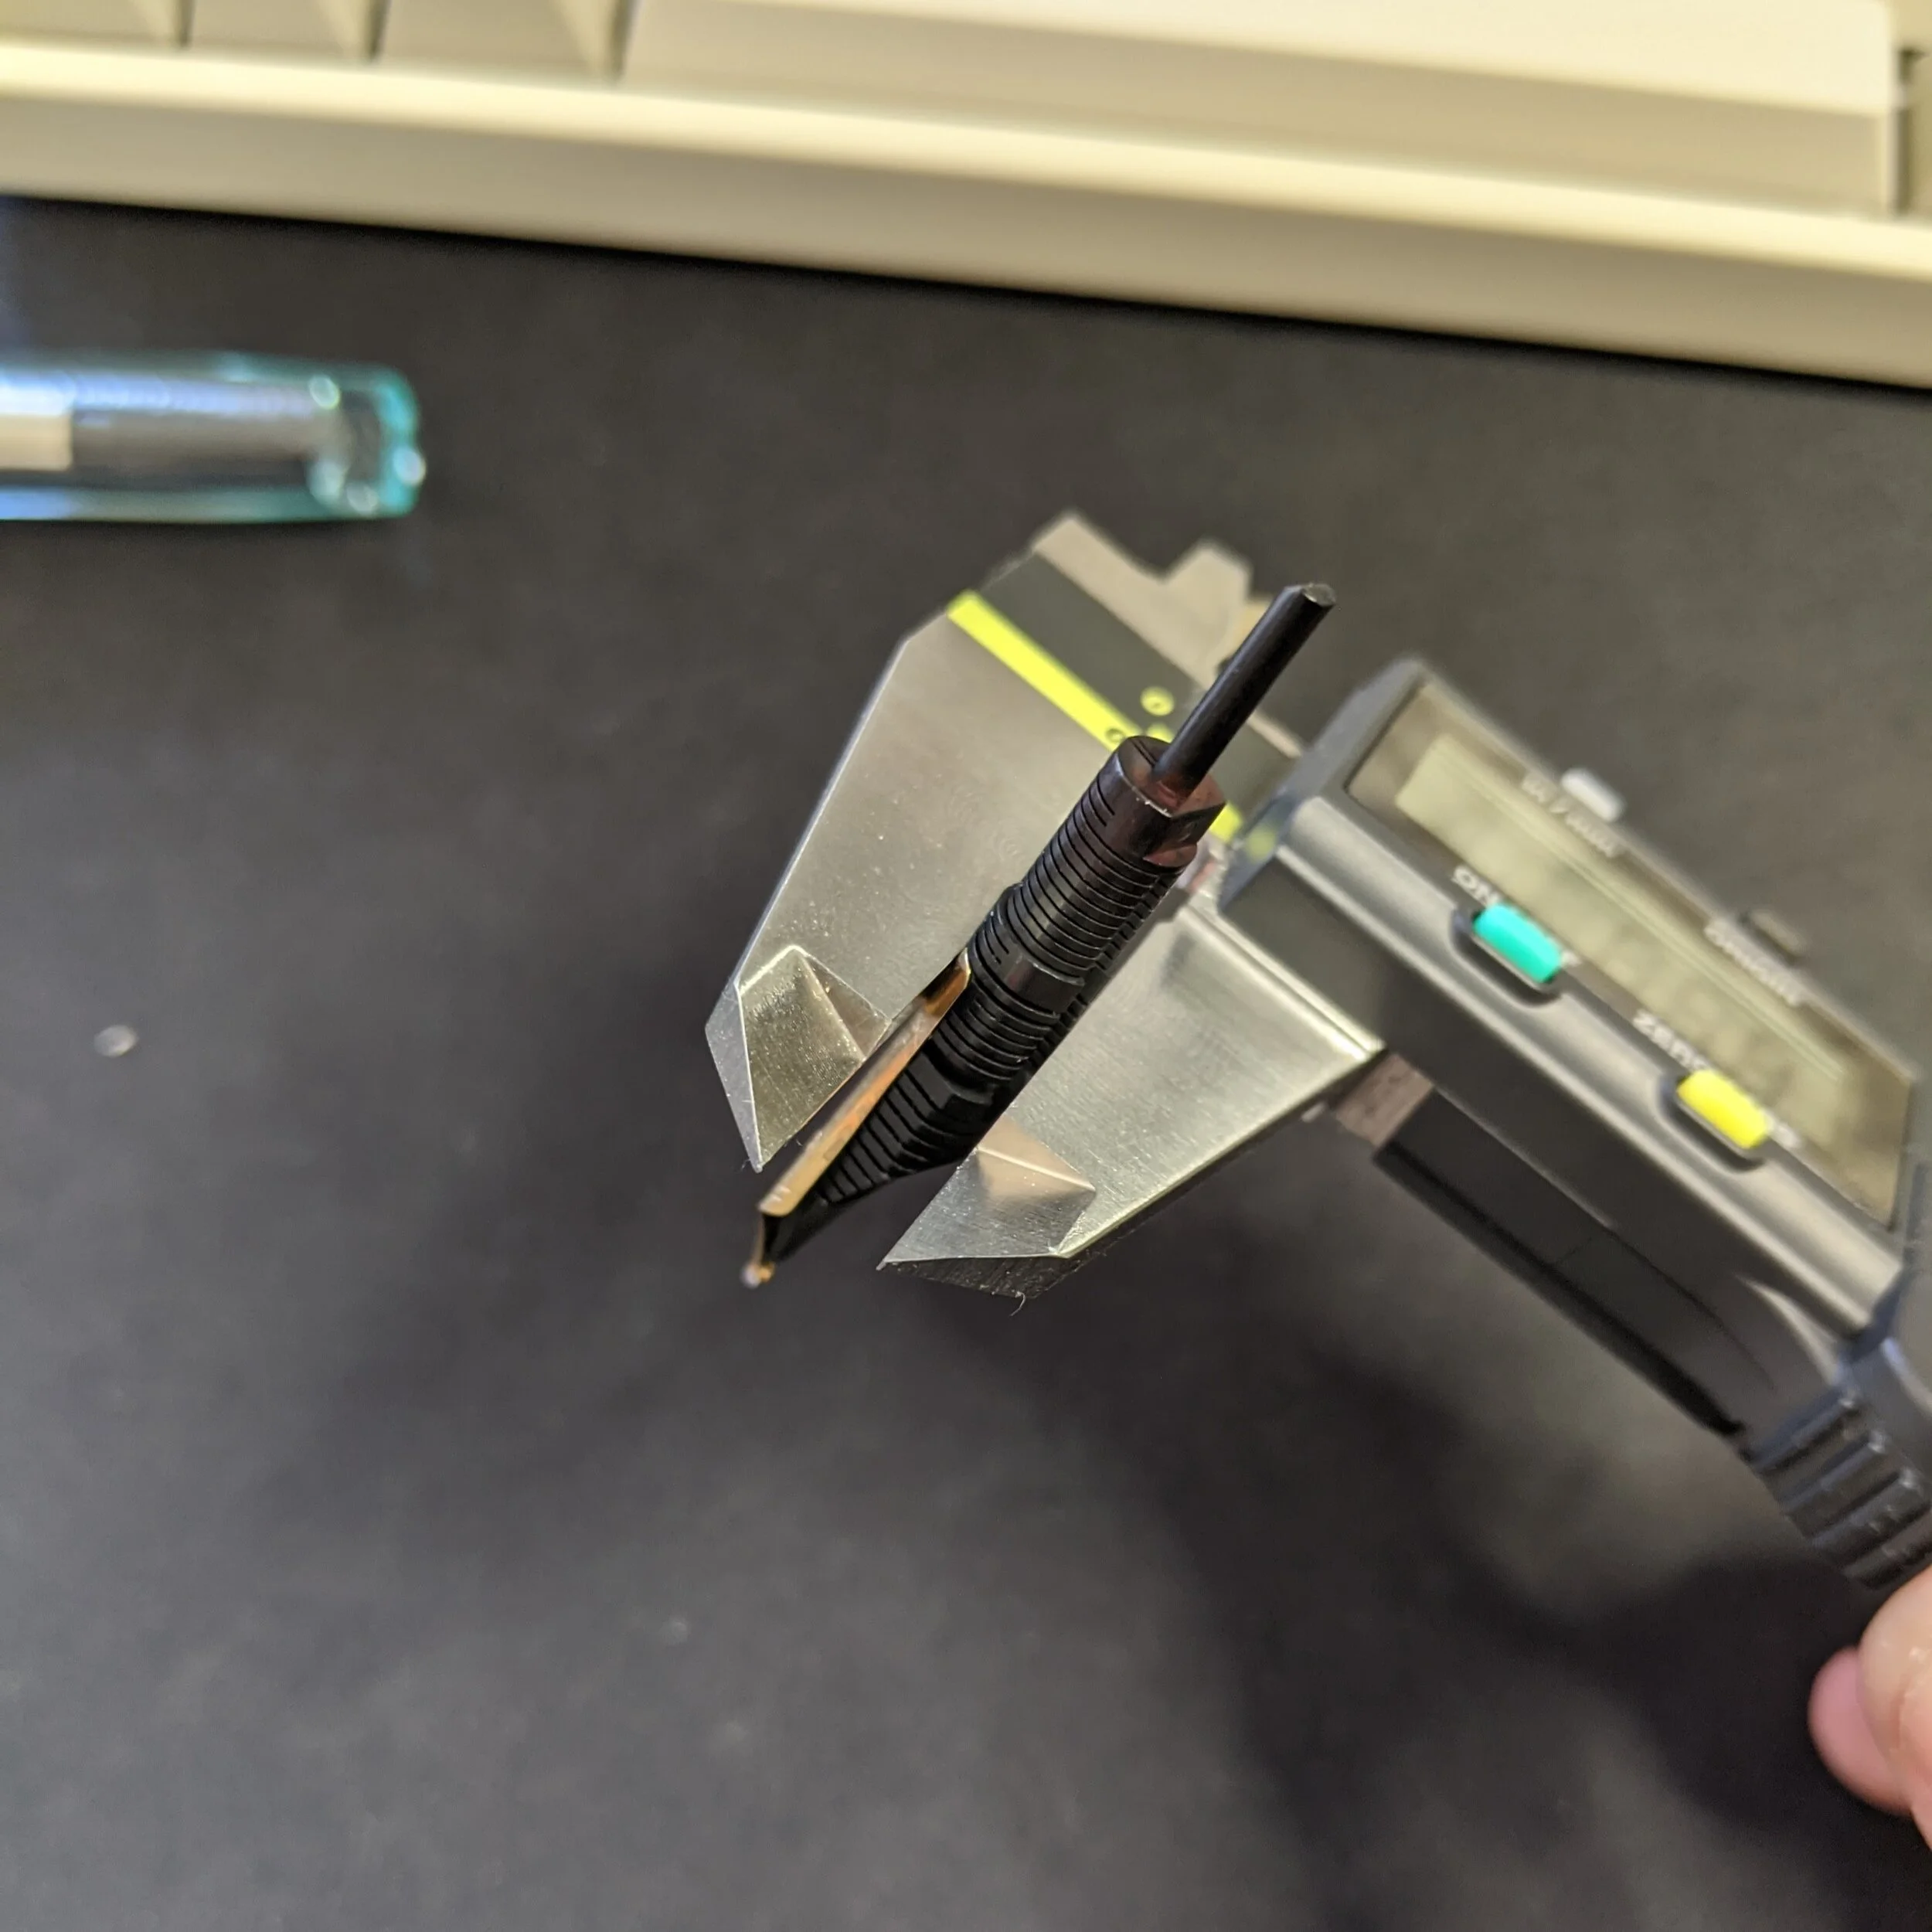
This is the correct way to make this measurement and should give you accurate dimensions.
You want to be using the main large flats of the caliper. People tend to use the very front thinner parts. The reason that this isn’t desirable is the more that you tilt the calipers the worse the measurement will be. The calipers are designed to show the distance between those two flats, but if you tilt the calipers even slightly you could go onto one of the corners of those flats giving you the wrong measurement.
It's important to remember that with any fit like this that the tolerances you are looking for are extremely small. This would be on the order of around 0.001 inches or .025mm. There will be some differences along the length of the feed as there is some variation in injection molded parts on this order. Just take the average and don’t sweat it too much you will have to change this measurement after printing anyways.
The other measurements are not as critical and can be done with fine increment rulers or with your calipers. Having a model of the nib unit is important as well to make sure that you have the correct sizing and placement of all of the features. I recommend trying to imagine each of the features of the nib unit as its own geometric shape. Don’t be afraid to sketch it out and write down the measurements. I said at the nib unit was a series of cylinders with a length and diameter with a few holes in it also with lengths and diameters.
This type of thinking will make it a lot easier to CAD (computer-aided design, think 3D modeling like Fusion 360) the nib unit of your choosing. I won’t go into the details of how to CAD as that is more like a skill you develop by practice, but if there is interest I can give some pointers on how to do CAD for fountain pen stuff on free software.
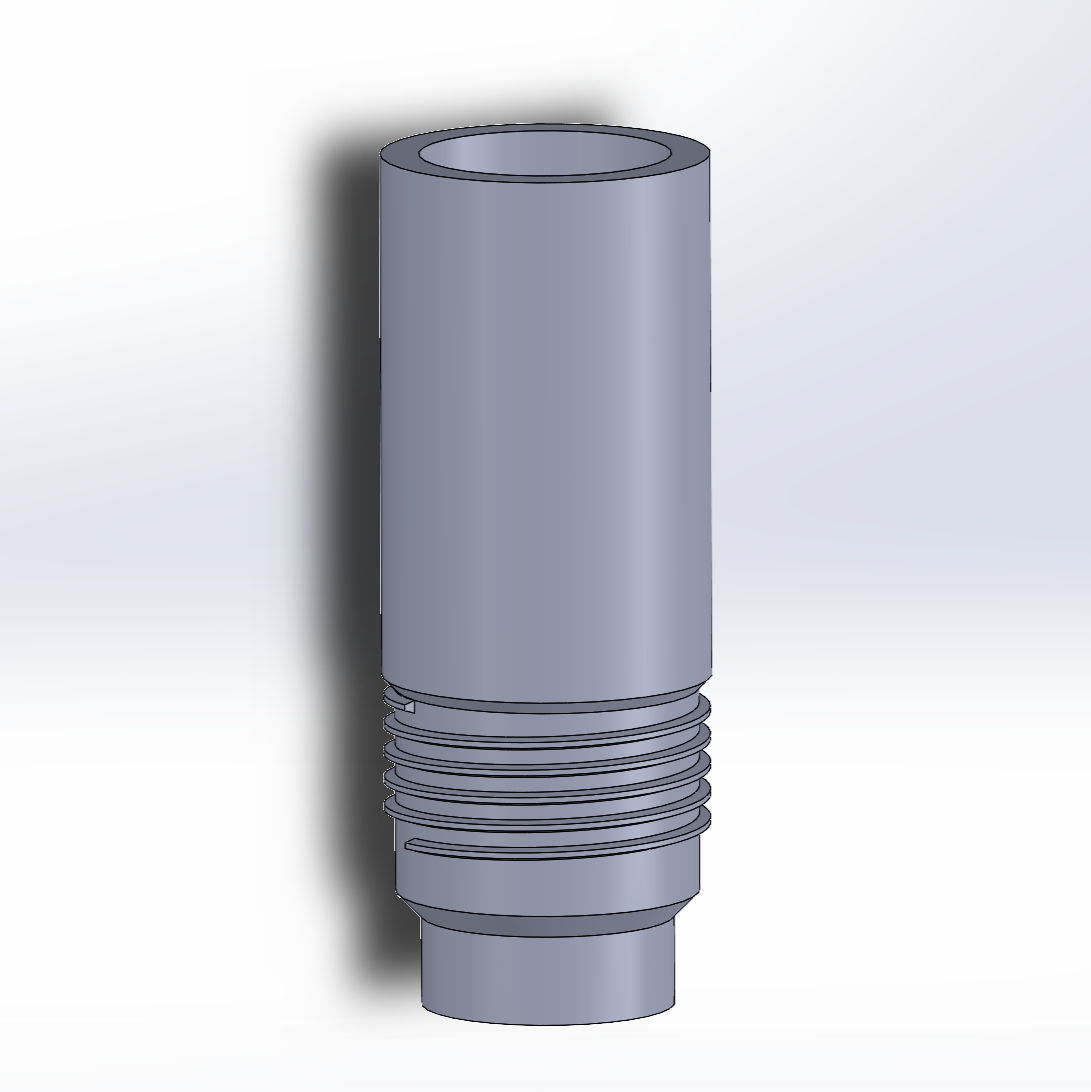
This is an example of the Visconti nib unit in CAD
*Note: Be careful with your calipers, once those inner flats are damaged they become unreliable. A dropped set of calipers are a paperweight. Take care of them and they will take care of you.
Fits and Starts:
I talked about fits just now, but they are almost an entire field of study all by themselves. A friction fit is what is also called an interference/transition fit. It is when you place a rod into a hole but the rod is slightly larger than or the same size as the hole. This leads to the rod (in this case the feed) being compressed and the hole is slightly expanded. This leads to an amount of force being applied between the two.
The greater the force from this fit the greater the friction and the harder it will be to remove. It is similar to how the heavier something is the harder it is to slide across the floor. There are entire standards and long tables built around how to size these holes and shafts. There is a major difference between something that has a .001 inch overlap and no overlap at all. Depending on the material that can give you the type of fit you are looking for and something that cannot ever be removed.
I have just been shooting for the feed and the inner diameter of the nib unit to be exactly the same size. Having interference can create problems when you try and remove the nib unit and too much clearance can be a problem as well. So shooting for zero overlap is a good bet and you can adjust to what you prefer. Just a warning that you can accidentally create a fit that is too tight and be able to put the nib in and not be able to get it out.
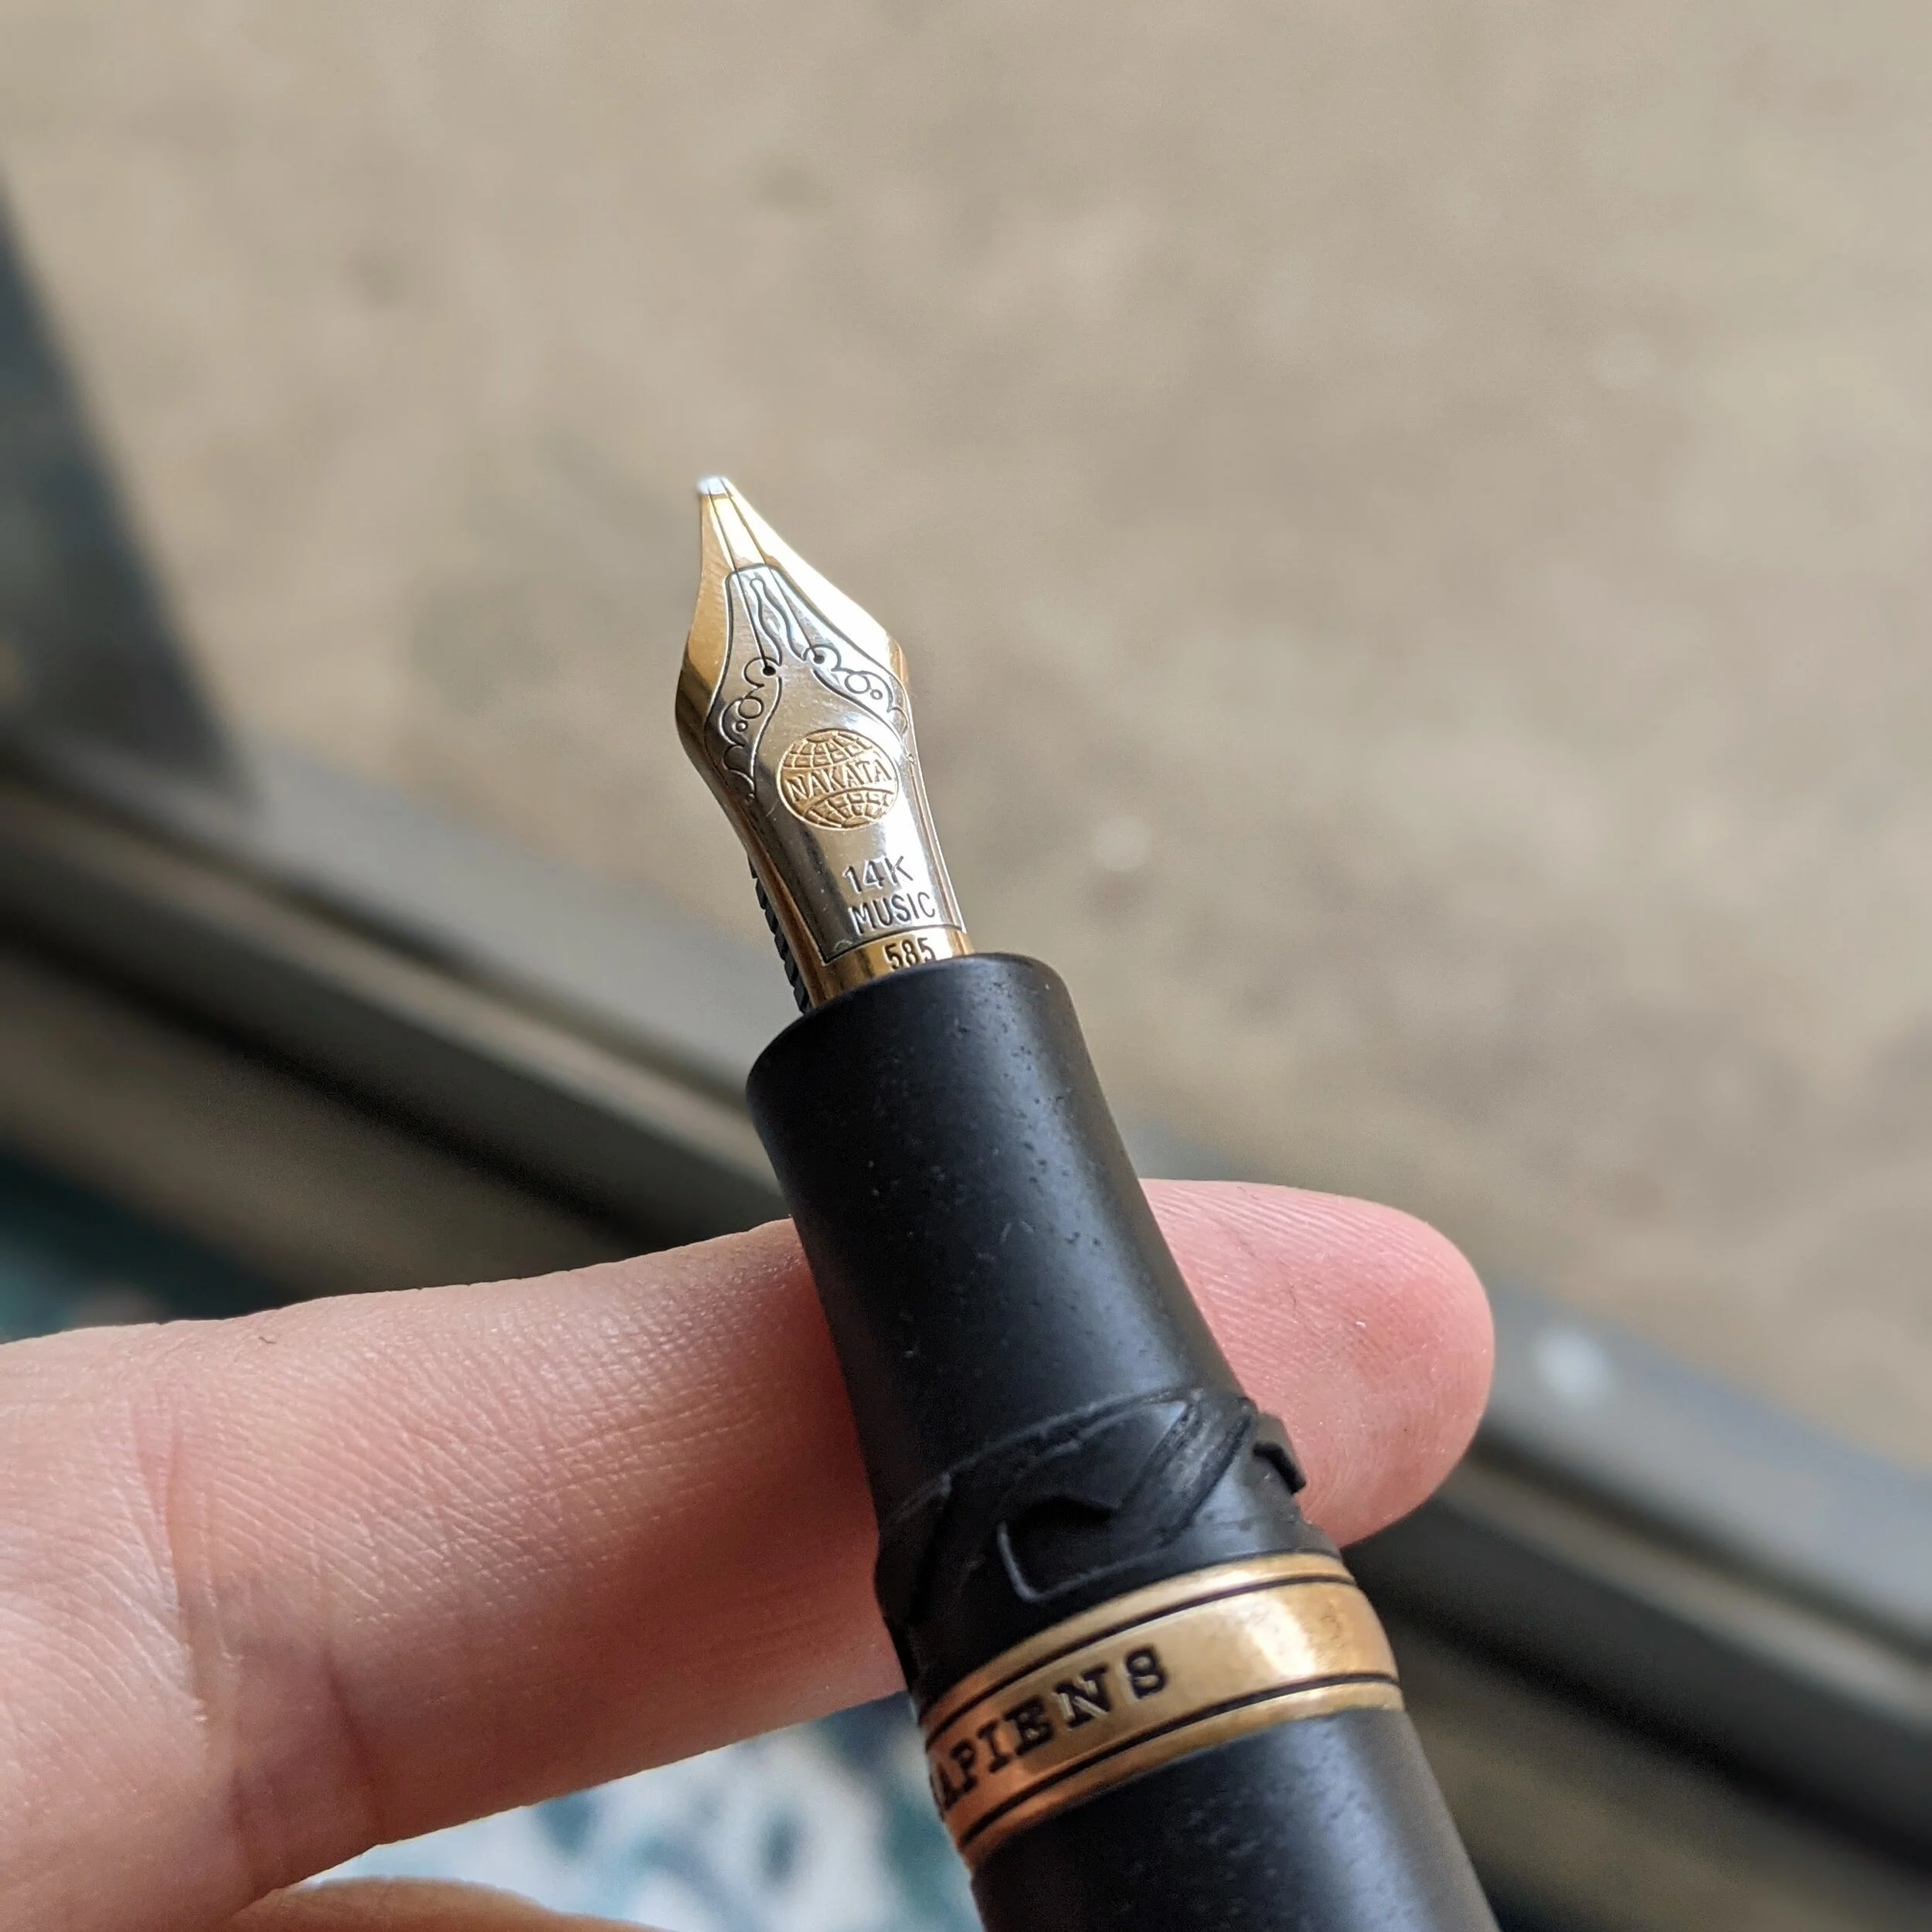
Eye candy to keep it interesting
If you are 3D printing these nib units you might be thinking How am I supposed to get a fit that is that precise with a 3D printer? To that I would say that today we are not engineers or machinists, we are pen makers. We don't have tools to be that accurate so we are going to do what they won’t. We’re going to cheat.
While a 3D printer is not precise, it cannot make exact measurements in parts, it is accurate. So what does that mean? It means that even though it might not be able to do exactly what we want it can do the wrong thing over and over in exactly the same way. The fact that a 3D printer can make repeatable results is one of its greatest strengths. If we know that the hole we are making is just a little too small then we can adjust the models and make it slightly larger and it will change by something close to that amount.
For example, say that we are printing a nib unit and we try it out, and even though we were super careful about the measurement and we made the nib unit with just the perfect amount of overlap. We go to test it out, but it doesn't fit. It's too loose and the nib unit just falls out. So what do we do? Just make the hole slightly smaller and try again, the real trick is to use the right increments. How much smaller should you make the hole? You don't want to overshoot and then have something that doesn’t fit at all and ping pong back and forth between too large and too small. Go by increments of around .001-.005 inches or .025mm-.125mm. This is about the scale you are looking to play around with. .005 inches is a lot more than you think so just play around with the fits a little and you should find the sweet spot.
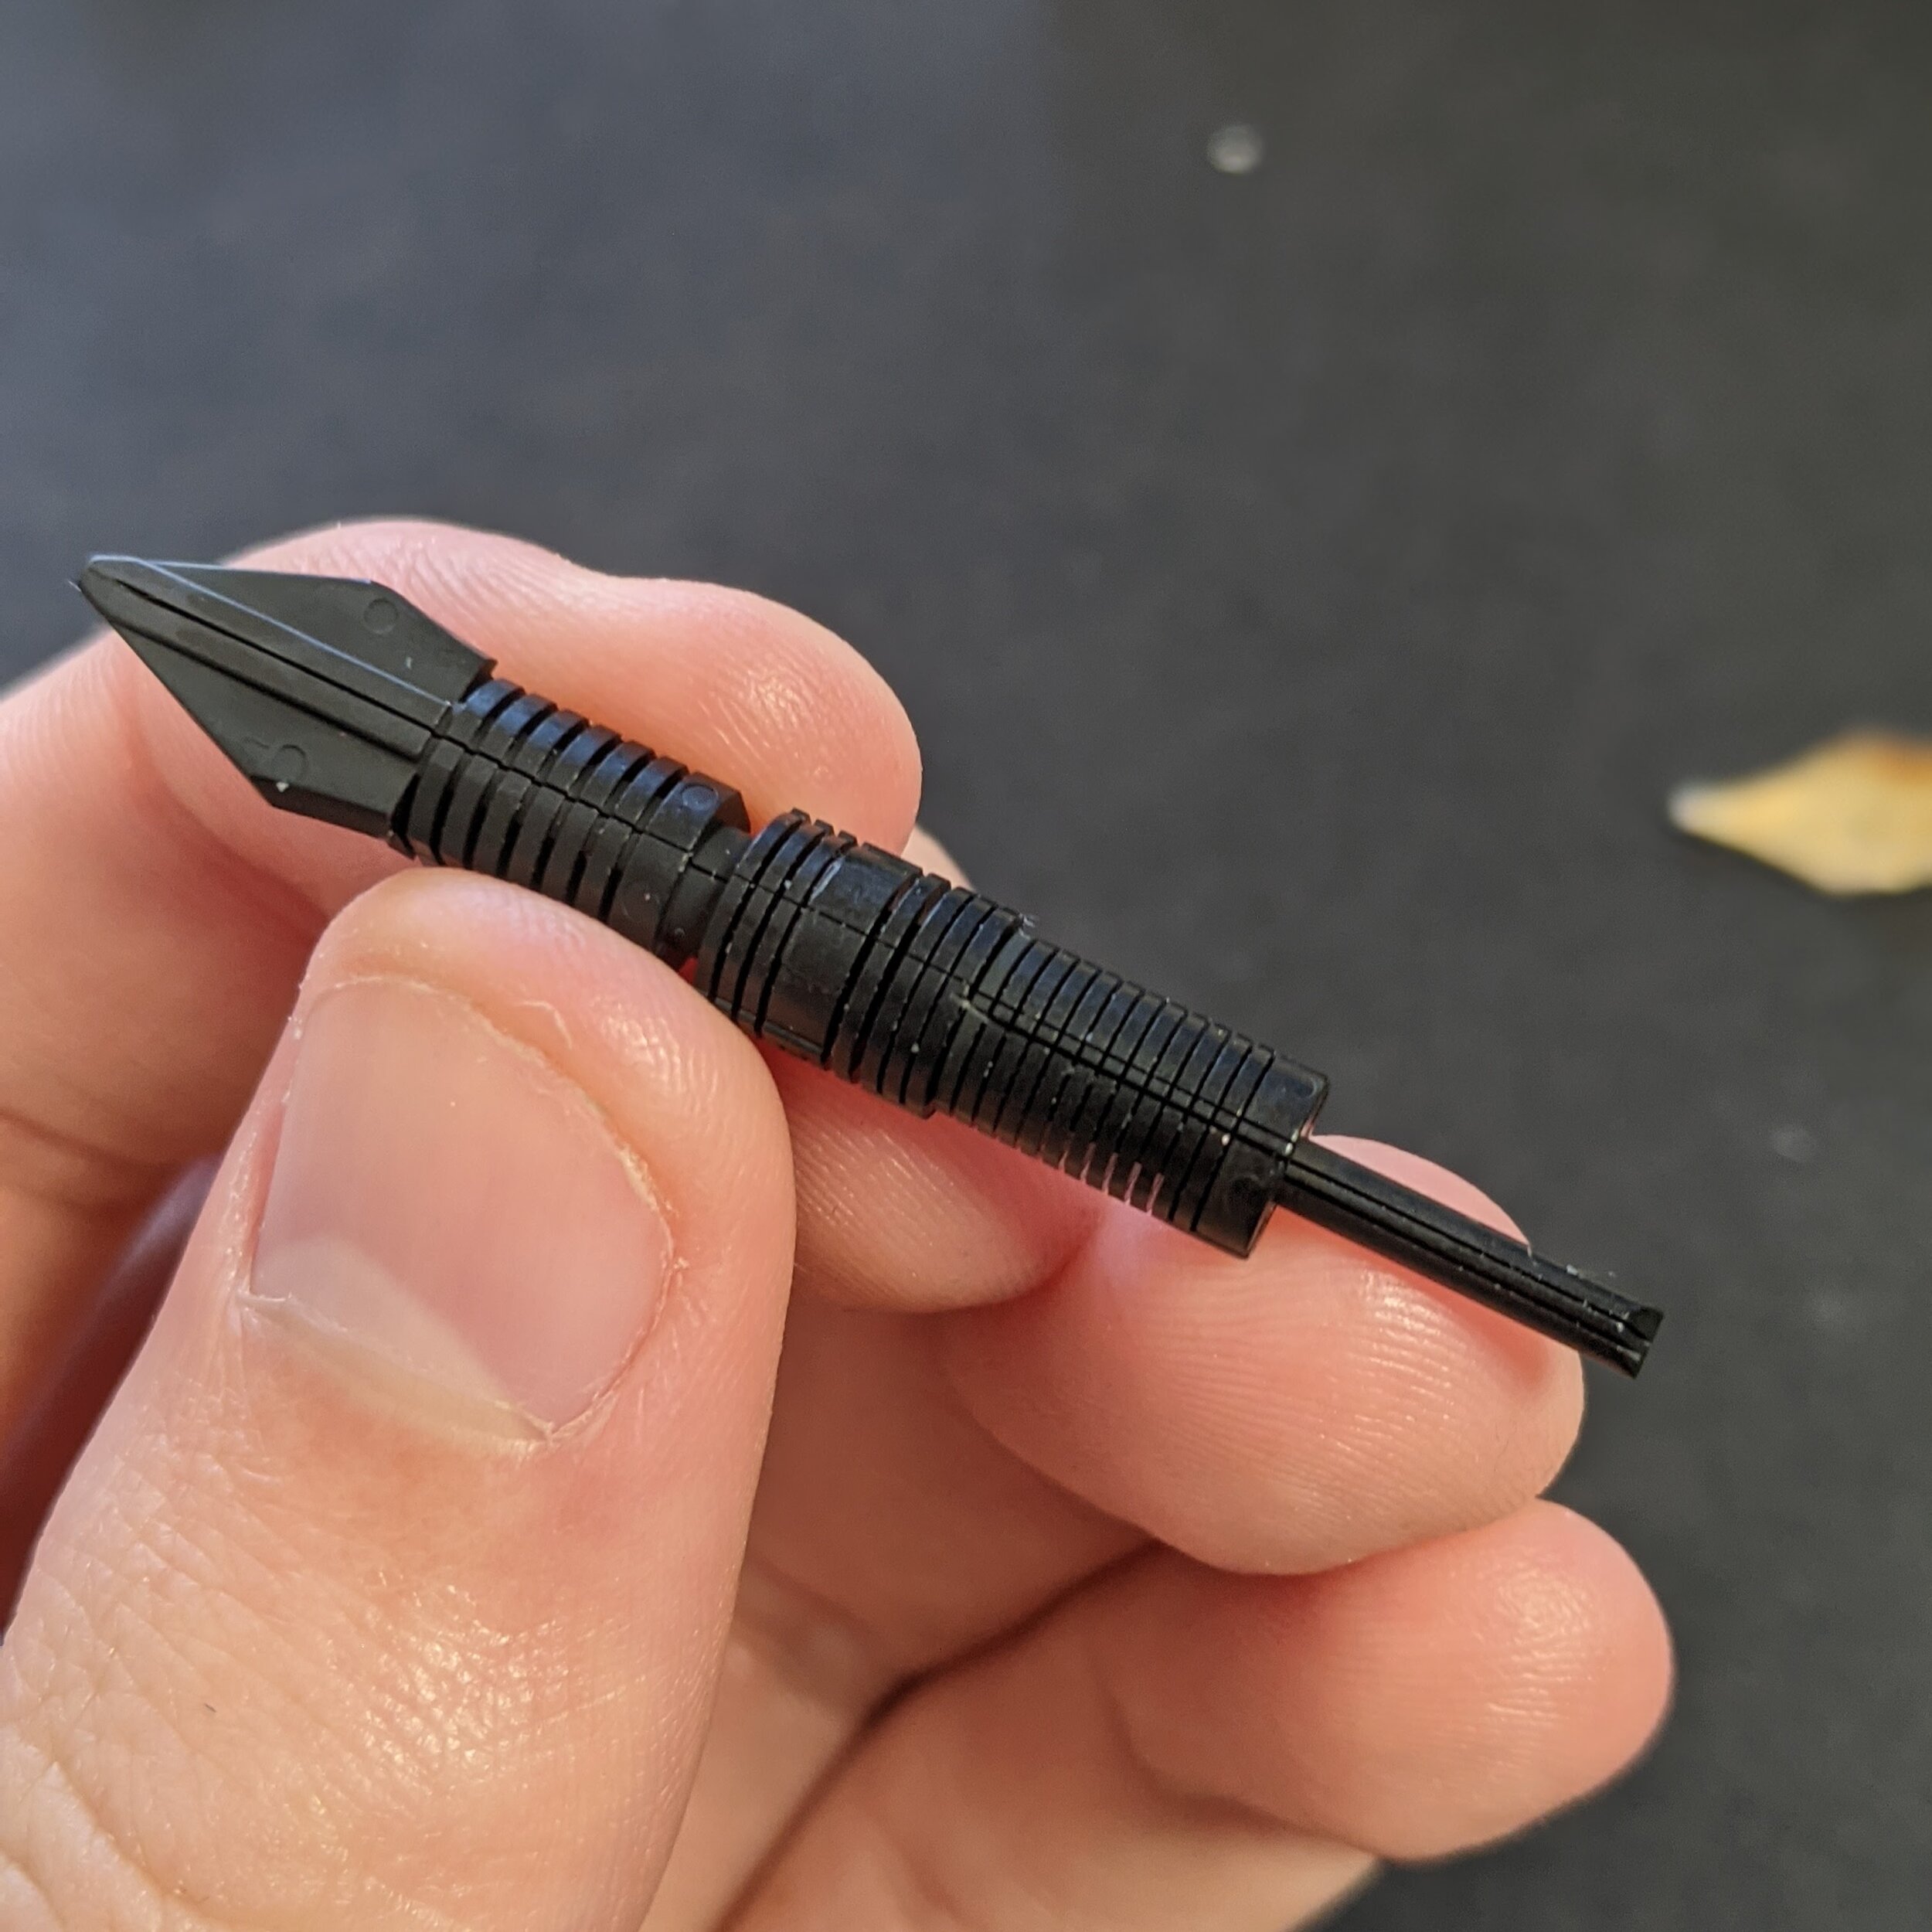
Break up this feed into cylinders and it becomes much easier to see as something you can make a model for
Take advantage of the fact that you can easily print these in 15 min and just make a ton of them. It's the best shortcut for 3D printers, exploit it to the maximum. I would recommend starting with the hole a little large and then decreasing the size slowly. This way you won’t be able to make something that is too tight that you can't get your nib out of.
I would try and do the same for the size of the outer diameter to make sure that the fit is right. You may get some ink just dripping out of the end of your nib when you put the unit in. This means one of three things. The inner diameter isn’t tight enough, the outer diameter is not large enough or the threads aren't tight enough.
Threading the Needle:
This might be the trickiest part of the entire operation as 3D printing threads are a bit of a task and CADing threads are a chore as well.
One thing that I didn’t mention when talking about measurement is that there is one more measurement to do. When you are measuring the threads you need to determine the pitch of the threads. I explained threads in my last article on pistons but the short of it is that threads have what is called a pitch that measures the distance between the two threads. The hard part is that this information isn’t available widely. Visconti doesn’t release them and neither does anyone else. You have to measure them yourself.
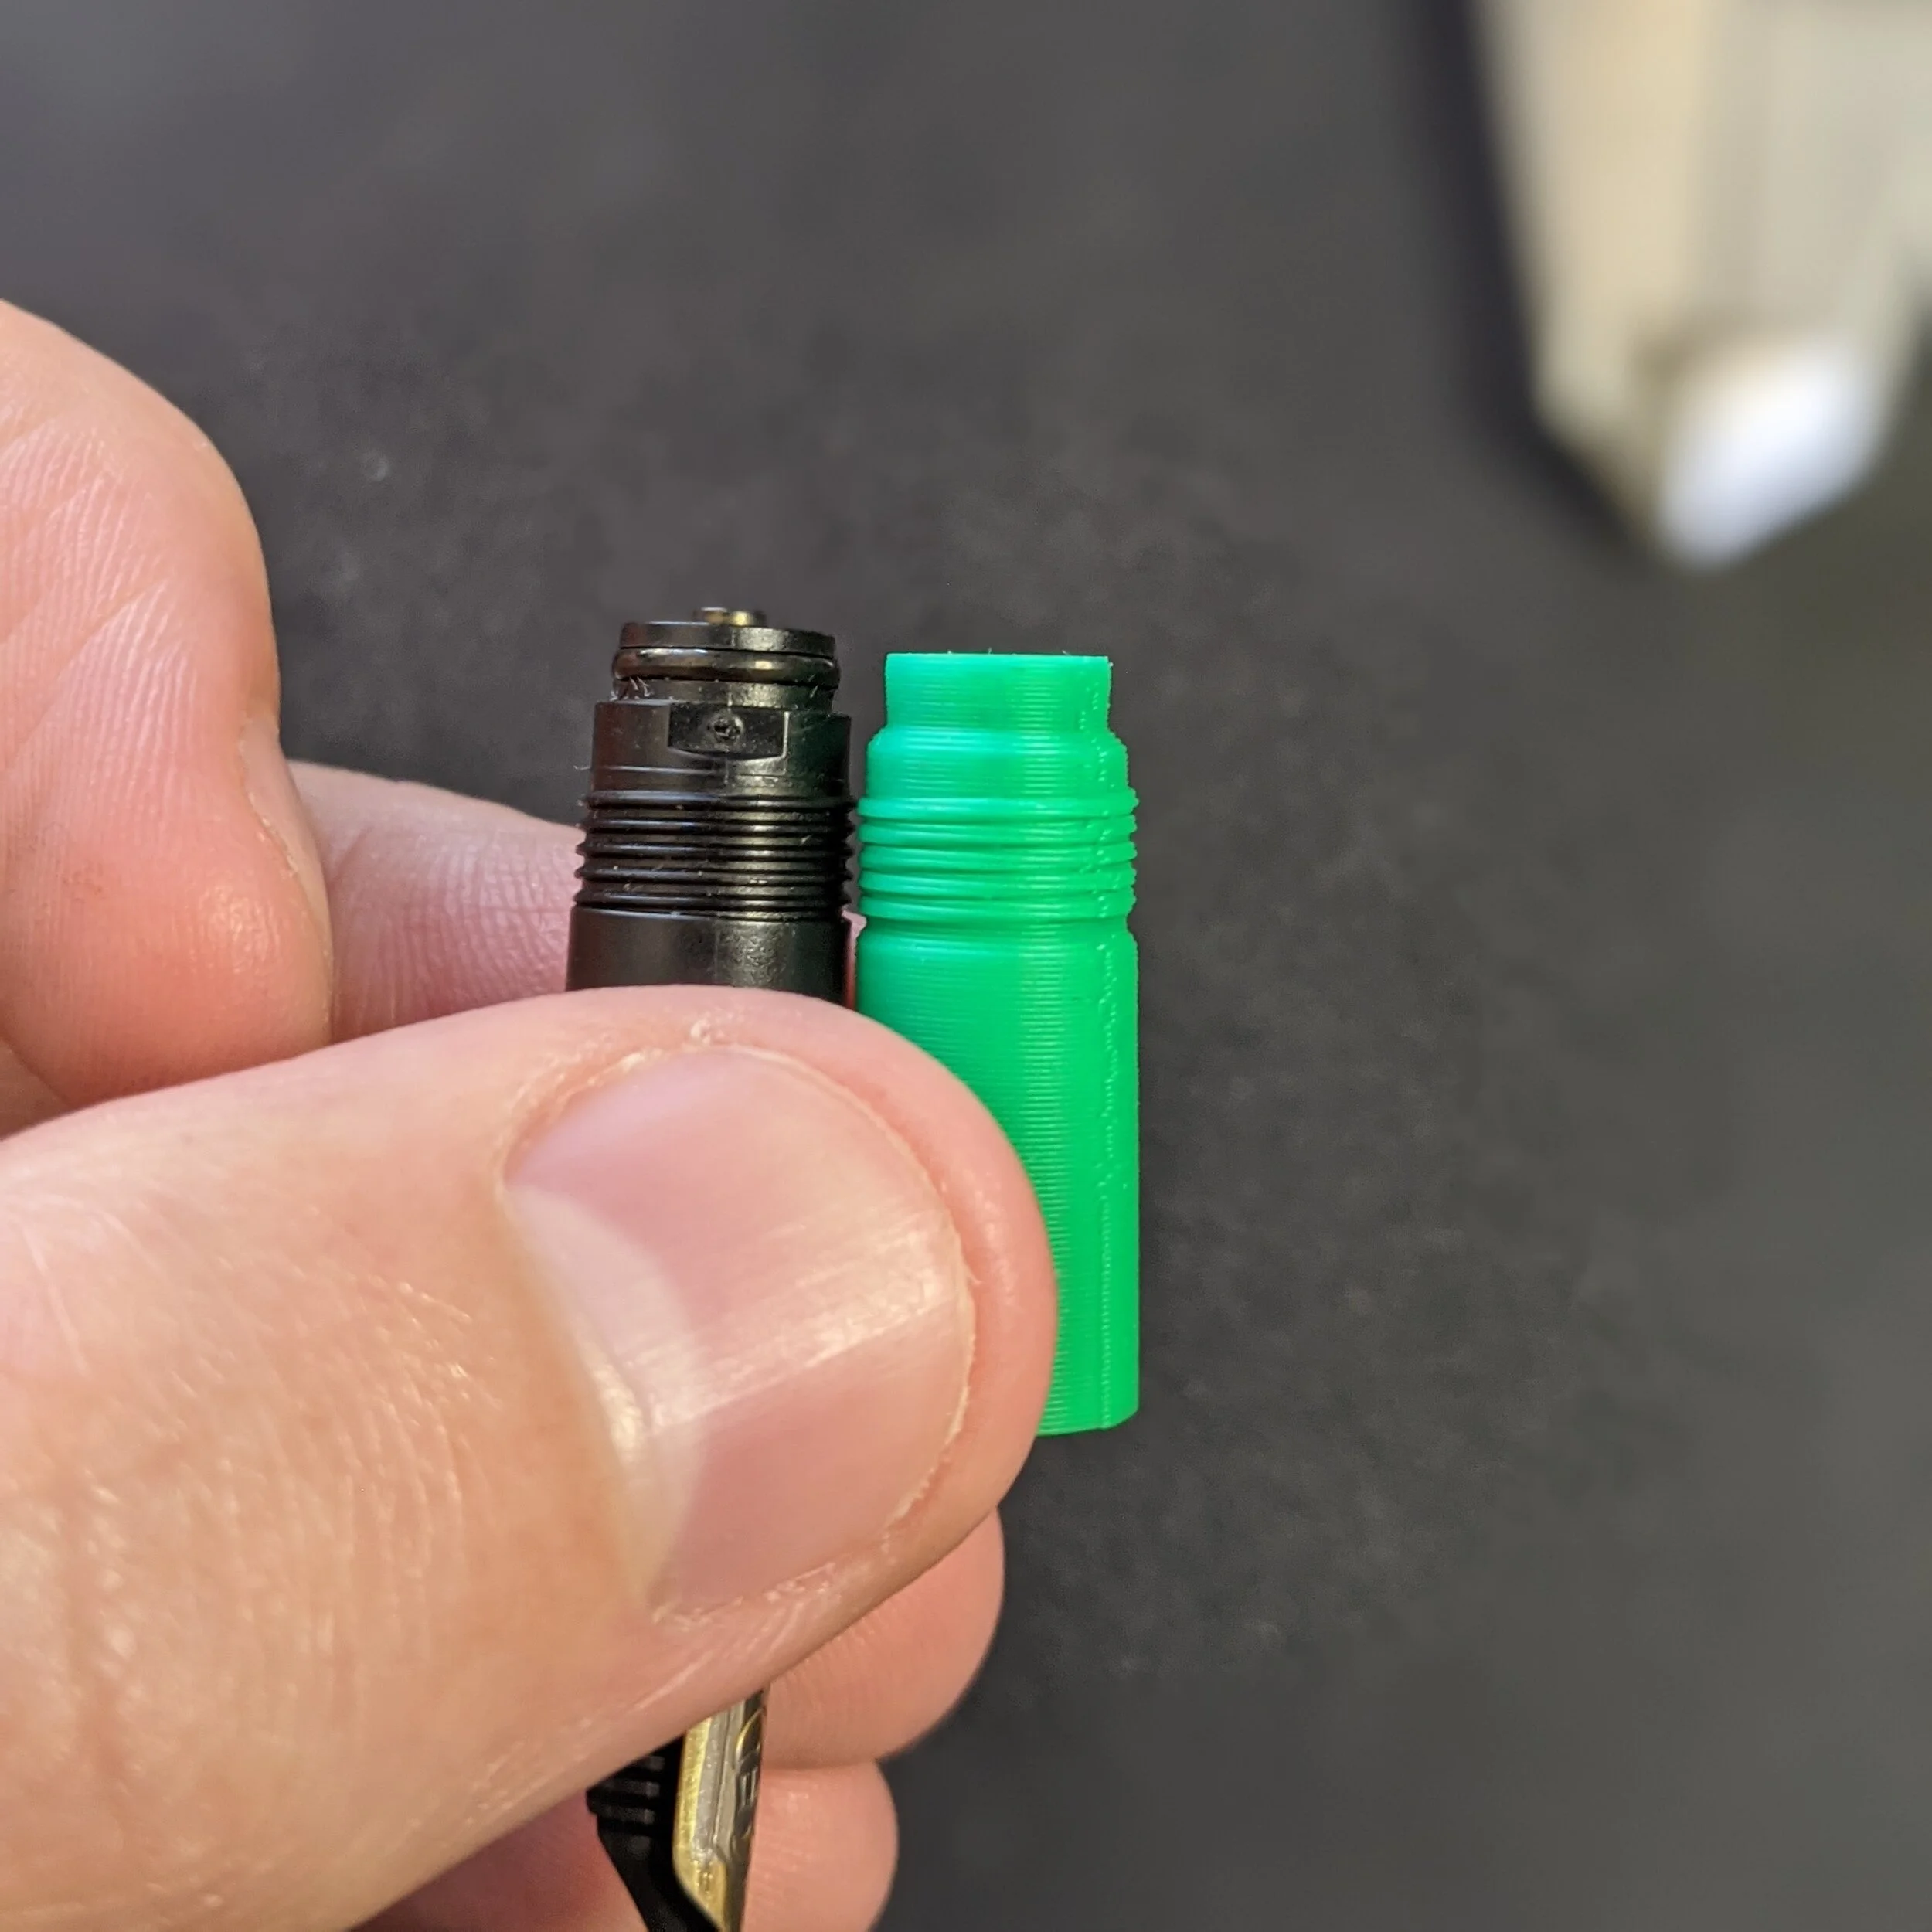
This is what you are looking for when lining up the threads. These threads are a little chunky but you get the idea.
It's fairly simple with calipers. All you have to do is set up the calipers in front of the threads and measure the distance between two threads. It's important to do all of this in millimeters as most of the companies making fountain pens are doing so in metric. Noodler’s does American Imperial style threads but that's about it as far as I am aware. For example, I found that the pitch on the Visconti threads is 0.75mm. The fact that the pitch will fall on nice even numbers can be used to your advantage.
The last thing to figure out is exactly what size the threads are in diameter. This is a little tricky as the measurement of what is called the nominal diameter. For metric threads, this is usually in millimeters. For example, I found that the nominal diameter of the Visconti nib unit was 9 millimeters so the type of thread that the Visconti nib units have are M9x.75, but if you measure the outside diameter of the threads you will get something close to 8.71mm. A fair bit less than 9mm. The thing with threads is that they can’t be the same size as the nominal. If the threads on the nib unit and the threads on the inside of the pen were the same size you wouldn't be able to screw them in they would just be interfering with each other and it would be way too tight.
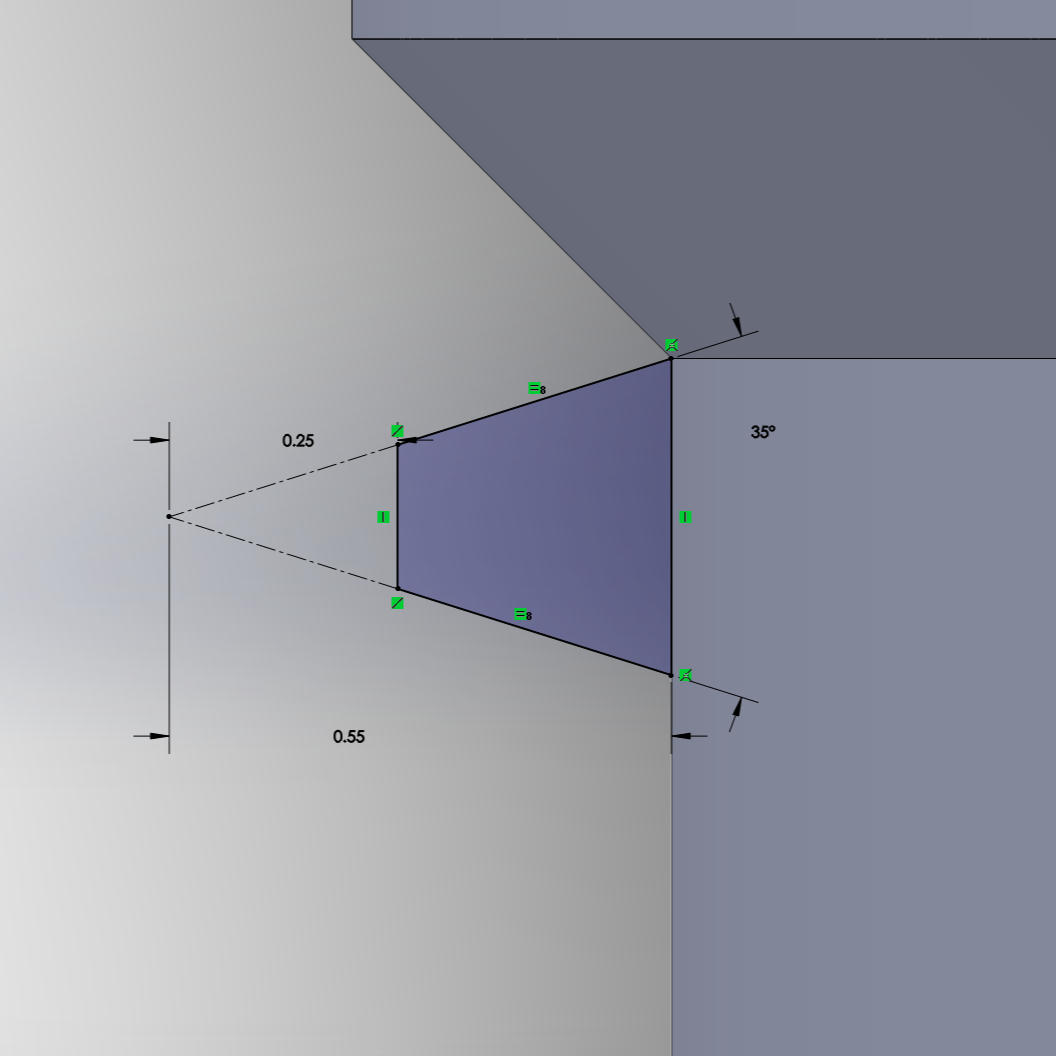
Here is the general shape of what you should be using, a cutoff triangle (or trapezoid)
The problem is that there isn't a good rule of thumb for these things, but there are some resources you can use. One that I use is this. It's a calculator that you can use to find out what the thread diameters would be and go from there. Even then it's a little hard because 3D printing can mess things up. I would recommend generally trying to have the threads be as thin as possible otherwise you will find it is really hard to screw in.
If you find that your threads are too tight try printing the nib unit without the threads on them and see if it even fits in there. If it was already too big, to begin with, it is better to fix that first. Also, I would say that printing with a small layer height will serve you well.
3D printer Settings:
Just in case someone wanted to try and just duplicate what I was doing and was having trouble here are the settings that I used to get what I got.
Printer: Ender 3V2
Material: Hatchbox Green PLA
Nozzle size: 0.4mm
Nozzle Temperature: 205C
Bed Temperature: 70C
Bed Prep: Blue Painters Tape
Layer Height: 0.12mm
The End and a Question or Two:
The first question I have is around the CAD that I talk about here. Is anyone interested in learning CAD that hasn’t tried it before? I could do a few articles on just what it would take to do CAD to make fountain pens. I would just be a tutorial or two on how to design some common parts to show people how to use Fusion 360, a free software for hobbyists. Sort of using fountain pens as a gateway to teach computer-aided design. Feel free to email me if you are interested.
The second question I have is about the fact that this article is basically useless if you don’t have a 3D printer. So I was wondering if anyone wanted to just buy these nib units. I could design a few different ones for nib types such as Pilot or Sailor to go into Visconti nibs and sell them if people are interested (Note: people have said they would be interested so I now have an Etsy store set up where you can buy some of my nib units). I could also do a few of Jowo after I develop those. Again if you think it would be cool if I did that just let me know by emailing me minabekopens@gmail.com or messaging on Instagram @minabeko_ or Reddit at u/minabeko. They would be fairly cheap.
I stumbled on this by accident as I never thought that a 3D printer would be able to do threads as fine as this, but I was proven wrong. I hope this helps anyone who wanted to try this out for themselves. I hope to see some cool experiments in the future that spawn off of this idea. If you liked this you can always support me on Patreon and help with the website hosting fees.
Thanks,
Minabeko