Nib Grinding Primer: Italics and Stubs
To follow up on the nib tuning article that I released quite a while ago I thought that I would attempt to give someone a primer on how to grind italics and stubs from a regular round pointed nib. As always you have the opportunity to destroy your pen and nibs by doing this so I would practice on some cheaper pens before you jump into grinding more expensive pens. If you haven’t already I would check out my Nib Tuning Primer as that has an in depth guide to doing some small tuning work for babies bottom and similar non-grinding tasks.
The Materials:
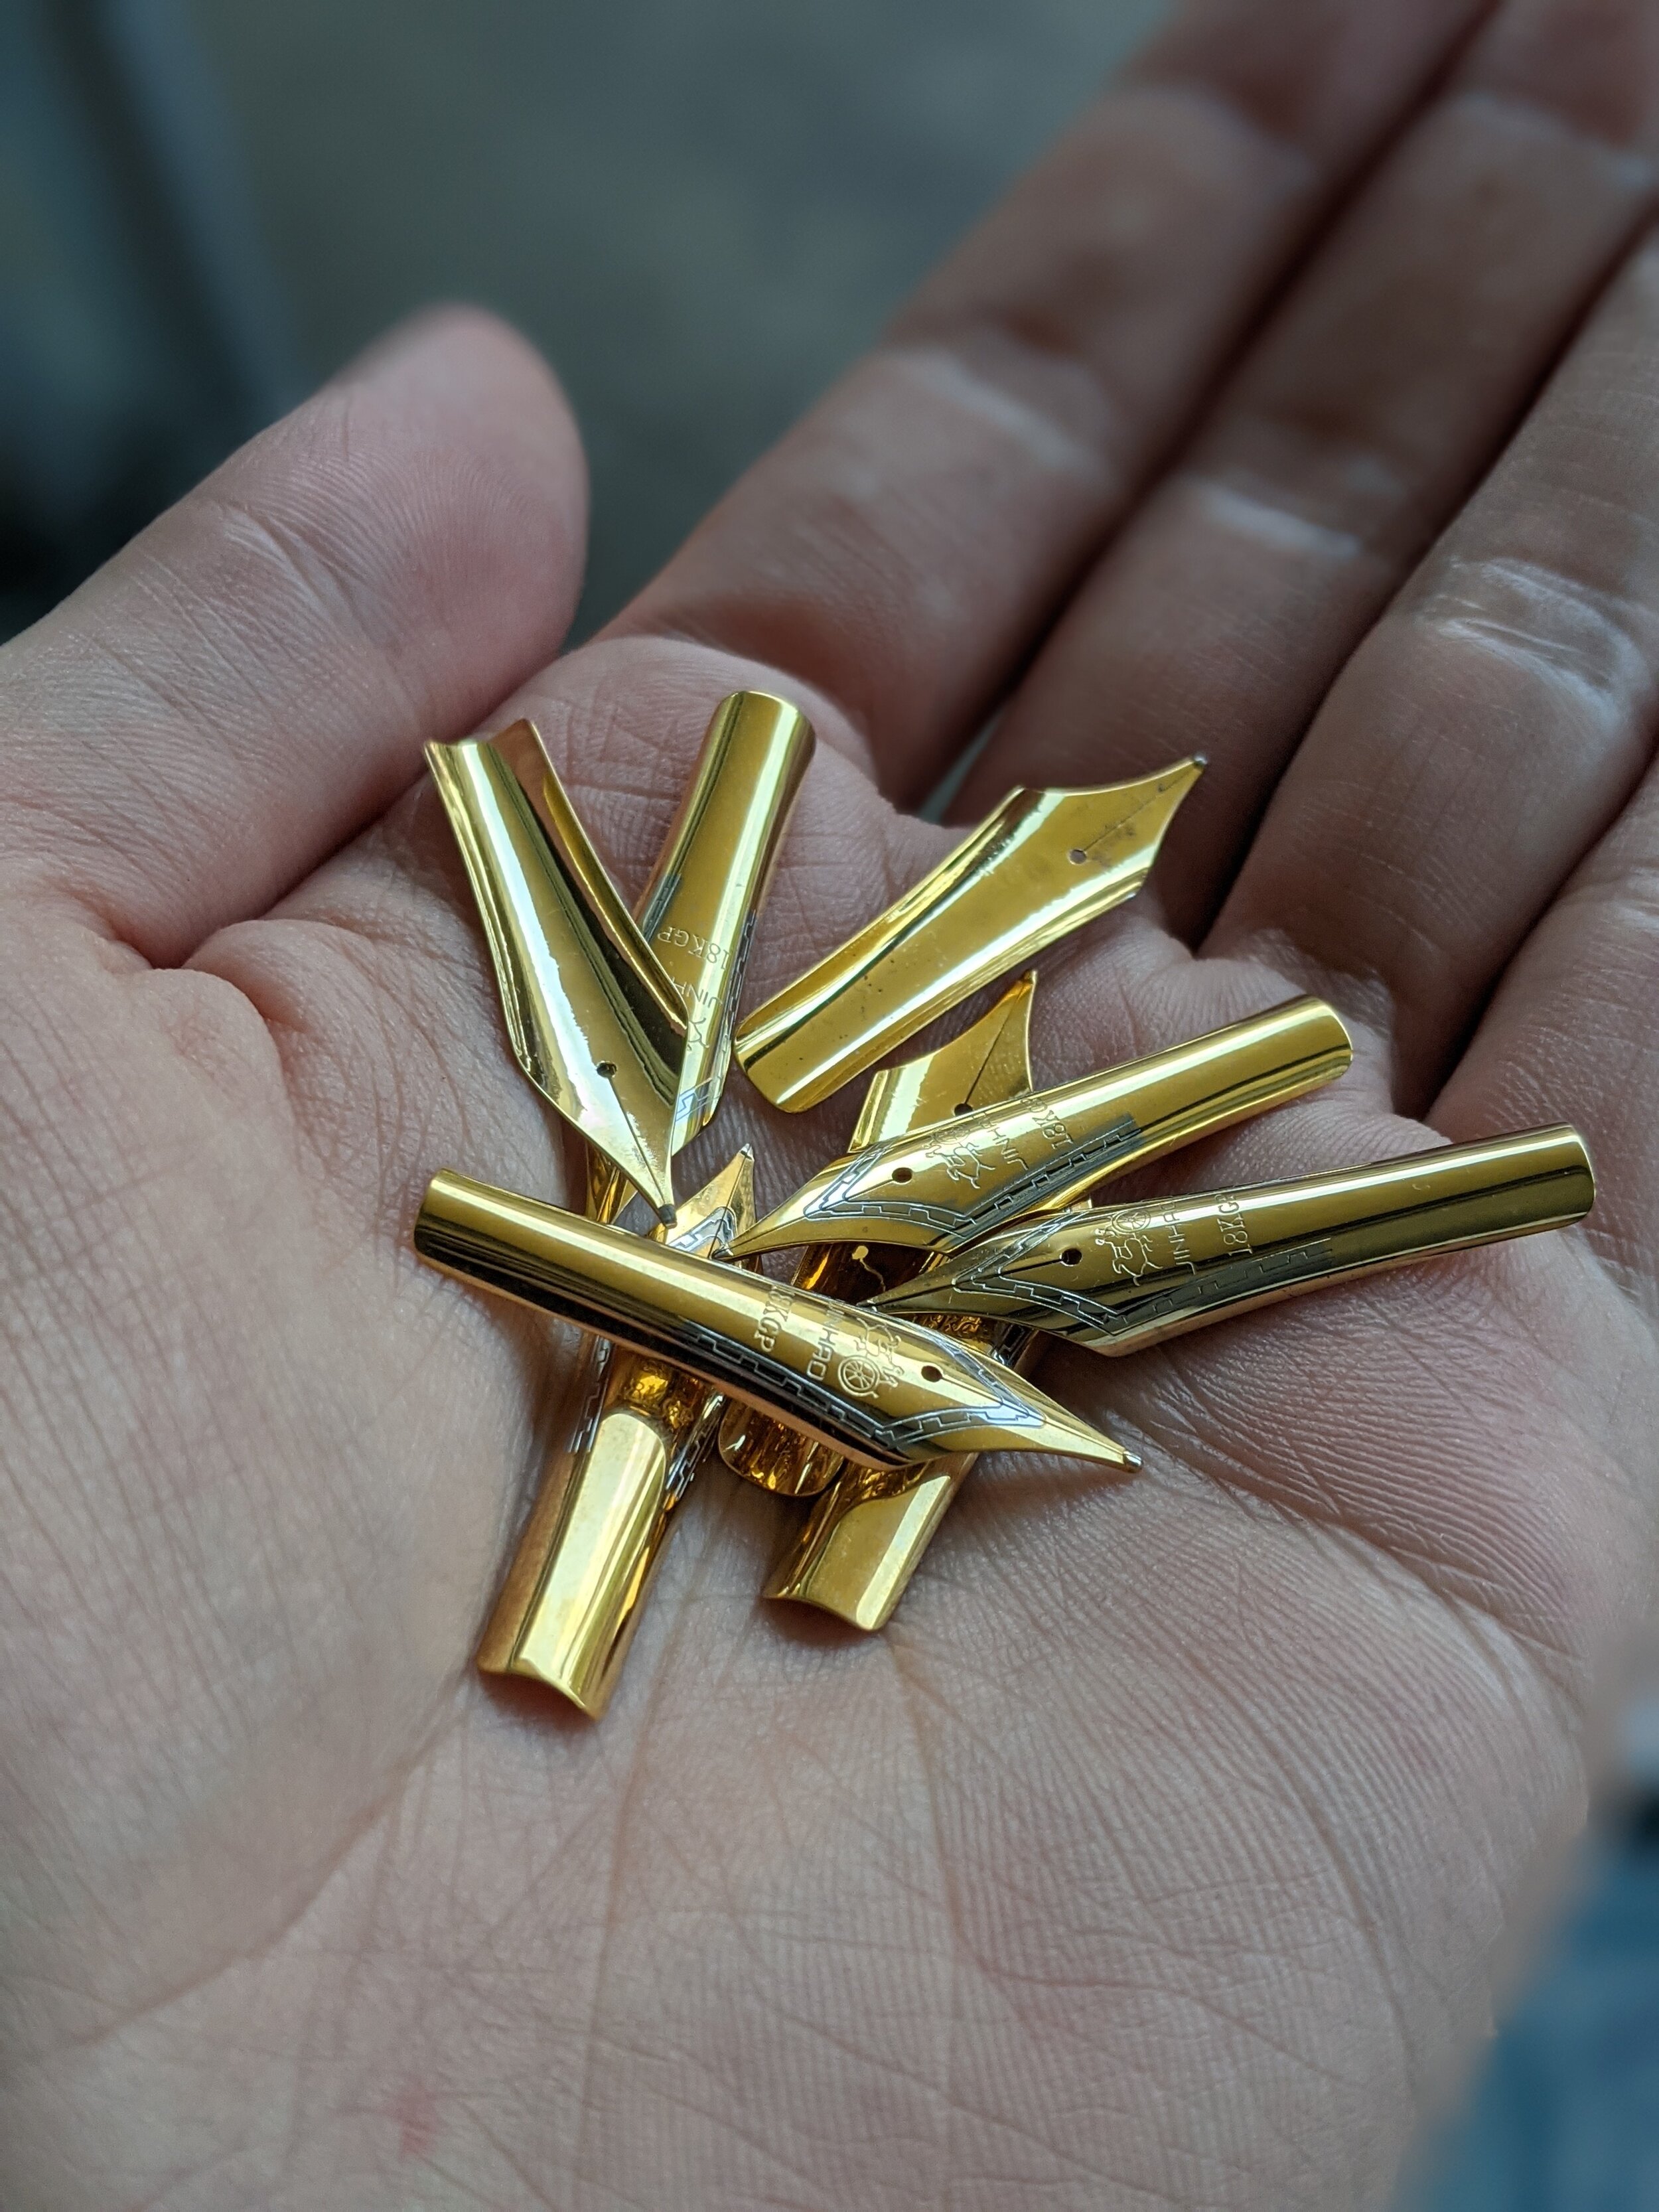
Supply of cheap nibs - This is really important to the process and to practice. There are many places you can get cheaper nibs for little expense. The types of nibs I’m talking about include Jinhao, Wingsung, or similar nibs. They have been getting a little more expensive but you can still find them for around $1-2 per nib. Here is a link to the Amazon version, but the same thing can be found on Aliexpress or eBay.
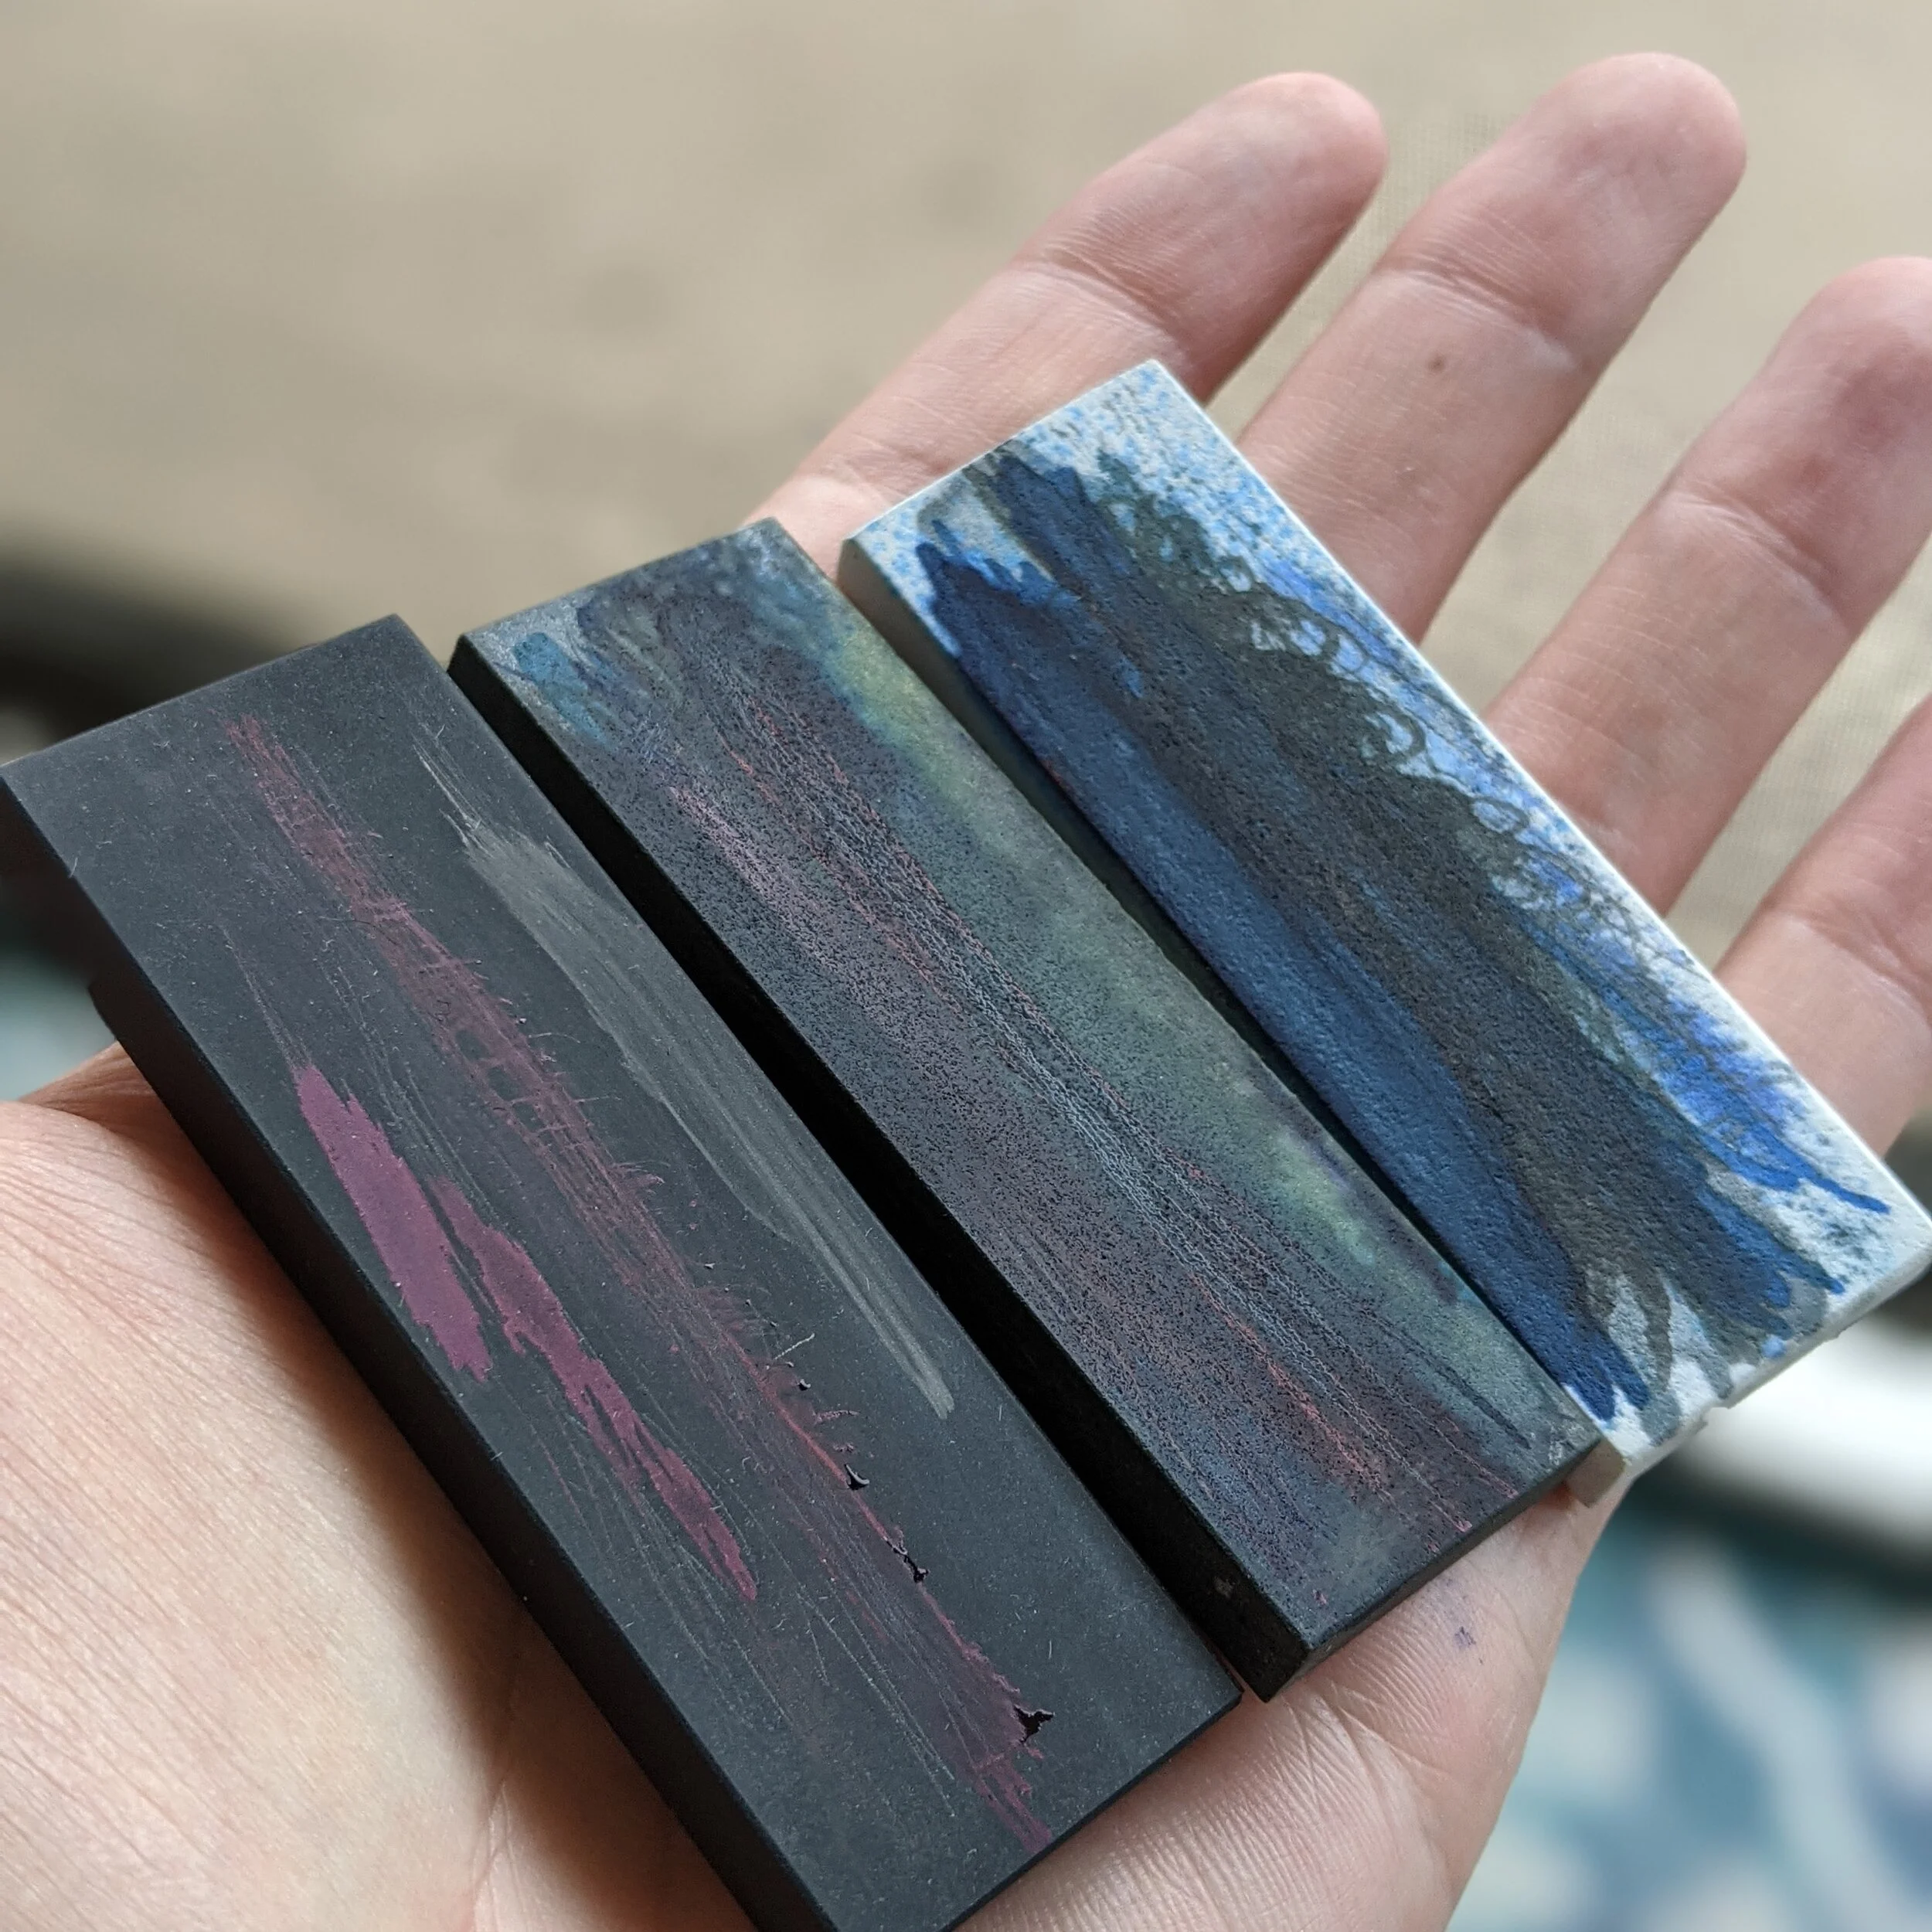
Sharpening/ Arkansas stones - I prefer to use Arkansas stones but any knife sharpening stone will work and there are also diamond plated stones, I have heard, work as well. You need a variety of different grits or roughnesses in order to get the job done. For Arkansas stones, I would get a medium, hard and hard black stone. As for regular stones, I would pick up a set like this.
Micromesh - The same type of micromesh at 12000 grit you would get from the Goulet pen store. You can get a set of micromesh papers and use that instead of the stones if you prefer it will just take a little longer.
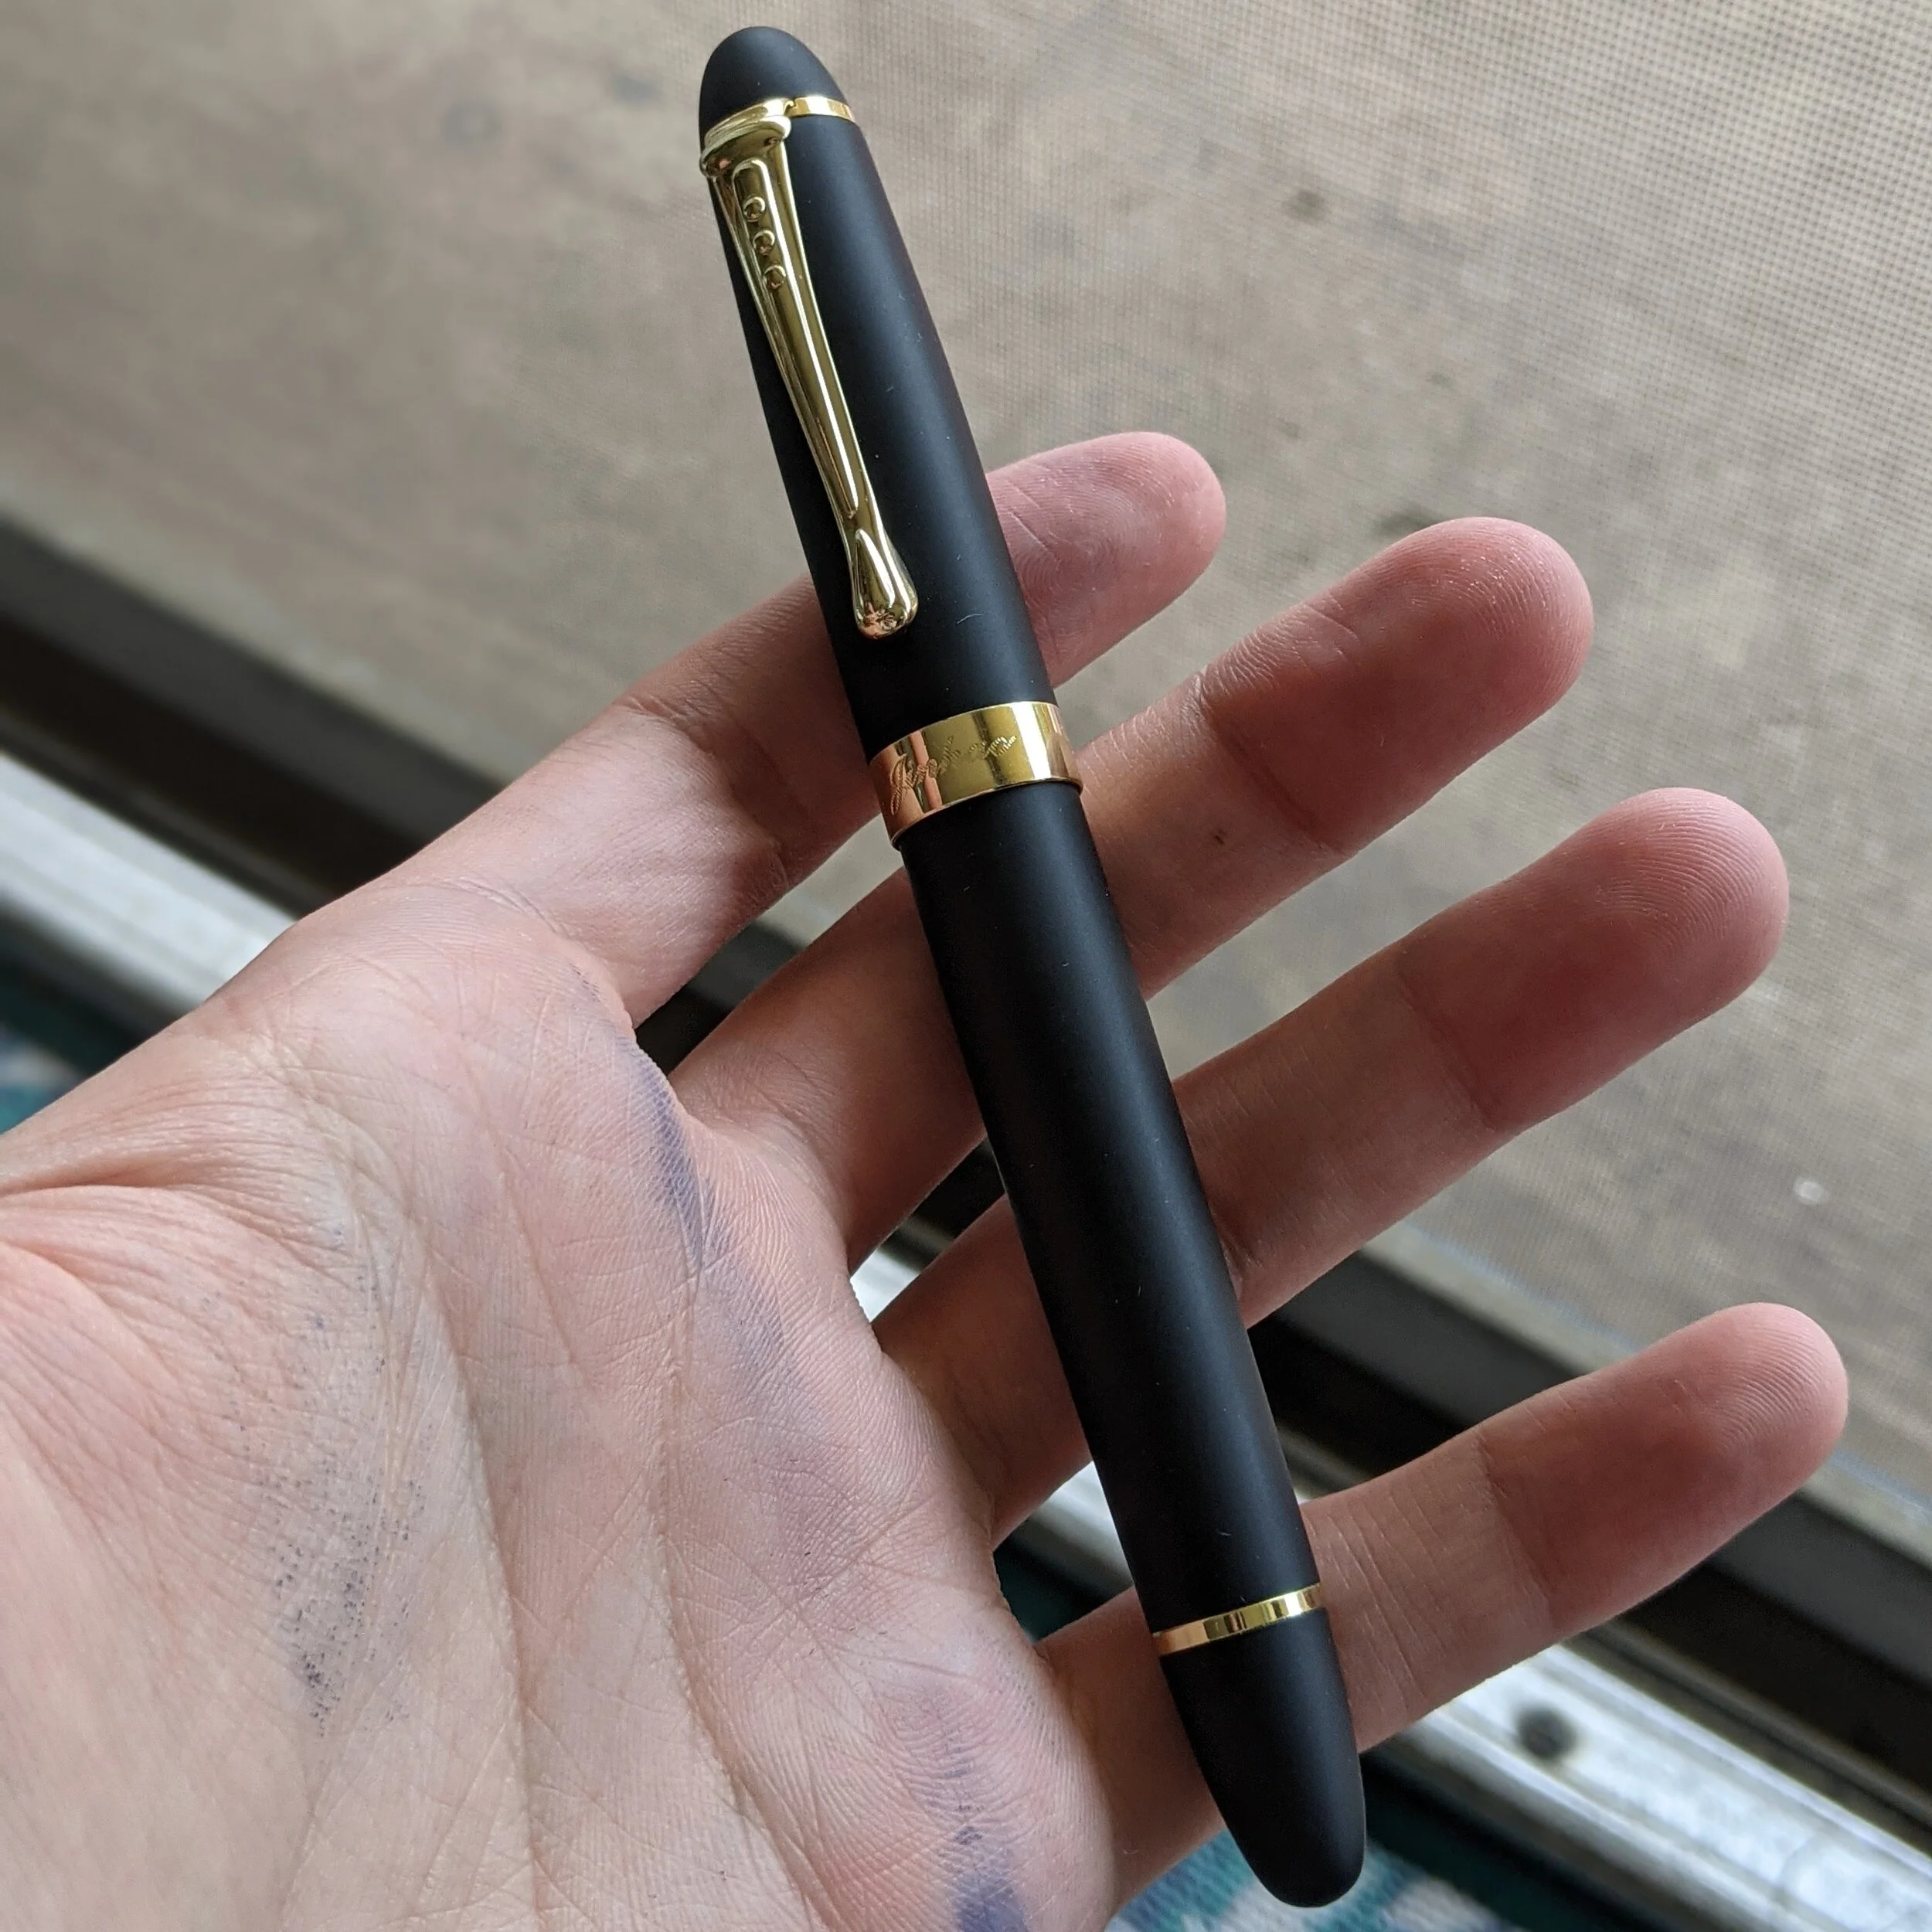
A pen to take the Jinhao nibs - For this tutorial, I will be showing how to grind the nib while it is in the pen rather than just the nib on its own. Theoretically, all of the steps are the same and really there is no difference in the cuts. You should just be careful as there is a real chance that you will rough up the feed on some of these cuts. I recommend a Jinhao X450 or 159
Ink - Lastly I would pick a nice neutral flow and color for the ink to get the best results. I use the plain sailor blue ink as the only ink I tune pens with. It has a very regular flow and for some reason, I like the smell. Also its the only ink I’ve ever used that can be washed off with soap and water. You don’t have to worry about ink-stained hands for a day or two with this ink. I highly recommend it.
The Three Cuts:
For an italic or stub pen, there are three cuts that you can make to the pen that will get you the thin side stroke and thick downstroke you are looking for. The first two I’m going to talk about are the critical cuts and the third cut is often made just to match with aesthetics. Then there is a polishing phase that is slightly different than what you might be used to and will be different depending on whether you want a crisp italic, smooth italic, or a stub nib. Once you have everything ready and your pen filled with ink we are ready to start.
The First Cut:
The first cut I usually do is the very bottom cut. This is where you will attempt to flatten out the bottom of the nib. The procedure for doing this is really straightforward. I just take the nib and run the bottom along with the stone that I’m using. This usually works better when the stone (or micromesh, all of this can be done with 12000 grit micromesh, it just takes longer) is slightly elevated an inch or so off the table.
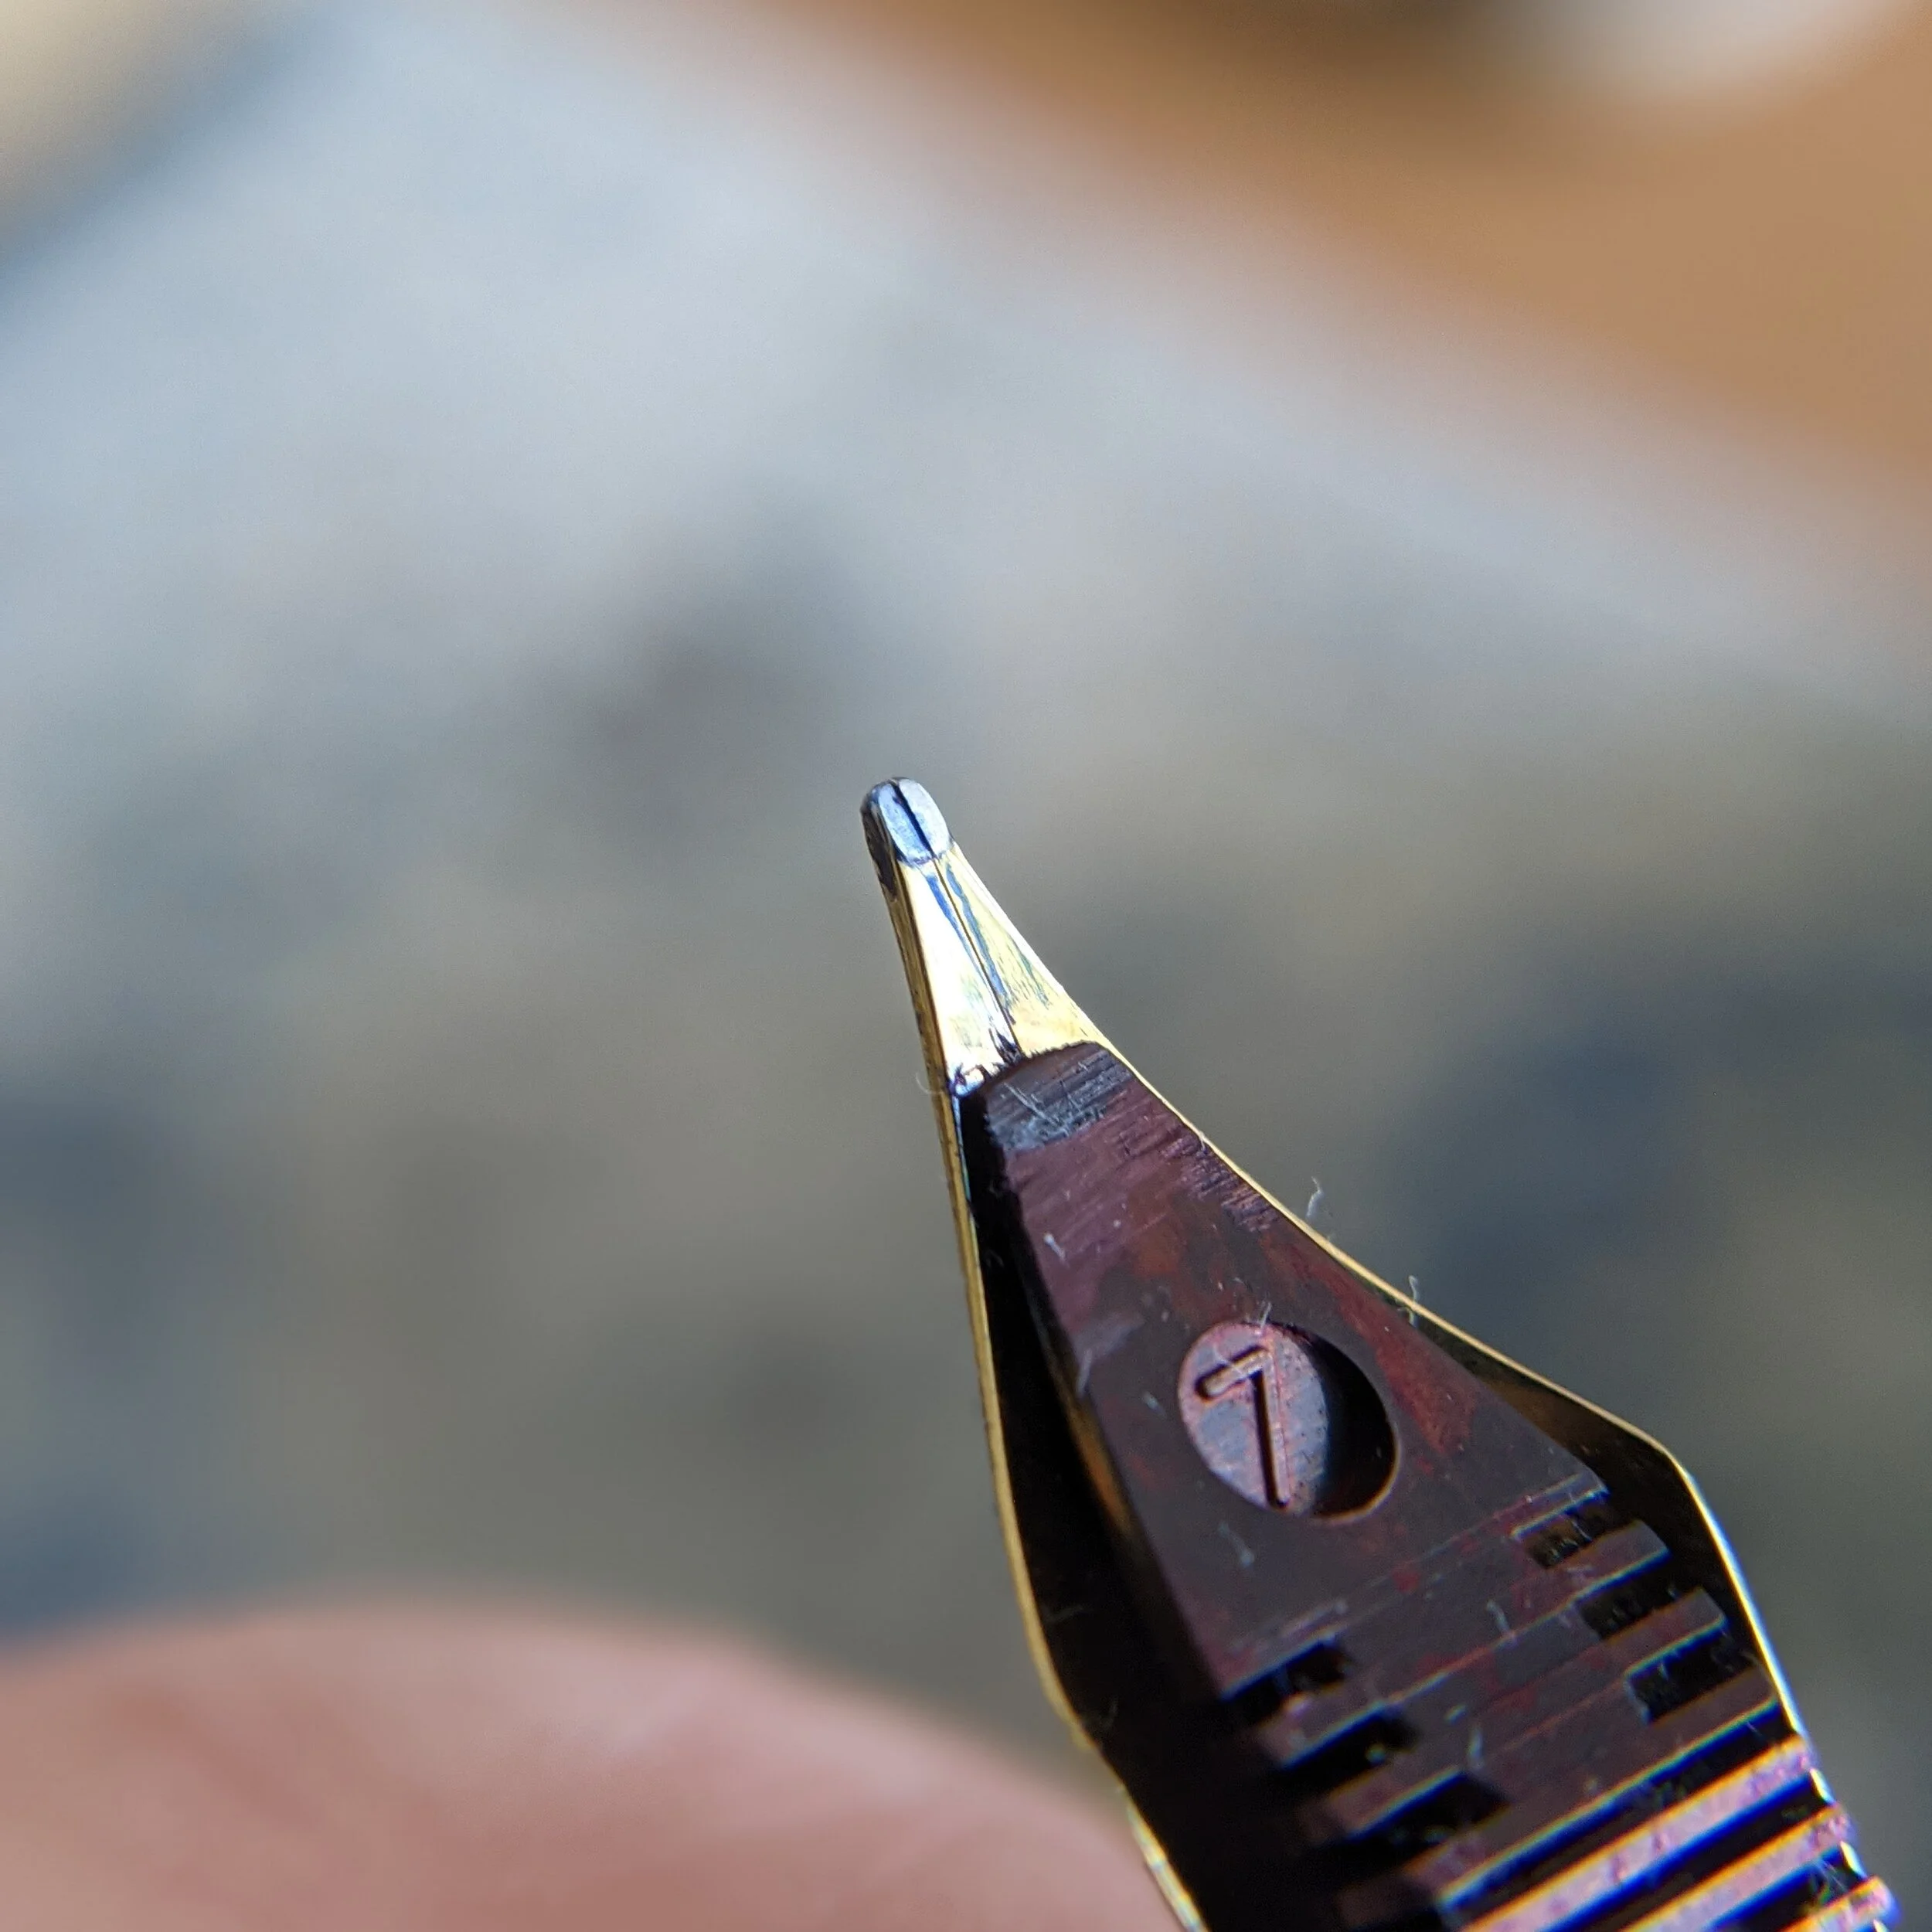
The real trick behind this is to cut it to try and make the cut as level as possible. What you are trying to create in the end is a boxed shape and you want all the sides to be at 90 degrees from each other, so trying to keep everything nice and straight is important for aesthetic and practical reasons. Too much tilt will result in some strange angles you have to hold the pen to the page to get it to write. I’ll talk about obliques (where you have to tilt the pen right or left to get the pen to write correctly) with the next cut but you can create a strange sort of oblique by having this bottom cut tilted right or left. I think it would be interesting to see someone create an oblique italic this way but for a normal italic, you should keep it as even and level as possible.
You will want to use your roughest stone to make all of the cuts and then use the other stones to polish. Think of your roughest stone as what is actually shaping the nib. You should use that stone until you are satisfied with the shape you have created before moving on to the other stones. Those other stones are just used to polish after you have created the correct shape. I usually then polish every cut with the other stone I have made sure to do small step downs in grit to be able to take out the scratches of the last stone. Polishing every cut is not necessary as that isn’t really the part that will be touching the page, but it looks nice to have them polished up.
The Second Cut:
The second cut is what I have seen referred to as the critical cut. This is the cut that you make that actually transforms the pen into an italic. After you make this cut you will have a writing surface that has the thin cross stroke and thick downstroke you are looking for.
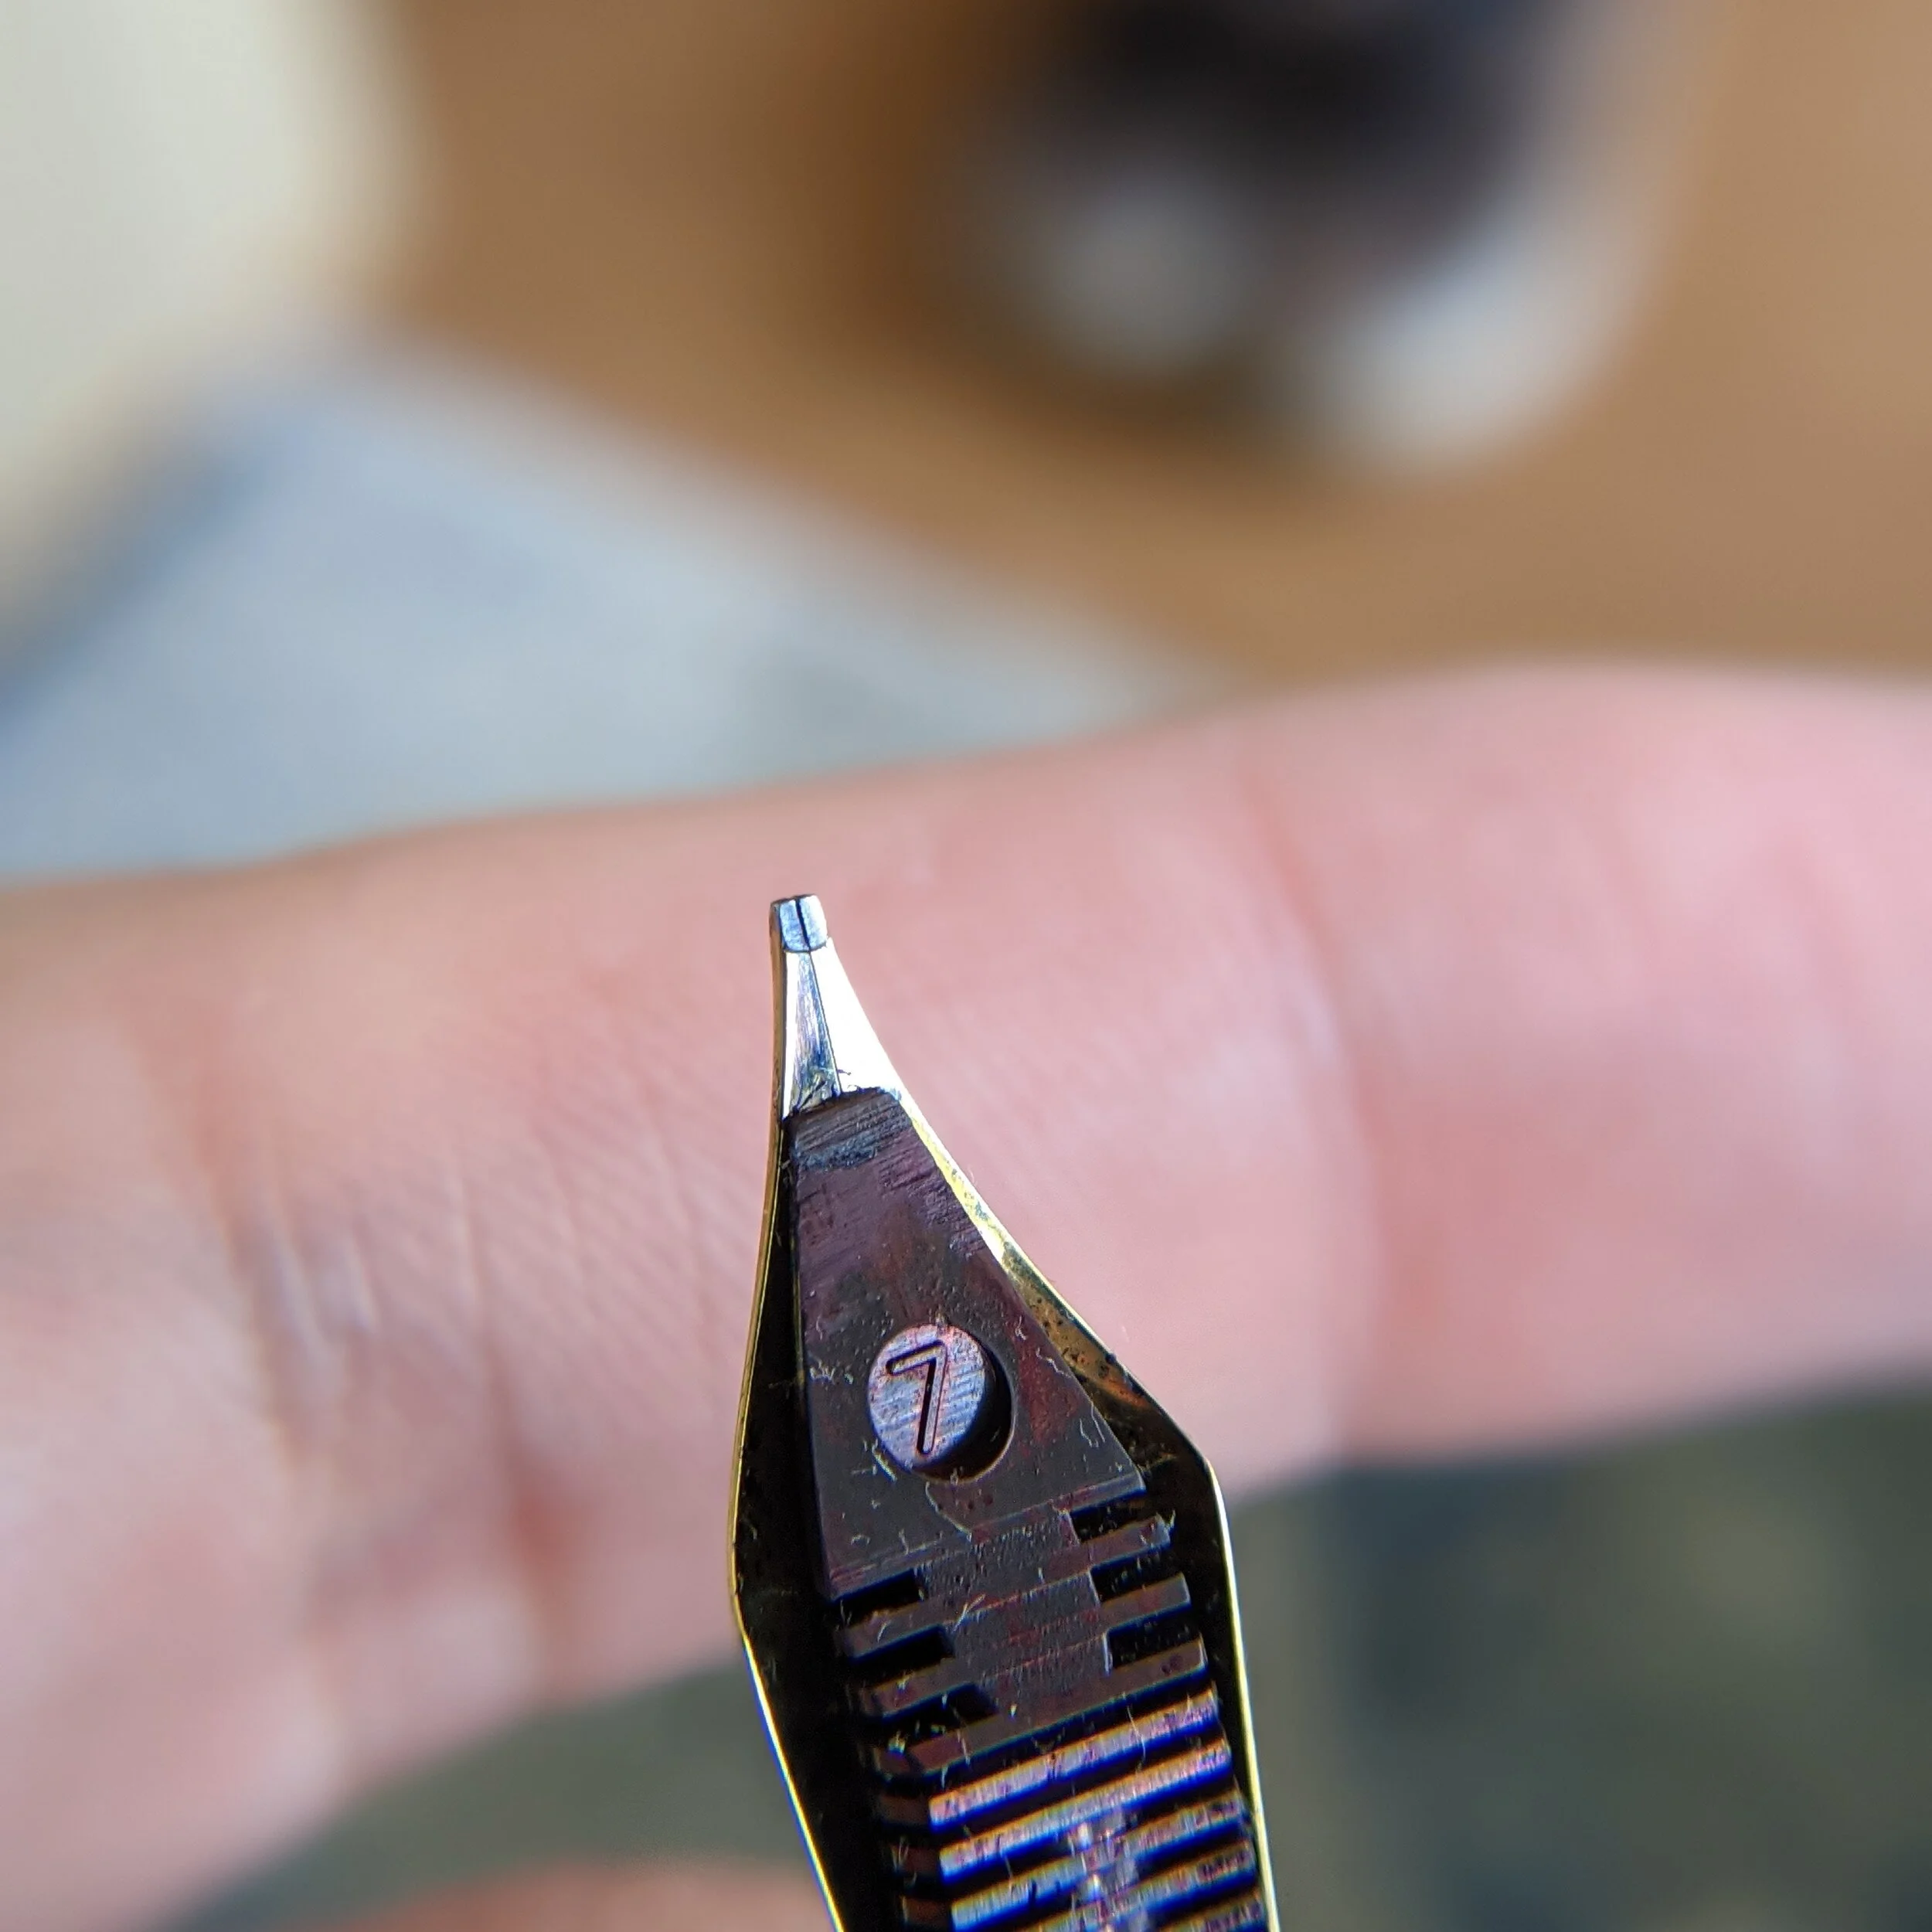
This cut is very similar to the first. The only real difference is that you hold the pen at 90 degrees from the first cut you made. I usually just hold the pen directly pointed downward and do side to side strokes on the stone I’m using. The biggest difference here is that it will make a mess and a noise like nails on a chalkboard. So a mat/paper towels and headphones playing lofi are recommended.
As I said earlier I will have a little discussion on obliques. For those who have not used them, they are a type of specialty nib that you must rotate your pen slightly in one direction or the other to get it to write. These were more popular in previous times due to companies making larger nibs with slightly flatter tipping and therefore being a little stubby. Since most people have a little bit of rotation of the nib inward to face them this was a problem as stub-like pens need to have a very dead-on angle in order to have them write without skipping. So obliques were made to combat this. The tipping of an oblique is slanted slightly to allow for that rotation. You can do the same. By making this cut slightly slanted to one side or the other you can create this effect as much or as little as you want depending on the angle. I would encourage anyone who has gotten this far to do a little bit of experimenting in creating some obliques.
The Third Cut:
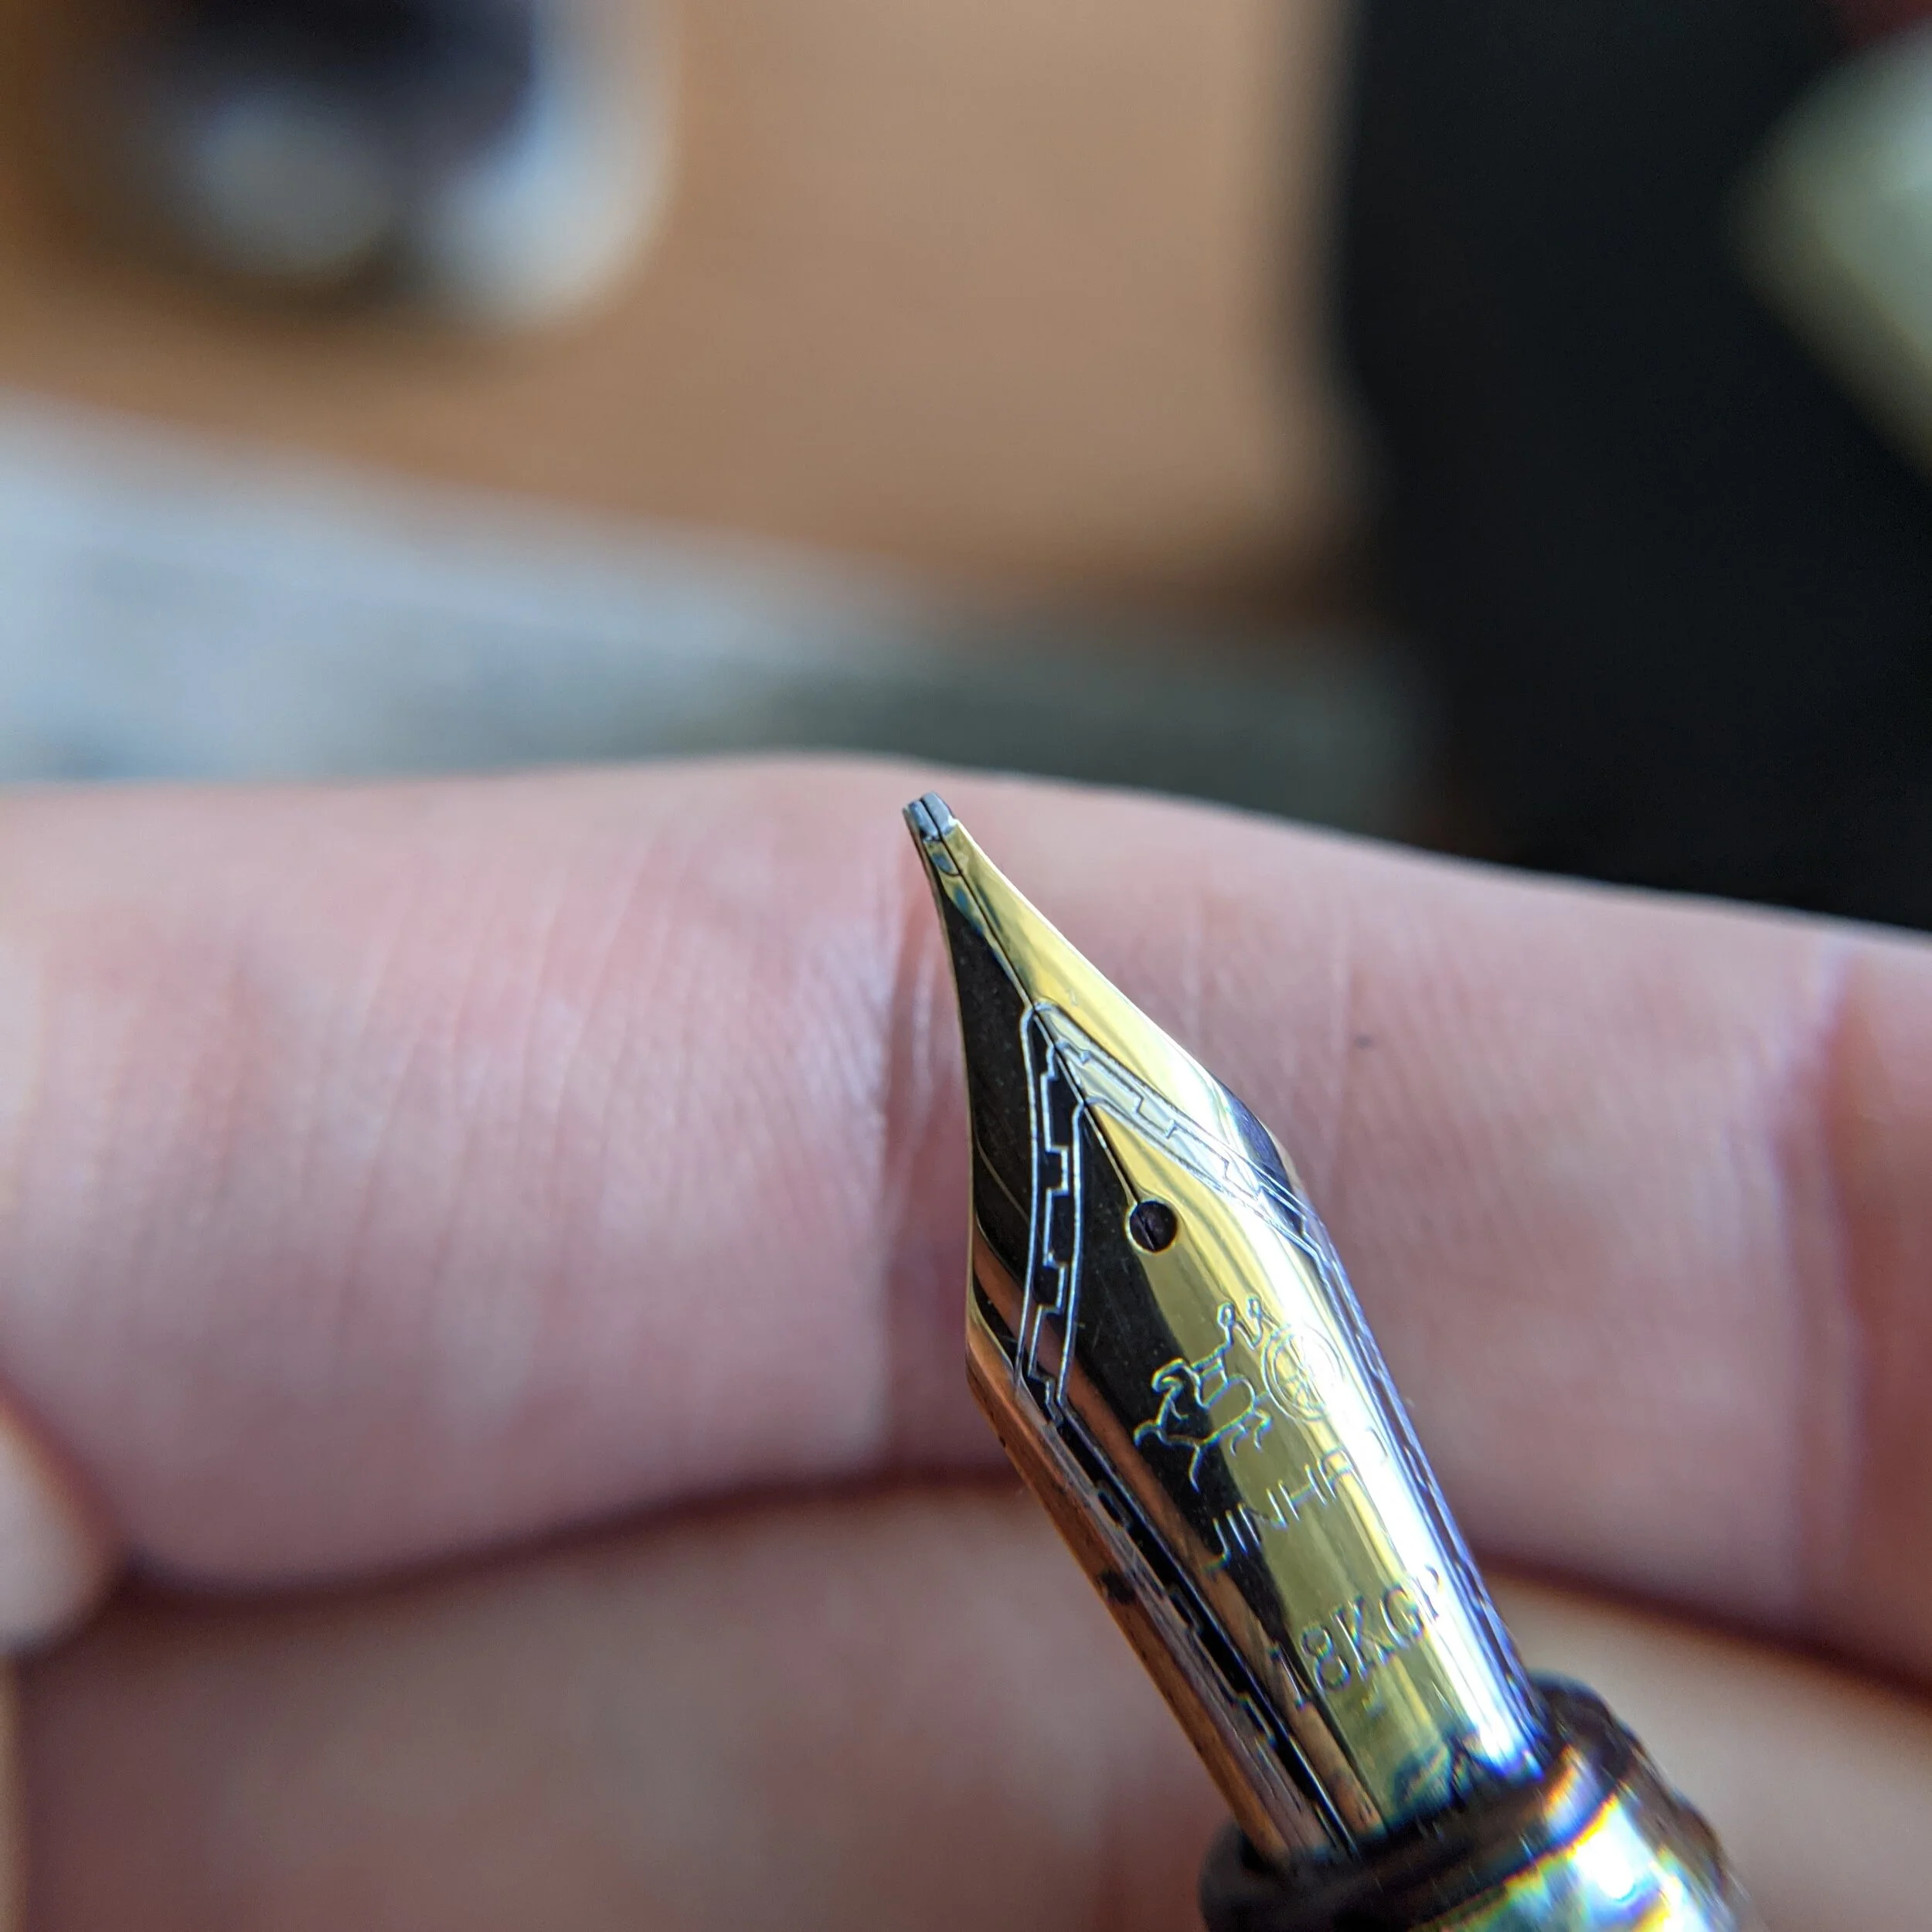
This third cut really is optional and completely unnecessary for anyone who wants to move on. But the third cut is the same as the first cut but this time on the top of the nib. I sometimes do this cut and it can be used to do a reverse writing italic pen if you want. Mostly I think this is done for the purpose of looking symmetrical and is completely optional. If you have a nib that is plated with metal I would be very careful or skip this step as you might take off too much of the plating and it may not look as nice.
Polishing Up:
If you have written with your pen after this you have likely found it to be very sharp and scratchy. This could be called a crisp italic but even crisp italics usually have some amount of smoothing done to them. But you may have also noticed that there is excellent line variation. The downstroke is nice and broad, and the sidestroke is a perfect hairline. However, as you polish and make the pen smoother you will lose some of that variation.
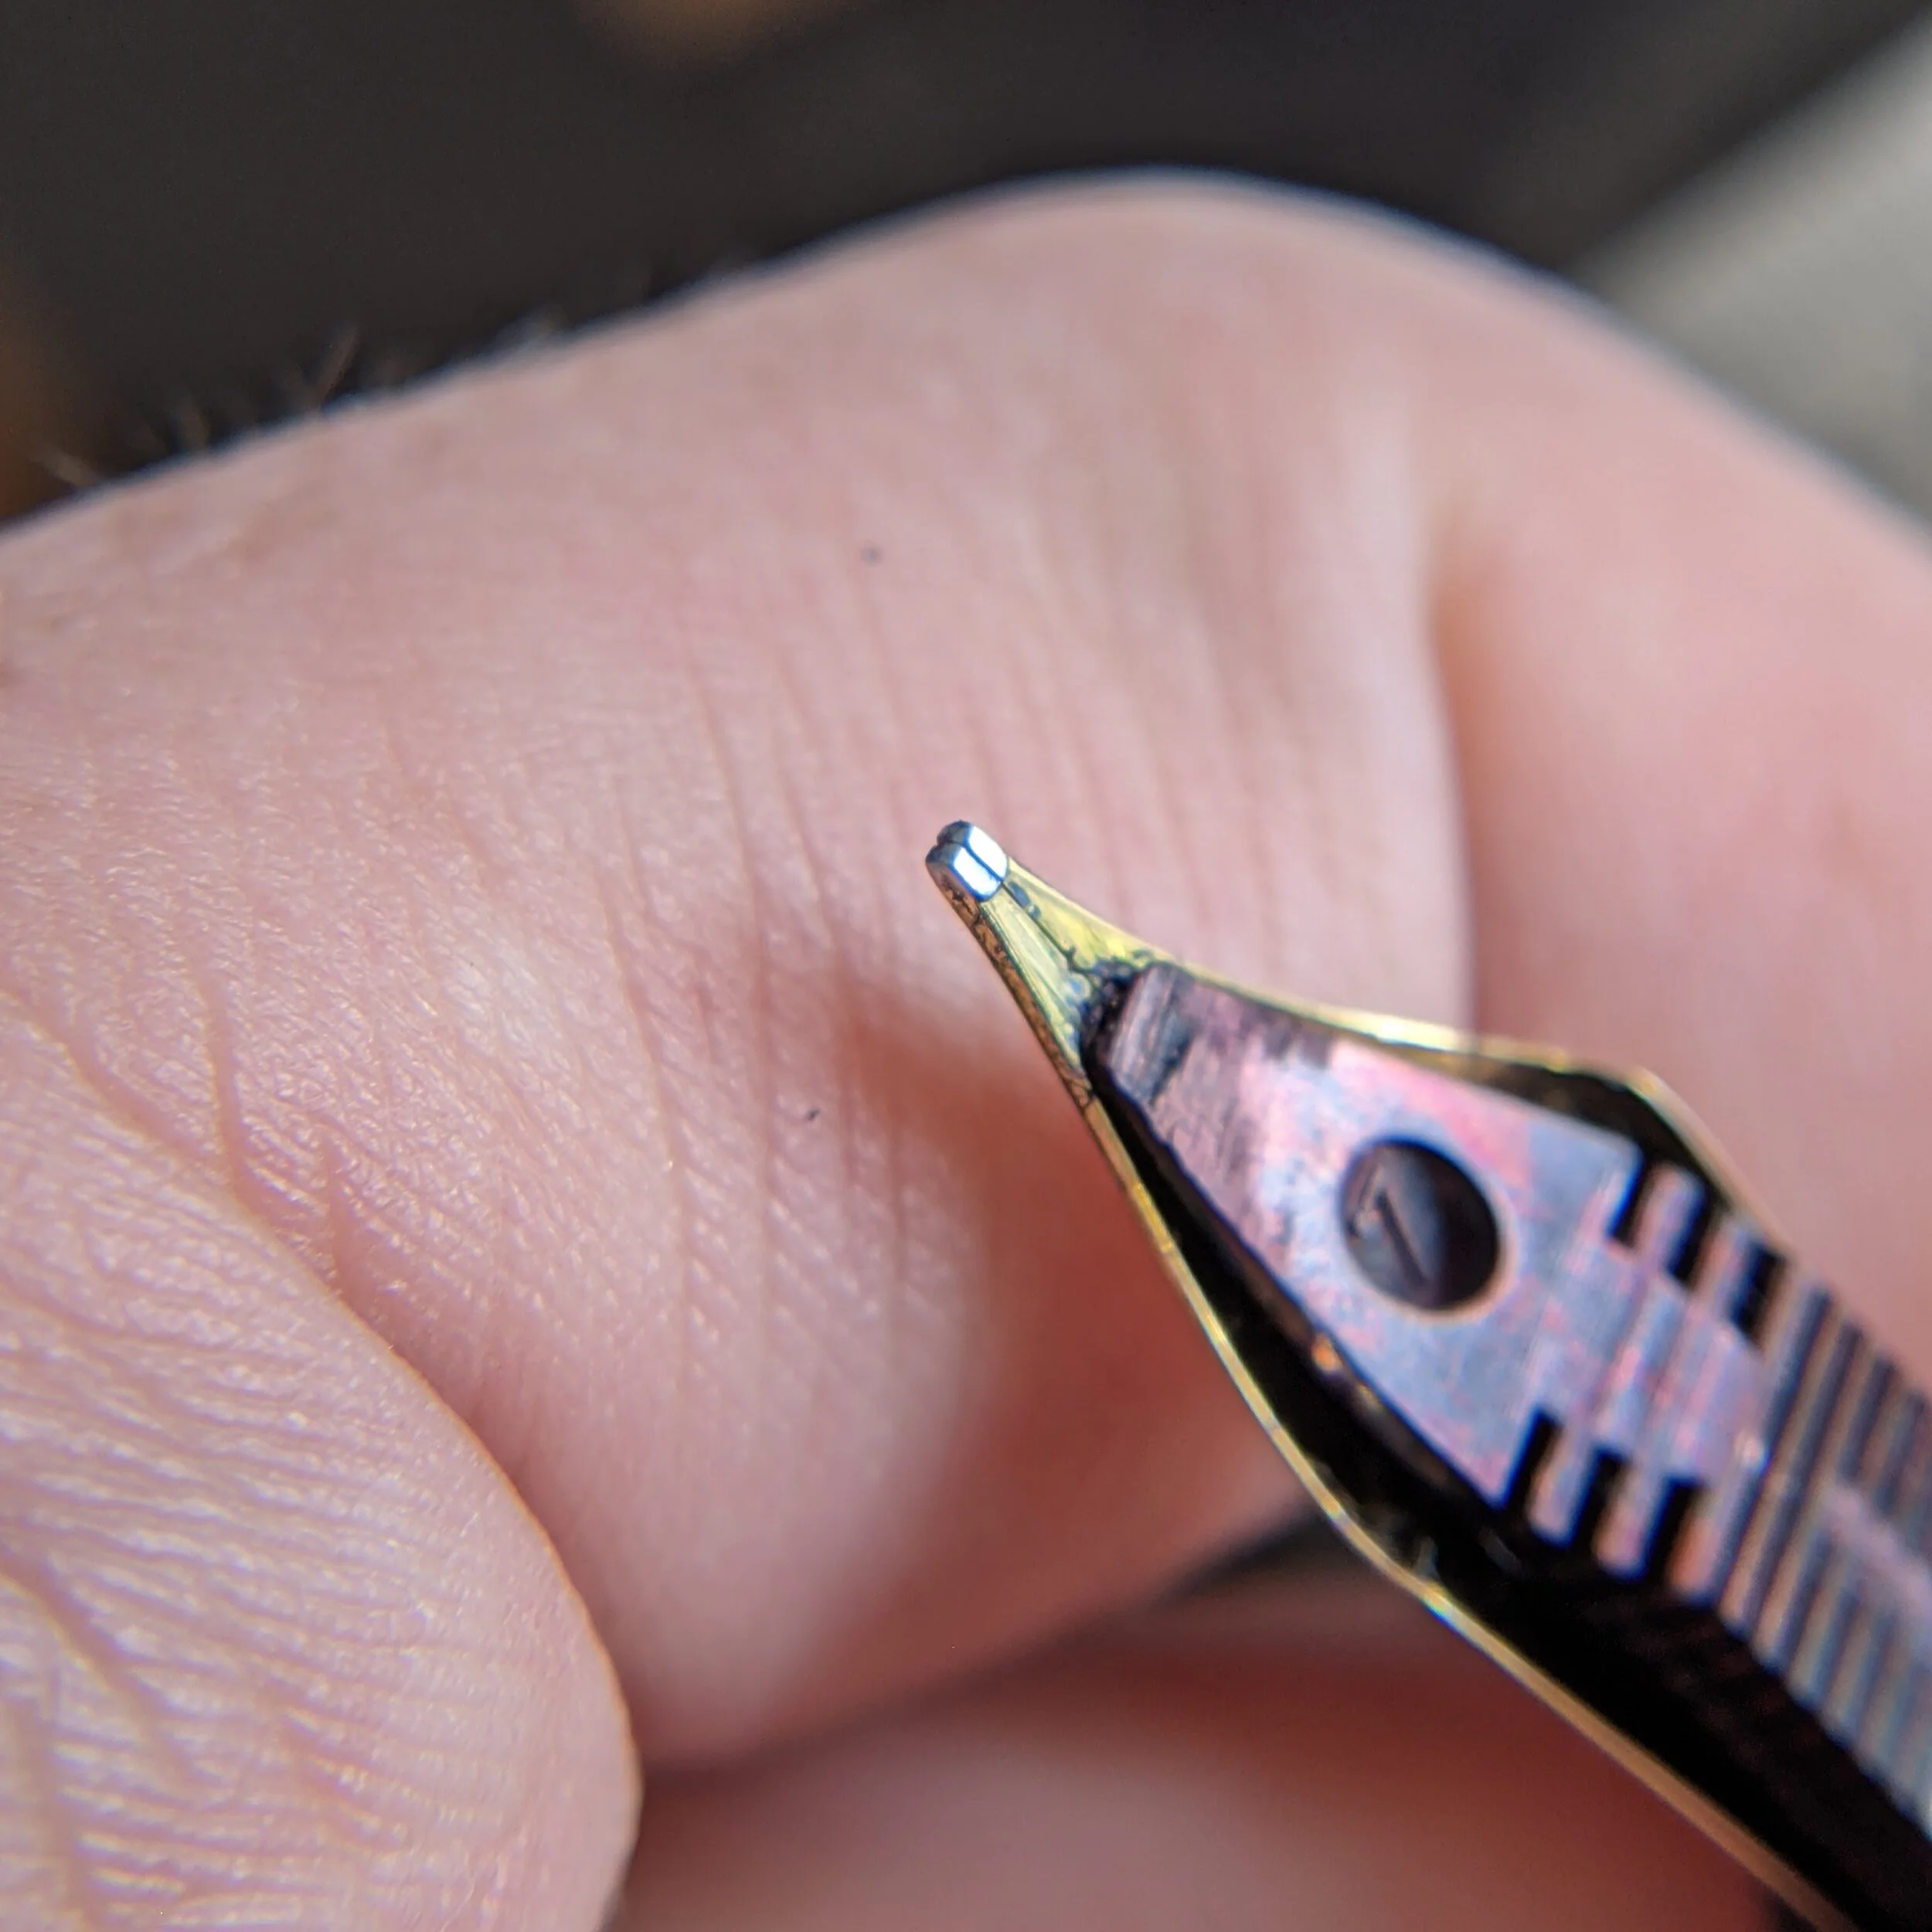
Here is an example of a smoothed out cursive italic
The writing surface of your unpolished nib is basically a corner. That corner has sharp edges that dig into the page, but that also makes the writing crisp and has variation. What the smoothing process does is it rounds that corner further and further making the pen smoother, but the cross stroke thicker. You will have to decide for yourself where you want to draw the line for how sharp of an italic you like. But that's also the beauty of grinding your own nibs, you get to choose what you want.
The way I usually round that corner is to hold the pen with the corner writing surface parallel to the end of the stone. I hold it at a low angle and drag it from front to back increasing the angle as I go. This should give you a nice rounded surface. I would continue to do this on progressively smoother stones or micromesh until you get the smoothness you want. Here is a video showing the process:
Now after you have gotten through this step you might still be thinking that the nib is a little sharp still or maybe that the nib is digging into the page. The next step is to get rid of these sharp edges to the nib on the sides in order to make the side stroke smoother. There is no proper definition of what makes a cursive italic, but this is what I think about in my head for the difference. A cursive italic does not have these sharper edges that can dig into the page. As a result, that downstroke becomes slightly smaller and less defined than a crisp italic, but it becomes much easier to use. Again it's a trade-off of what you want in your writing experience and you can always try both out since you are grinding them yourself (and hopefully first on cheap nibs).
It's a bit hard to describe the technique I use for this. I don't think that there is a necessarily right way to do it. I think if you visualize in your head those sharp edges and put a chamfer on them you will be able to make small polishing cuts based on that. What I do is to take the pen and starting at a low angle I take the pen and run it along the sharp edges on both sides then move the angle up and repeat. This results in a nice smooth cursive italic.
If you wanted to make a stub nib you would do this same thing but instead, you would round everything more aggressively until you have the desired smoothness. Again these are approximate things and there is no set definition for them so really you should try and make whatever you think works best for you.
Conclusion:
I hope this helped you grind your first pen or at least provided you with a glimpse into the world of grinding your own pens using hand tools. I am thinking of doing the same thing for architect grinds as the instructions for that are harder to find on the internet. I plan on making this a series and if people are interested I can do some grinding articles on a rotary tool such as a small foredom or dremel. Let me know what you would think is interesting to write an article about next and I’ll add it to the list of things to do.
As always thanks for taking a look at my articles, if you have any suggestions for articles or things that you’d like to see as well as corrections or just general feedback feel free to email me at minabekopens@gmail.com. And if you like what I do here and want to support me you can head over to my Patreon page and sign up to be a patron, it helps me pay for the fees for keeping this website up.
I hope that you have a great day!
-Minabeko